spring mvc 小demo
2021-07-11 09:06
YPE html PUBLIC "-//W3C//DTD HTML 4.0 Transitional//EN" "http://www.w3.org/TR/REC-html40/loose.dtd">
标签:.com pre web beans work configure 一个 映射 startup
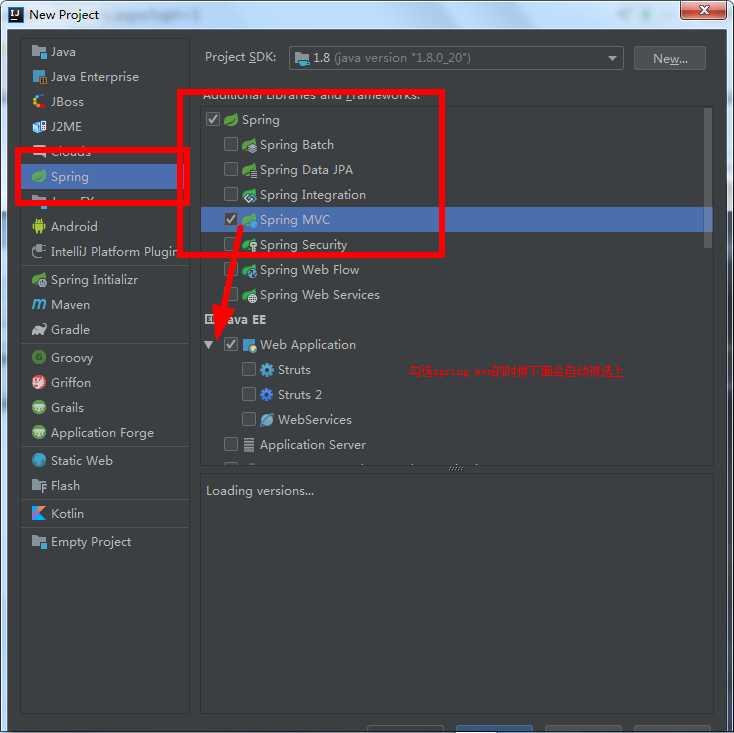
安装idea,下一步下一步!

之后就等待它下载spring包,时间有点久。。。
在src下面创建包名,然后创建一个controller,controller是操作数据用的,也是访问地址映射用的 HelloController
package com.tutorialspoint;
import org.springframework.stereotype.Controller;
import org.springframework.ui.Model;
import org.springframework.web.bind.annotation.GetMapping;

@Controller
public class HelloController {
    @GetMapping("/")
    public String index(Model m) {
        m.addAttribute("someAttribute", "someValue");
        return "index";
    }
}
在web/web-INF文件夹下新建一个views文件夹放jsp文件使用
index.jsp
$Title$
${someAttribute}
有一个配置文件dispatcher-servlet.xml
还有一个web.xml 文件
contextConfigLocation /WEB-INF/applicationContext.xml
org.springframework.web.context.ContextLoaderListener
dispatcher
org.springframework.web.servlet.DispatcherServlet
1 dispatcher / 完成上面步骤之后
点击run------configure------加号--------选择tomcat,他会自动帮你读取tomcat的位置,还有记得选sdk,将java的jdk选好
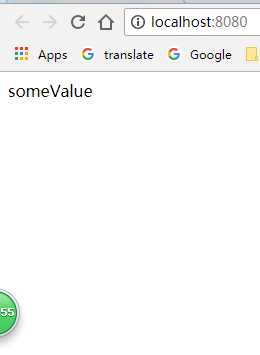
点击运行,运行的速度比eclipse好得多多了,O(∩_∩)O哈哈~
-------------
大功告成!!!虽然很简单,可是却花了一晚上配置,哎~~~
注意点:
- dispatcher-servlet.xml 的里面的有一个配置关联包名的,不要乱写
2.dispatcher-servlet.xml的文件目录配置和文件类型也是要注意的
3.web.xml的dispatcher
spring mvc 小demo
标签:.com pre web beans work configure 一个 映射 startup
原文地址:https://www.cnblogs.com/cyany/p/9551775.html