创建多模块springcloud应用eureka server和client和消费端demo
2021-07-14 01:07
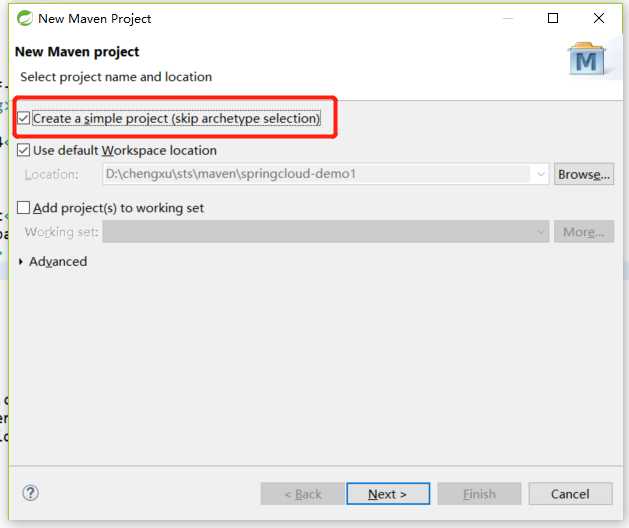
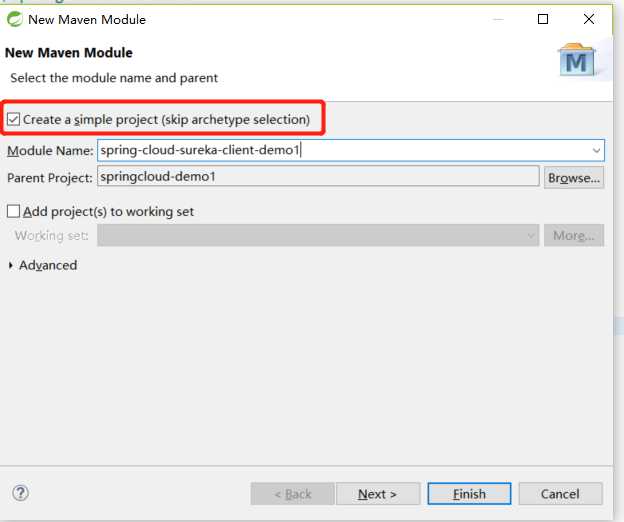
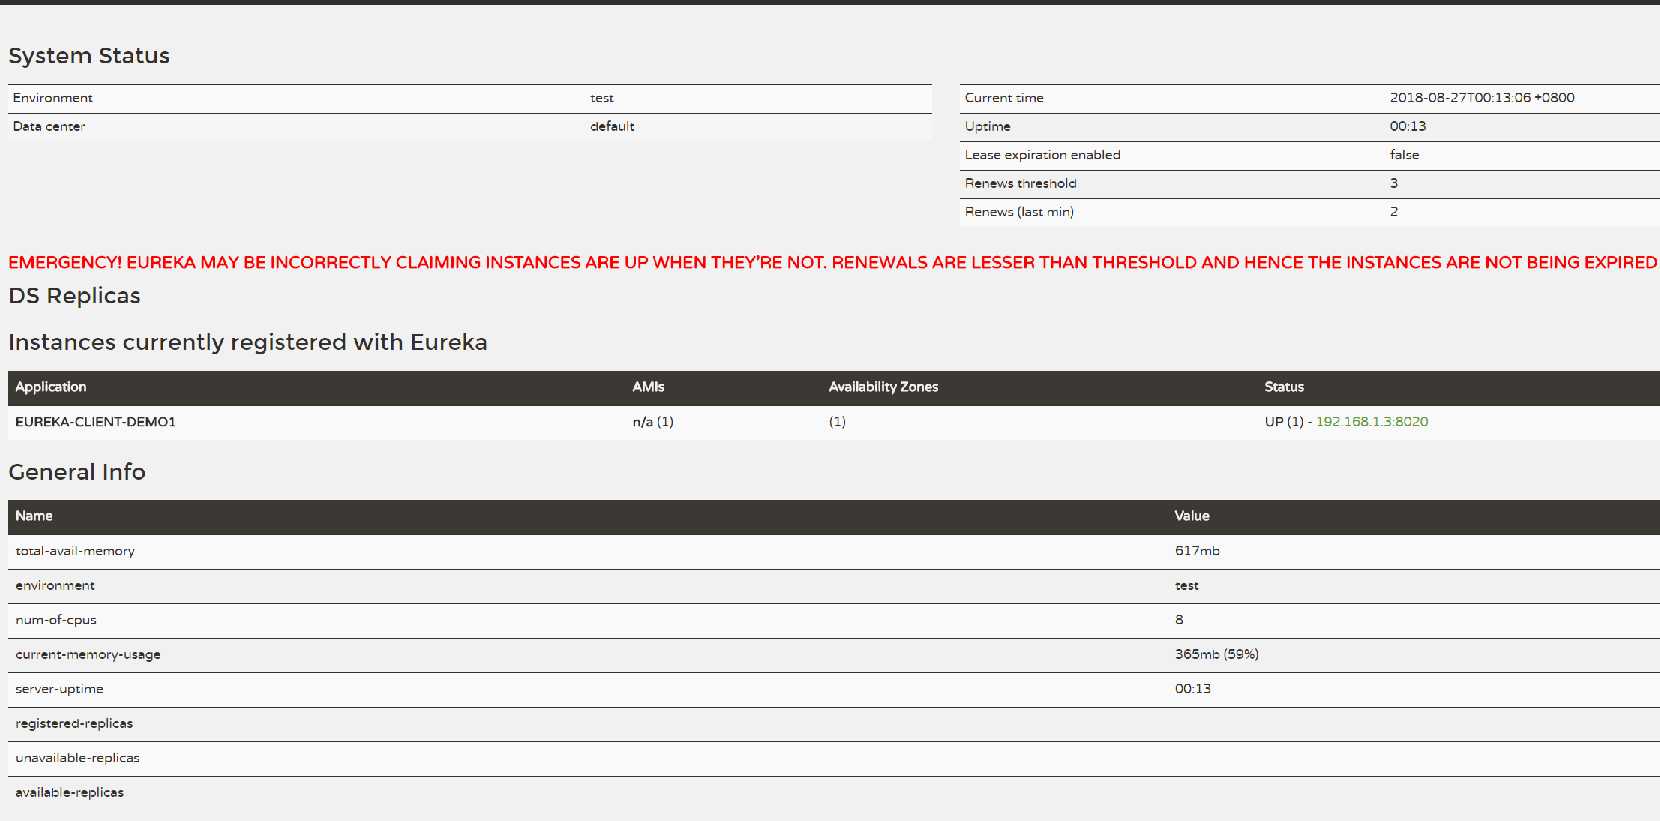
标签:使用 图片 img 资料 server star The string uil 使用环境是 STS + maven 1 创建父级 项目,springcloud-demo1 new -> maven project -> 按照要求进行配置即可。然后删除 src目录,因为父级项目只是配置项目依赖和版本控制使用。 1.2 修改 pom 文件 此时也要注意springcloud 和 springboot 版本之间有一定的关联性,最好使用官网推荐的对应版本。否则可能会出现版本不兼容的问题。我就是这么趟的坑过来的 2 创建 eureka server端项目,spring-cloud-sureka-server 在 springcloud-demo1 项目上右击, new -> maven module 2.2 修改 pom 文件,添加 eureka-server 依赖, spring-cloud-starter-eureka-server 2.3 添加配置文件 application.yml eureka 配置说明 可见 http://www.cnblogs.com/li3807/p/7282492.html 在 server 端 service-url 指定暴露出的注册服务地址。让客户端可以将应用注册到该地址上。 2.4 添加启动类,StartEurekaServer 3 新建一个服务提供端 module,spring-cloud-eureka-client-demo1,跟 eureka 方法一样,在springcloud-demo1项目上右击, new -> maven module 3.2 修改 pom 文件 3.3 添加配置文件 application.yml 3.4 编写启动类,SpringCloudDemo1 3.5 简单的实体类,Student 3.6 Controller 此时访问页面 :http://localhost:8010/ 说明:由于springcloud 版本低或者什么原因,在编写配置时,使用的是 横线命名法 启动的时候一直给我报错,com.sun.jersey.api.client.ClientHandlerException: java.net.ConnectException: Connection refused: connect 后来查阅大量资料发现将配置属性全部改为 驼峰命名法 就好了 创建多模块springcloud应用eureka server和client和消费端demo 标签:使用 图片 img 资料 server star The string uil 原文地址:https://www.cnblogs.com/zhaopengcheng/p/9539660.html

server:
  port: 8010

eureka:
  instance:
    hostname: 127.0.0.1
    prefer-ip-address: true

  client:
    register-with-eureka: false
    fetch-registry: false
    service-url:
      default-zone: http://${eureka.instance.hostname}:${server.port}/eureka/
import org.springframework.boot.SpringApplication;
import org.springframework.boot.autoconfigure.SpringBootApplication;
import org.springframework.cloud.netflix.eureka.server.EnableEurekaServer;

@SpringBootApplication
@EnableEurekaServer
public class StartEurekaServer {

    public static void main(String[] args) {
        SpringApplication.run(StartEurekaServer.class, args);
    }

}
server:
  port: 8020

spring:
  application:
    name: eureka-client-demo1

eureka:
  instance:
    preferIpAddress: true
    hostname: 127.0.0.1
    instanceId: ${spring.cloud.client.ipAddress:127.0.0.1}:${server.port}
  client:
    registerWithEureka: true
    fetchRegistry: true
    serviceUrl:
      defaultZone: http://${eureka.instance.hostname}:${eureka.port:8010}/eureka/
import org.springframework.boot.SpringApplication;
import org.springframework.boot.autoconfigure.SpringBootApplication;
import org.springframework.cloud.netflix.eureka.EnableEurekaClient;

@SpringBootApplication
@EnableEurekaClient
public class SpringCloudDemo1 {

    public static void main(String[] args) {
        SpringApplication.run(SpringCloudDemo1.class, args);

    }

}
import lombok.AllArgsConstructor;
import lombok.Builder;
import lombok.Data;
import lombok.NoArgsConstructor;

@Data
@NoArgsConstructor
@AllArgsConstructor
@Builder
public class Student {
    private String name;
    private Integer age;

}
import org.apache.commons.lang3.ObjectUtils;
import org.springframework.web.bind.annotation.RequestMapping;
import org.springframework.web.bind.annotation.RequestMethod;
import org.springframework.web.bind.annotation.RestController;

@RestController
public class StudentController {

    @RequestMapping(value="/student/demo1", method=RequestMethod.GET)
    public Student getStu1() {
        Student  result = Student.builder().name("allen").age(23).build();
        if (ObjectUtils.allNotNull(result)) {
            System.out.println(result);
        }

        return result;
    }

}

文章标题:创建多模块springcloud应用eureka server和client和消费端demo
文章链接:http://soscw.com/essay/104886.html