Unity for Windows: II – Publishing Unity games to Windows Store
2020-12-04 10:49
标签:des style class code tar ext 原地址:http://digitalerr0r.wordpress.com/2013/08/27/unity-for-windows-ii-publishing-to-windows-8/ Windows 8 is a new OS with a Windows Store where you can distribute your apps
to millions of users world wide, for both PC, laptops and tablets. You can sell your apps, use in-app purchases or/and use ads to monetize! (Publishing to Windows Phone 8 will be covered in part III) Today we are going to export the game we created in part I of the tutorial as a Windows Store solution that
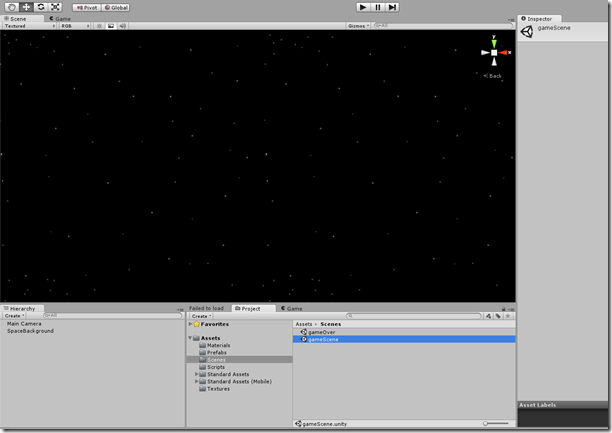
runs on all devices using Windows 8. Start with opening the game from part I (download here) in Unity and check if it runs like it should
(open gameScene and run the game). You should be able to play and come to the game over screen if an invader
gets to the left side of the screen. Download: Tutorial part
II assets I. Handling the
snapped view ( snap view ) To make our game pass the Windows Store certification (so it gets publishes),
we need to handle snapped view mode in our unity game – when the player decides
to snap the game of the side of the screen. What games got in common is that it’s hard to play in snap mode (Really just
a resolution change). A common way to handle snap mode is by simply pausing the game! But how do we
pause the game? Let’s write a script that sets the game in pause – and that will
be invoked from the exported solution we soon will create. Add a new Script to the Scripts folder using
UnityEngine; public static class
Windows8Handler { This function is a public static function – we can call it from wherever we
want and don’t need to create an instance of the class to use it. Ok! This is all we need from Unity, the next step in handling snap view will
be from the exported solution. II. Getting ready
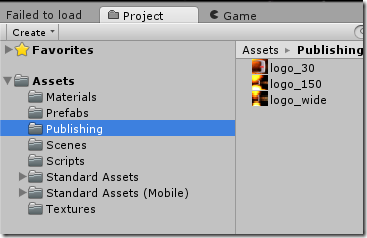
to export the Windows Store App Create a new folder named Publishing in the Assets folder and add the three
logo textures for our game (you
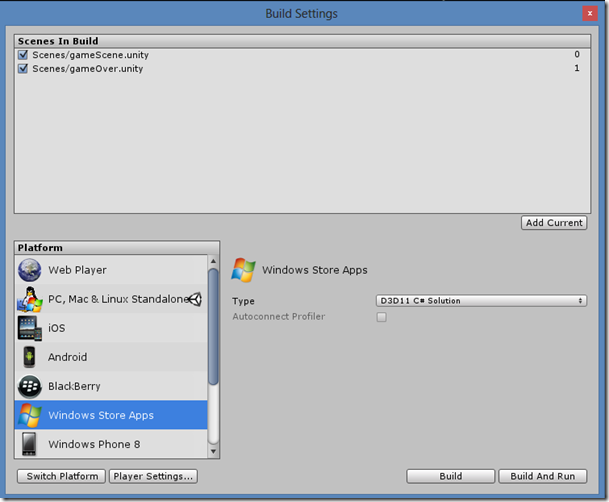
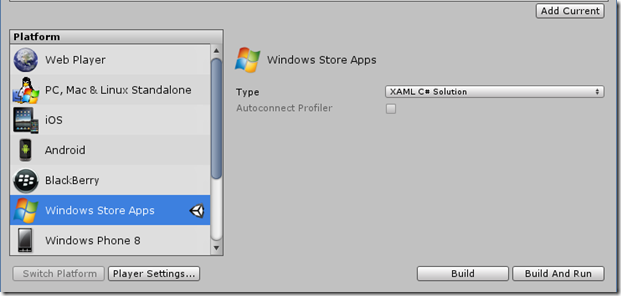
can find them in the assets zip for this tutorial): Setting the platform to Windows Store Scroll down on the platform selector and select Windows Store Apps: Click the Switch Platform button to make the Windows 8 platform our standard
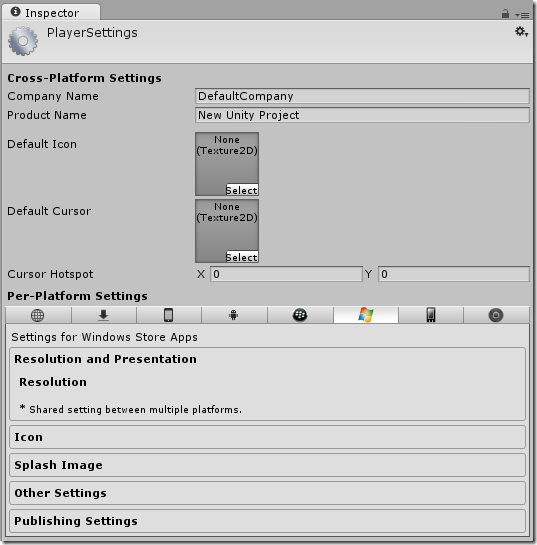
(you can still export to the other platforms). Now, click the Player Settings… button to view the properties for this
platform in this solution. This screen will let you change a lot of properties based on the platform you
want to publish to. Clicking the Publishing Settings tab in the bottom will open
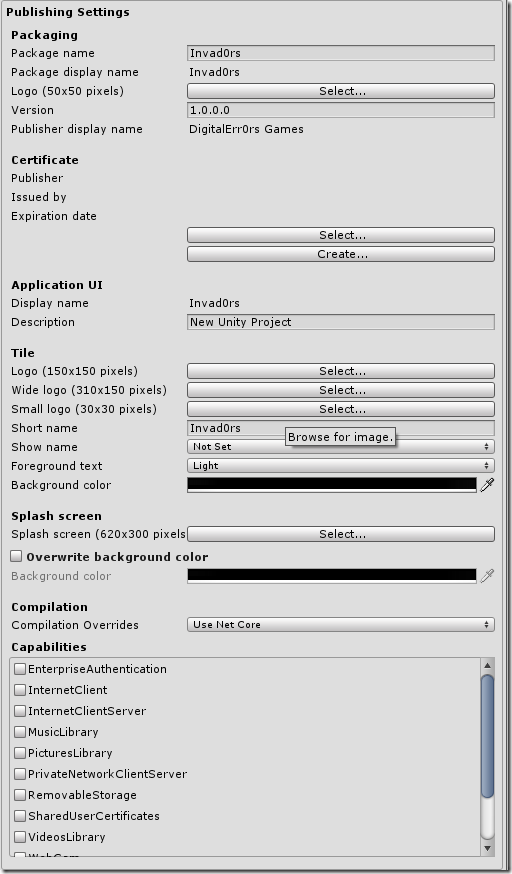
the spesific settings for the selected platform. Click this now: Set the Tile logo properties like this, using the three textures we added to
the publishing folder: This sets the game tiles for our game (Icons from the start menu). We also need to set the splash screen for our game. Set it to splash.png from the tutorials assets
folder: III. Exporting the
package To export your game, go the Build Settings (File->Build Settings…) again
and click Build: Save it in a folder of your choice (I created a Windows8 folder in the Unity
solution). A Visual Studio solution is now built for the game. It might take a
couple of minutes.. A folder where the project is located will be openet and will look something
like this: IV. Opening the
project in Visual Studio to build the store pacakge To open this, you will need Visual Studio 2013. If you are a student you
might can get a licence from www.dreamspark.com, if not, you can
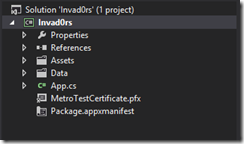
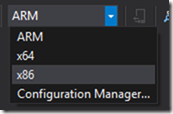
download the express version for free here: http://www.microsoft.com/visualstudio/eng/products/visual-studio-express-for-windows-8 Once this is installed, open the Invad0rs.sln in Visual Studio 2012. The project is now loaded in Visual Studio 2012: Now change the build arcitecture to the correct one (probably x86): Click Play on Local Machine (Windows 8) to build the Windows Store app
package (.appx) and run the game: The game will now deploy on your Windows 8 device, and run perfectly. You can
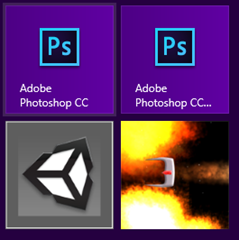
also see from the start menu that the tiles we created are used: V. Continue the
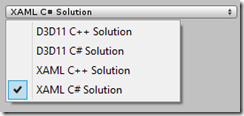
implementation / support of Snapped View How we do this depends on what you selected when exporting the project. There
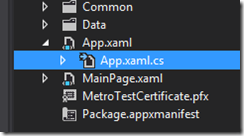
was a drop down list in Unitys export tool: a) XAML C# Solution Open the App.xaml.cs file: The file will look like this (I will show you the entire code – everything is
not very interesting here, I will highlight the important things: using
System; namespace
Template
///
// Do not repeat app initialization when the Window already has
content,
// Setup scripting
bridge
appCallbacks.SetSwapChainBackgroundPanel(mainPage.GetSwapChainBackgroundPanel());
appCallbacks.SetCoreWindowEvents(Window.Current.CoreWindow);
appCallbacks.InitializeD3DXAML();
Window.Current.Activate(); Window.Current.SizeChanged +=
Current_SizeChanged; void Current_SizeChanged(object sender,
WindowSizeChangedEventArgs e) First of all, we add a using statement for the Windows.UI.ViewManagement,
then we add a listener to the SizeChanged event, this is the event the app uses
to know how to handle a change in resolution/screen size – what snap view really
is. Now, the body of this function looks a bit strange. What we do here is to get the new state our app is in, and then check if this
state is the snapped state. What’s next is that we use the AppCallbacks.Instance.InvokeOnAppThread to
communicate with “our game” on the same thread, meaning we simply can call
Windows8Handler.PauseGame(true); If it’s not snapped view, we unpause the game. Simple? b) XAML C++ Solution Not yet written.. c) D3D11 C# Solution Not yet written.. d) D3D11 C++ Solution Not yet written.. VI. Setting some
important project properties before we are ready to submit Now, there is a couple of things we need to do before we can send this to the
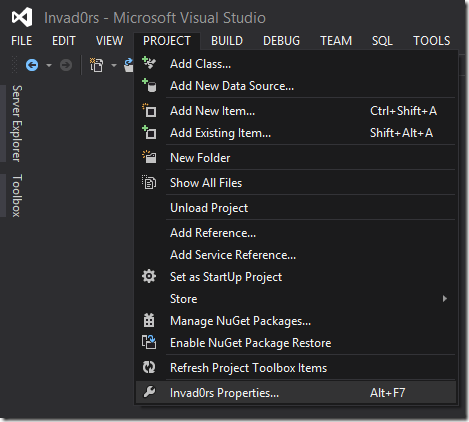
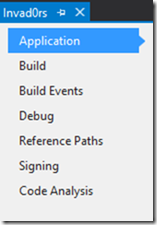
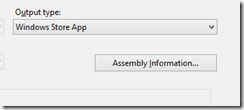
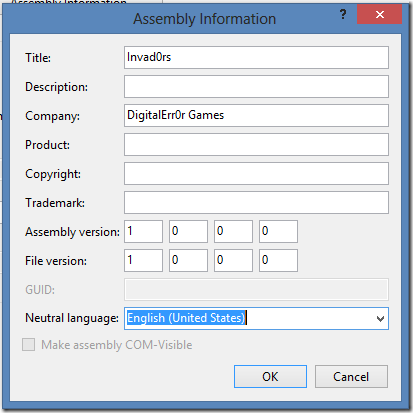
Windows Store for publishing. Click PROJECT->Invad0rs Properties… On the Applications tab, click Assembly Information: Set the Language to the language of the app: Also, fill out the fields you need, and click OK. VII. Creating a
publishing account on Windows Store and create your app project in the
portal Creating an account and registering as a publisher is quite easy. Just go
tohttp://dev.windows.com, register your
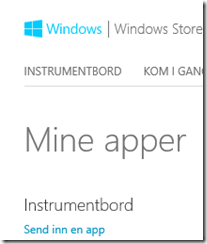
account and get it verified (might take a few minutes to a couple of days). Creating a project on Windows Store Now click Submit new app (or something similar): (Screenshot is Norwegian but should be the same) Now, the first thing we want to do is to reserve an app name so nobody else
takes it. Do this now (step 1 on the page) and save: Binding the app in Visual Studio 2012 to the new App name we just created is
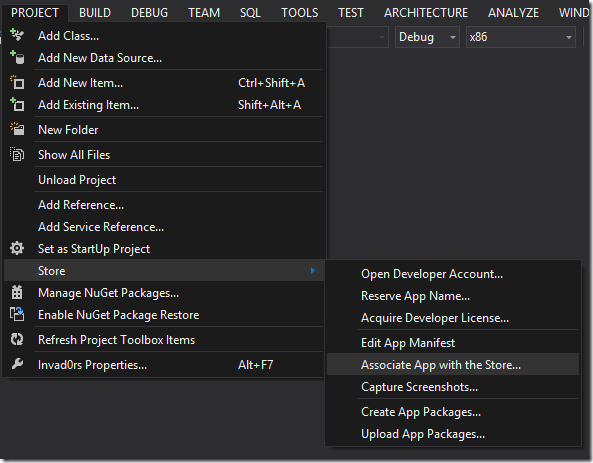
simple. Go to Visual Studio 2012, make sure the game project is opened and click
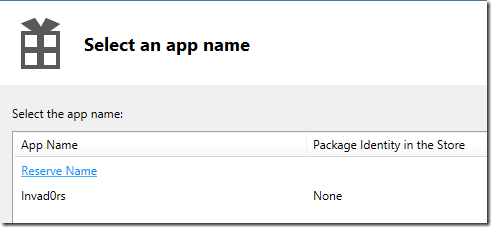
Project->Associate App with Store… Sign in with your developer account. A list of your apps in Store will be
displayed. Find the one you just reserved for this project: Click the project name, and click next. Then review that it looks right, and click Associate: Now we are ready to create the App Package for publishing. VIII. Building the
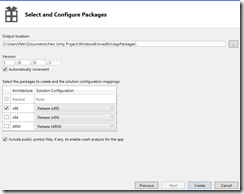
appx file Select Yes that you want to upload the package: And click Sign in. Click next, note the path where the App Package will be generated, and check
of the different architectures you want the app on: Click Create to generate the package. A few tests will be run on the packages
to ensure you meet a lot of store requirements like memory usage, performance,
startup time and so on. Just leave it running and let your computer be for the
tests.. don’t disturb it! Once done, the appx file is created. Now, go back to the Windows Store page where you reserved the name, follow
the rest of the steps and upload the appx file. Then submit the app and it will
be sent for testing. This can take a few days. If your app is accepted, it can be found in the Windows Store. If not, fix
the errors they found and resumit (just dont give up!). And.. good luck with your sales! Download: Tutorial part
II assets Unity for Windows: II – Publishing Unity games to Windows
Store,搜素材,soscw.com Unity for Windows: II – Publishing Unity games to Windows
Store 标签:des style class code tar ext 原文地址:http://www.cnblogs.com/123ing/p/3704907.html
using System.Collections;
public static void PauseGame(bool
p)
{
if
(p)
{
Time.timeScale = 0.0f;
}
else Time.timeScale =
1.0f;
}
}
Click File->Build Settings…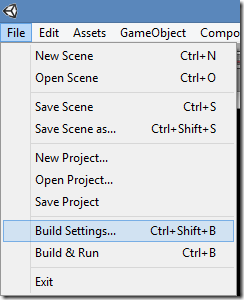



![]()
using System.Collections.Generic;
using System.IO;
using System.Linq;
using
Windows.ApplicationModel;
using Windows.ApplicationModel.Activation;
using
Windows.Foundation;
using Windows.Foundation.Collections;
using Windows.UI.Core;
using Windows.UI.Xaml;
using Windows.UI.Xaml.Controls;
using Windows.UI.Xaml.Controls.Primitives;
using Windows.UI.Xaml.Data;
using Windows.UI.Xaml.Input;
using Windows.UI.Xaml.Media;
using Windows.UI.Xaml.Navigation;
using
UnityPlayer;
using Windows.UI.ViewManagement;
//
The Blank Application template is documented at http://go.microsoft.com/fwlink/?LinkId=234227
{
///
/// Provides application-specific behavior to supplement the default Application
class.
///
sealed
partial class App : Application
{
private WinRTBridge.WinRTBridge
_bridge;
private AppCallbacks
appCallbacks;
///
/// Initializes
the singleton application object. This is the first line of authored
code
/// executed, and as such is
the logical equivalent of main() or
WinMain().
///
public
App()
{
this.InitializeComponent();
appCallbacks = new
AppCallbacks(false);
}
/// Invoked
when the application is launched normally by the end user. Other entry
points
/// will be used when the
application is launched to open a specific file, to
display
/// search results, and so
forth.
///
/// Details about the launch request and
process.
protected
override void OnLaunched(LaunchActivatedEventArgs
args)
{
Frame
rootFrame = Window.Current.Content as Frame;
// just ensure that the window is
active
if
(rootFrame ==
null)
{
var mainPage = new
MainPage();
Window.Current.Content =
mainPage;
Window.Current.Activate();
_bridge = new
WinRTBridge.WinRTBridge();
appCallbacks.SetBridge(_bridge);
}
}
{
ApplicationViewState myViewState = ApplicationView.Value;
if (myViewState ==
ApplicationViewState.Snapped)
{
AppCallbacks.Instance.InvokeOnAppThread(new AppCallbackItem(() =>
{
Windows8Handler.PauseGame(true);
}),
false);
}
else
{
AppCallbacks.Instance.InvokeOnAppThread(new AppCallbackItem(() =>
{
Windows8Handler.PauseGame(false);
}),
false);
}
}
}
}

Go to dev.windows.com, log in with your account and
click “DASHBOARD”:


Click PROJECT->Store->Create App Packages: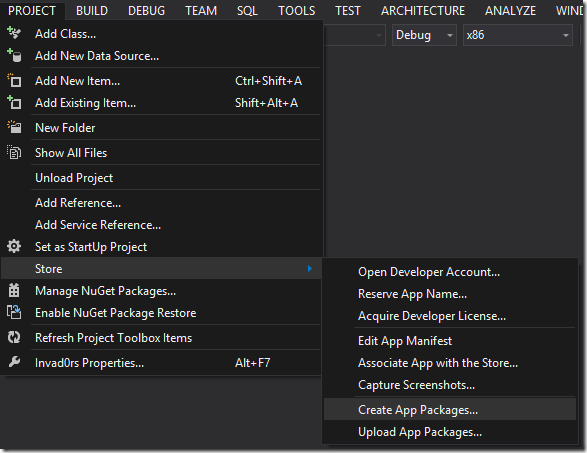
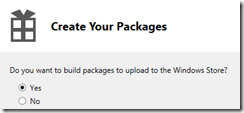
Select the app from the list again: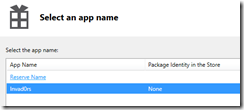


文章标题:Unity for Windows: II – Publishing Unity games to Windows Store
文章链接:http://soscw.com/essay/23308.html