ASP.NET Core3.1使用Identity Server4建立Authorization Server-2
2021-01-21 00:19
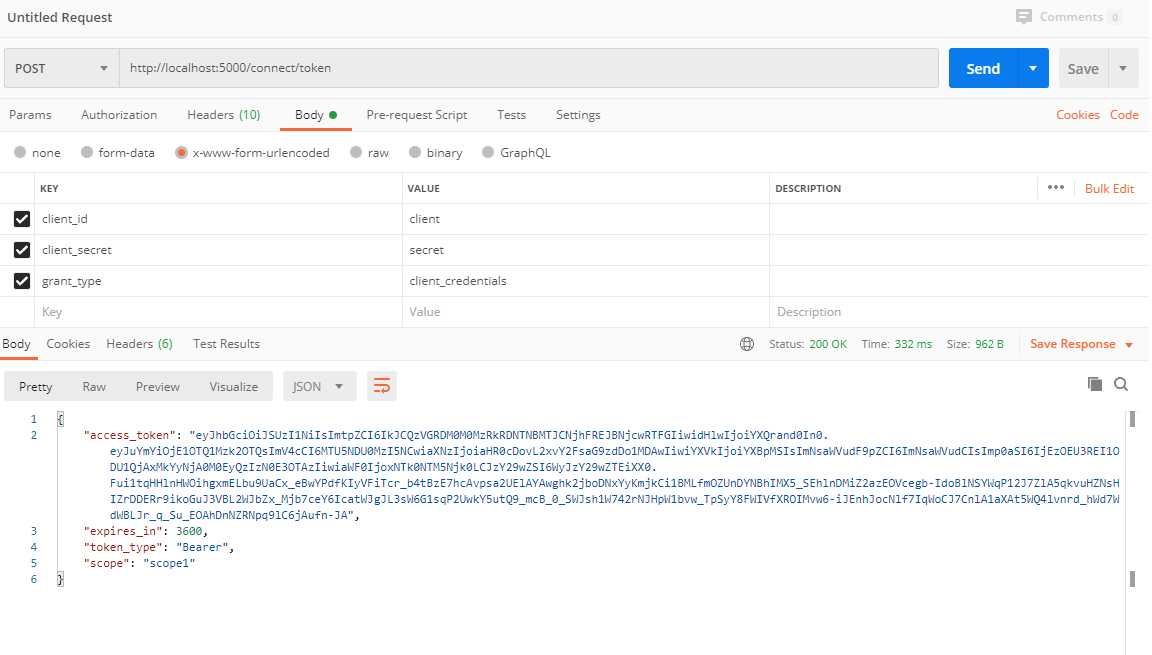
标签:index entity ONBUILD 选择 tco var dex 空字符串 man 在同一个解决方案下建立一个Web Api项目 官方文档:https://docs.microsoft.com/en-us/aspnet/core/tutorials/web-api-help-pages-using-swagger?tabs=visual-studio&view=aspnetcore-3.1 在 在该 把Web Api设为启动项目,打开:http://localhost:5001/swagger/index.html访问Swagger帮助页面: 如果要在应用程序的根目录( 顺便我们把 Web Api配置Identity Server就需要对token进行验证, 这个库就是对access token进行验证的. 通过NuGet安装: 在Startup的ConfigureServices里面注册配置: 官方文档的配置: 官方文档的这个配置是不进行验证Api的Scope和其他一些配置的,也就是只要我拿到Access Token就可以访问了。但实际情况应该是我们可能存在多个api项目,有些只能访问api1、有些只能访问api2。 我们的配置,完整的Web Api Startup.cs 打开WeatherForecastController, 在Controller上面添加这个属性: 然后我们打开:http://localhost:5001/weatherforecast HTTP状态码:https://www.runoob.com/http/http-status-codes.html 所以我们首先需要获取到一个token。那就需要把上一节的Authorization Server也跑起来。解决方案右键,启动项目设置为多个启动项目,AuthServer项目放前面。 然后运行, 使用Postman先获取token: 然后复制一下 access_token的值。新建一个Web Api项目的请求, 把access_token贴到Authorization选择TYPE为 然后,我们就看到请求成功啦~。 还记得我们Web Api的Startup.cs中配置的当前Api为 重新运行项目,获取token,访问api 可以看到,token是可以正常获取的,但是我们不能访问api了。 去https://jwt.io/ 可以分析一下这个token,感兴趣的可以自己了解下,这块资料很多的还是。 虽然系列内容基本是参考杨旭老师的,但是真的写起来还是满费力气的,在这里谢谢杨老师,另外B站有杨老师完整版的Identity Server4视频,大家可以去看下哦~ 推广下自己的公众号 ASP.NET Core3.1使用Identity Server4建立Authorization Server-2 标签:index entity ONBUILD 选择 tco var dex 空字符串 man 原文地址:https://www.cnblogs.com/jellydong/p/13301250.html前言
建立Web Api项目
IdentityServer4.WebApi,然后修改Web Api的launchSettings.json。参考第一节,当然可以不修改的,端口号为5001。{
"profiles": {
"IdentityServer4.WebApi": {
"commandName": "Project",
"launchBrowser": true,
"launchUrl": "weatherforecast",
"applicationUrl": "http://localhost:5001",
"environmentVariables": {
"ASPNETCORE_ENVIRONMENT": "Development"
}
}
}
}
添加Swagger帮助页面
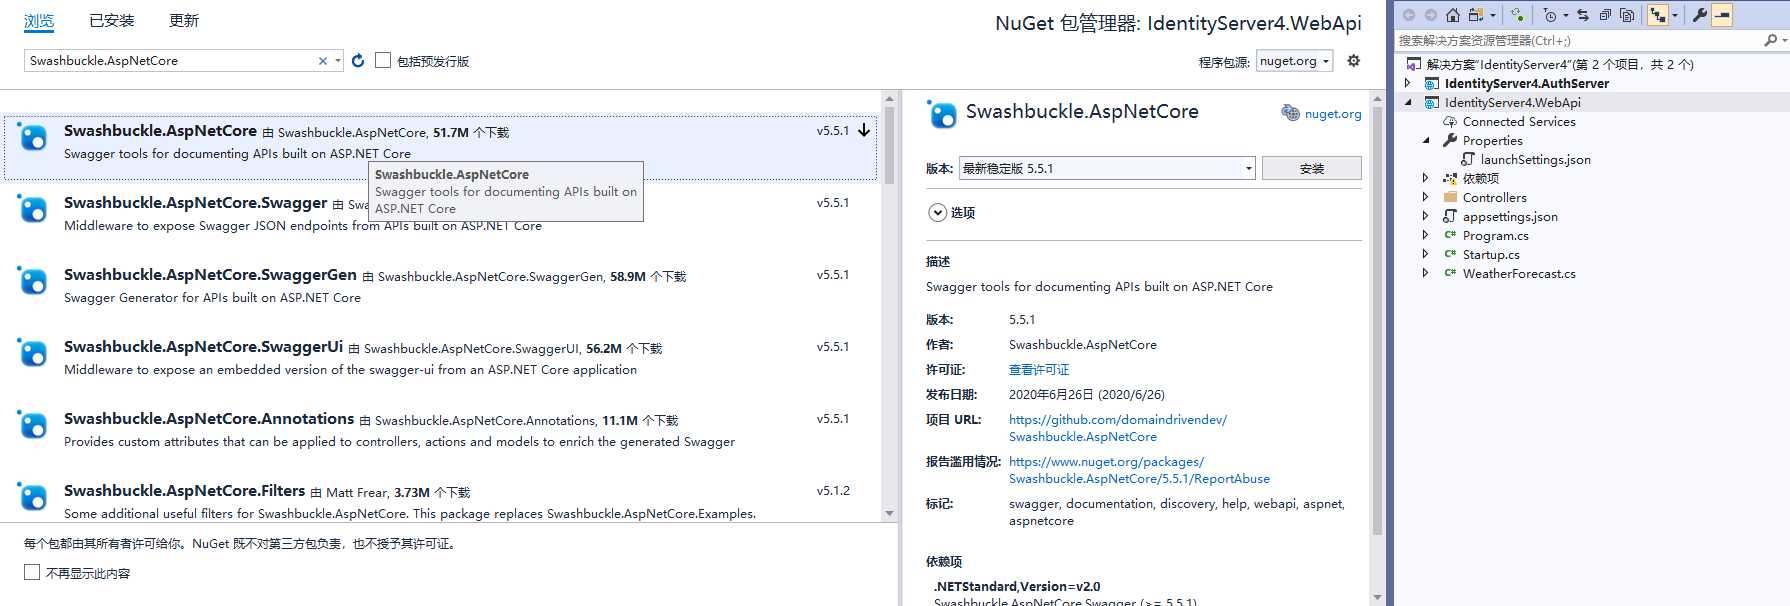
Startup.ConfigureServices方法中将Swagger生成器添加到服务集合: public void ConfigureServices(IServiceCollection services)
{
services.AddControllers();
// Register the Swagger generator, defining one or more Swagger documents
services.AddSwaggerGen(c =>
{
c.SwaggerDoc("v1", new OpenApiInfo { Title = "My API", Version = "v1" });
});
}
OpenApiInfo需要 using Microsoft.OpenApi.Models;Startup.Configure方法中,启用用于提供生成的JSON文档和Swagger UI的中间件: public void Configure(IApplicationBuilder app, IWebHostEnvironment env)
{
if (env.IsDevelopment())
{
app.UseDeveloperExceptionPage();
}
// Enable middleware to serve generated Swagger as a JSON endpoint.
app.UseSwagger();
// Enable middleware to serve swagger-ui (HTML, JS, CSS, etc.),
// specifying the Swagger JSON endpoint.
app.UseSwaggerUI(c =>
{
c.SwaggerEndpoint("/swagger/v1/swagger.json", "My API V1");
});
app.UseRouting();
app.UseAuthorization();
app.UseEndpoints(endpoints =>
{
endpoints.MapControllers();
});
}
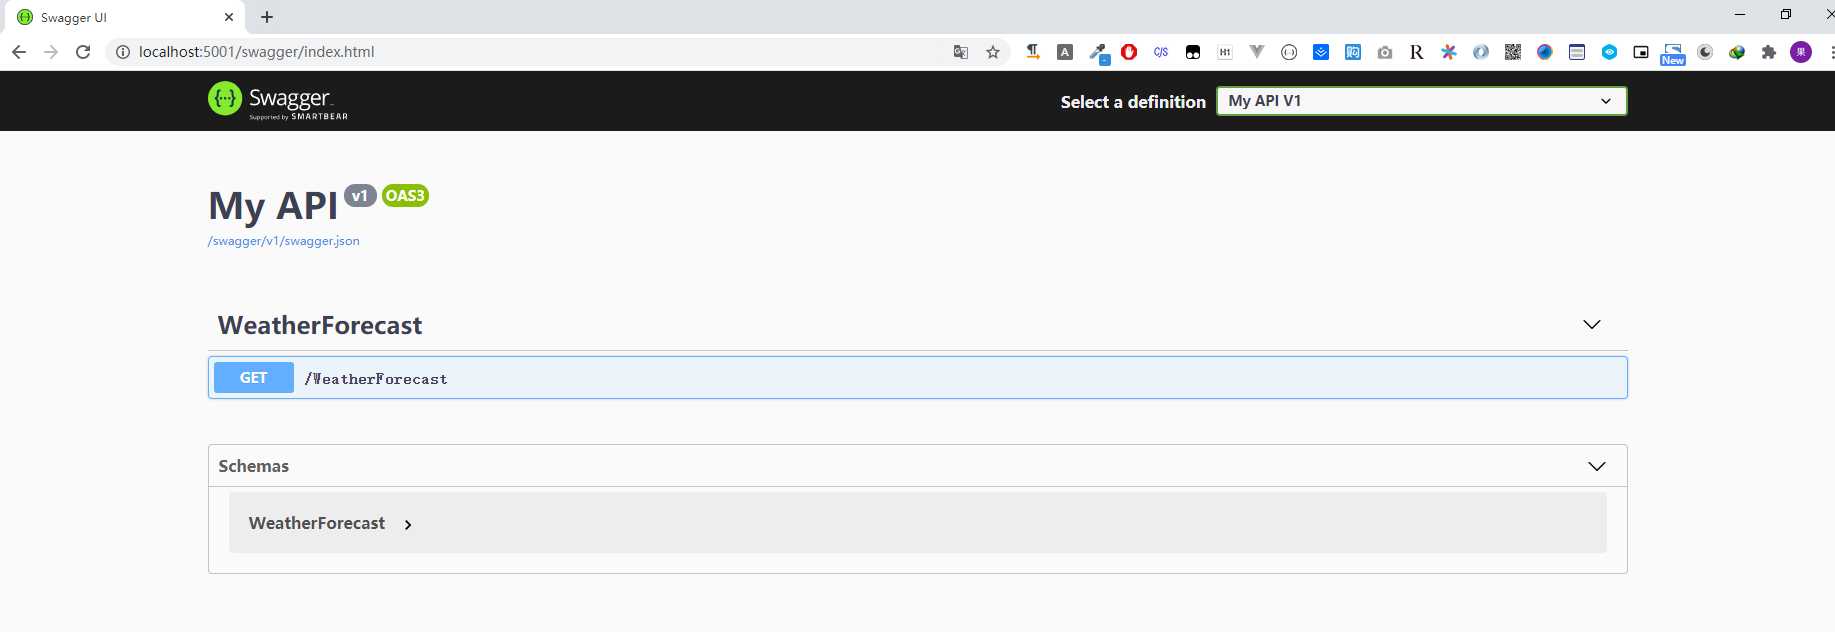
http://localhost:)提供Swagger UI ,请将RoutePrefix属性设置为空字符串:app.UseSwaggerUI(c =>
{
c.SwaggerEndpoint("/swagger/v1/swagger.json", "My API V1");
c.RoutePrefix = string.Empty;
});
launchSettings.json的"launchUrl": "weatherforecast",删掉,这个是在浏览器中启动的默认URL。然后我们再次启动,就可以直接看到Swagger的帮助页面了。添加库IdentityServer4.AccessTokenValidation

public void ConfigureServices(IServiceCollection services)
{
services.AddControllers();
services.AddAuthentication("Bearer")
.AddJwtBearer("Bearer", options =>
{
options.Authority = "https://localhost:5001";
options.TokenValidationParameters = new TokenValidationParameters
{
ValidateAudience = false
};
});
}
using Microsoft.AspNetCore.Authentication.JwtBearer;
using Microsoft.AspNetCore.Builder;
using Microsoft.AspNetCore.Hosting;
using Microsoft.Extensions.Configuration;
using Microsoft.Extensions.DependencyInjection;
using Microsoft.Extensions.Hosting;
using Microsoft.OpenApi.Models;
namespace IdentityServer4.WebApi
{
public class Startup
{
public Startup(IConfiguration configuration)
{
Configuration = configuration;
}
public IConfiguration Configuration { get; }
// This method gets called by the runtime. Use this method to add services to the container.
public void ConfigureServices(IServiceCollection services)
{
services.AddControllers();
services.AddAuthentication(JwtBearerDefaults.AuthenticationScheme)
.AddJwtBearer(options =>
{
options.RequireHttpsMetadata = false;
options.Authority = "http://localhost:5000";
options.Audience = "api1";
});
// Register the Swagger generator, defining one or more Swagger documents
services.AddSwaggerGen(c =>
{
c.SwaggerDoc("v1", new OpenApiInfo { Title = "My API", Version = "v1" });
});
}
// This method gets called by the runtime. Use this method to configure the HTTP request pipeline.
public void Configure(IApplicationBuilder app, IWebHostEnvironment env)
{
if (env.IsDevelopment())
{
app.UseDeveloperExceptionPage();
}
//身份验证
app.UseAuthentication();
// Enable middleware to serve generated Swagger as a JSON endpoint.
app.UseSwagger();
// Enable middleware to serve swagger-ui (HTML, JS, CSS, etc.),
// specifying the Swagger JSON endpoint.
app.UseSwaggerUI(c =>
{
 c.SwaggerEndpoint("/swagger/v1/swagger.json", "My API V1");
 c.RoutePrefix = string.Empty;
});
app.UseRouting();
//授权
app.UseAuthorization();
app.UseEndpoints(endpoints =>
{
endpoints.MapControllers();
});
}
}
}
AddAuthentication:将身份验证服务添加到DI并配置Bearer为默认方案。UseAuthentication 将身份验证中间件添加到管道中,以便对主机的每次调用都将自动执行身份验证。UseAuthorization 添加了授权中间件,以确保匿名客户端无法访问我们的API端点。添加[Authorize]属性:
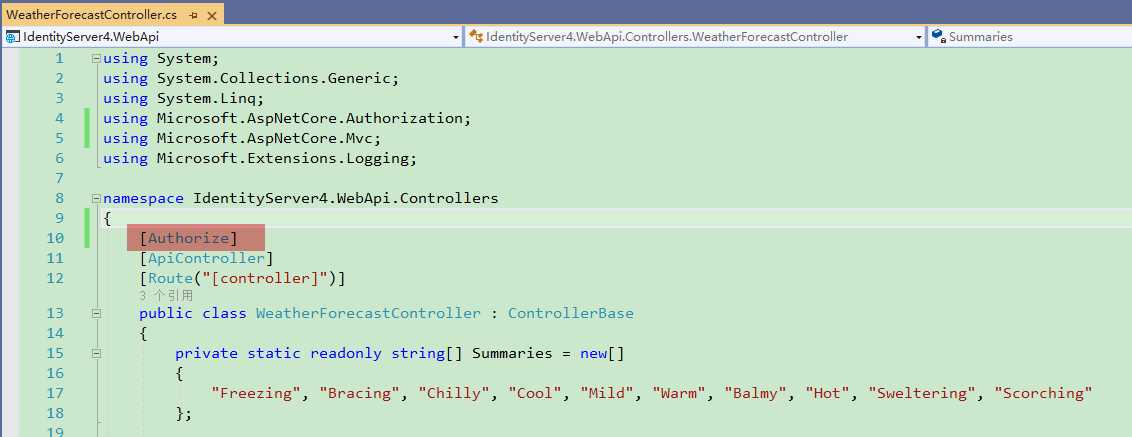
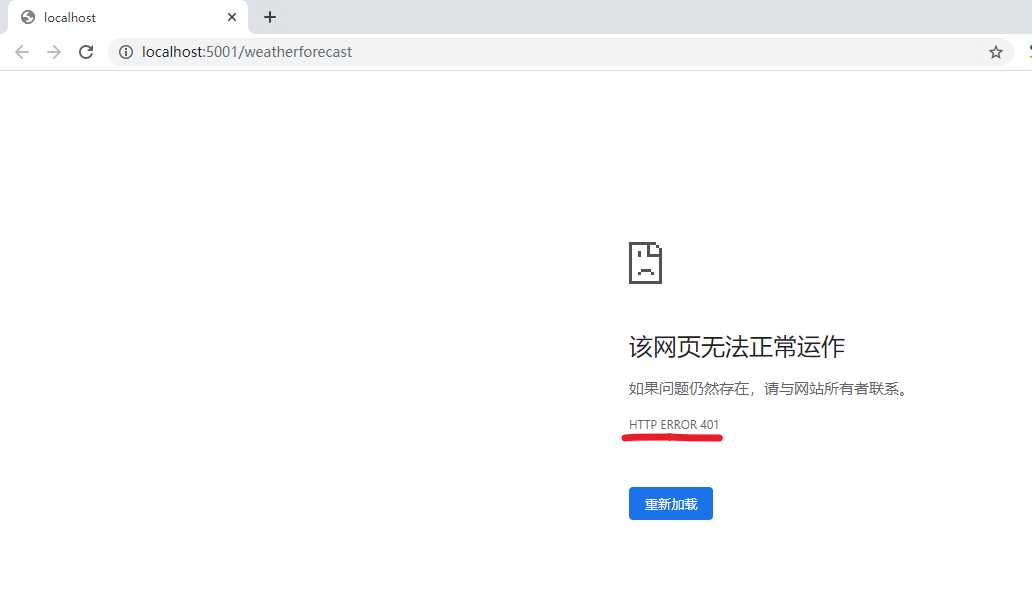
401意思是未授权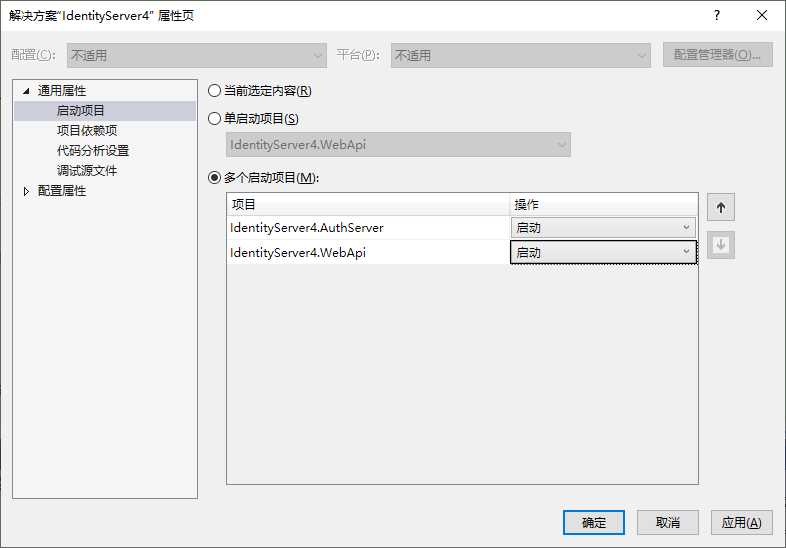
Bearer Token的Token里去。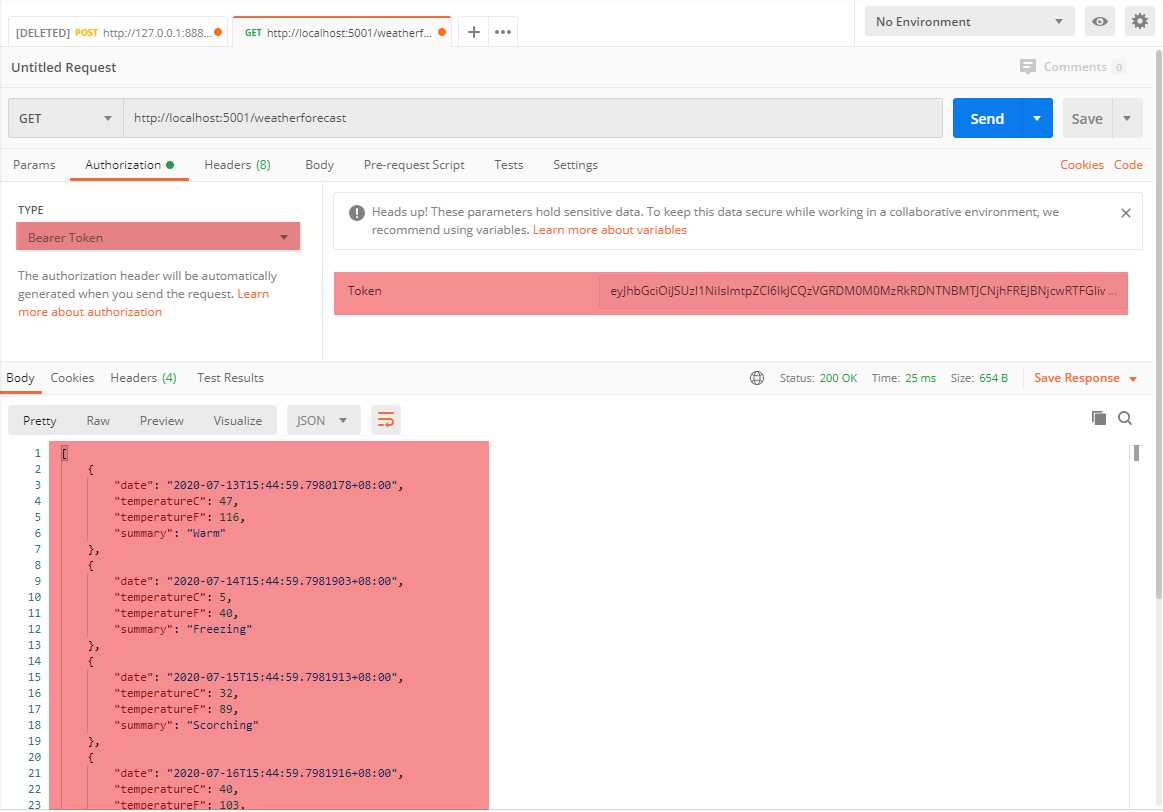
验证下范围
api1,他是和我们AuthServer项目的配置统一的,现在我们改为api2试一下,找一个不存在的,验证下是否还能访问Api接口。services.AddAuthentication(JwtBearerDefaults.AuthenticationScheme)
.AddJwtBearer(options =>
{
options.RequireHttpsMetadata = false;
options.Authority = "http://localhost:5000";
options.Audience = "api2";
});
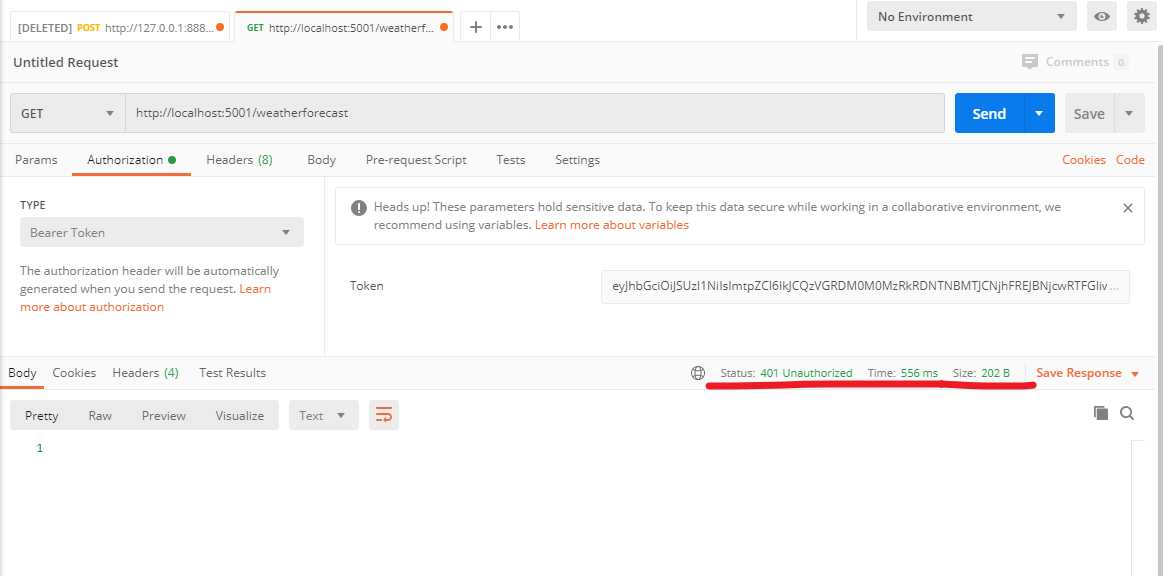
分析一下Token
End
一个逗逼的程序员,主要记录自己工作中解决问题的思路分享及学习过程中的笔记。绝对不会程序员贩卖程序员的焦虑来割韭菜。
上一篇:CNN之googlenet
下一篇:js promise详解
文章标题:ASP.NET Core3.1使用Identity Server4建立Authorization Server-2
文章链接:http://soscw.com/essay/44775.html