【SpringBoot】03 自动装配原理探索
2021-01-27 01:15
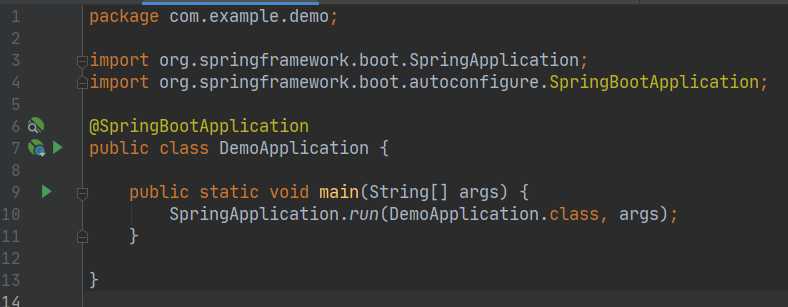
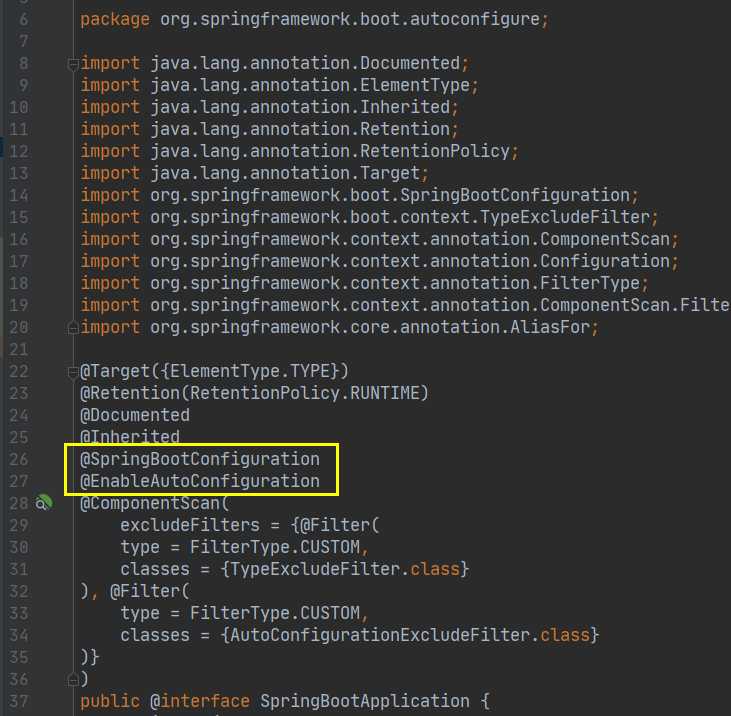
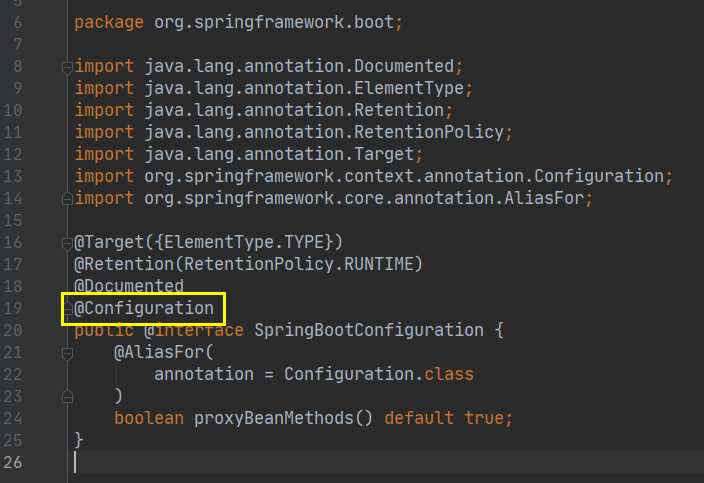
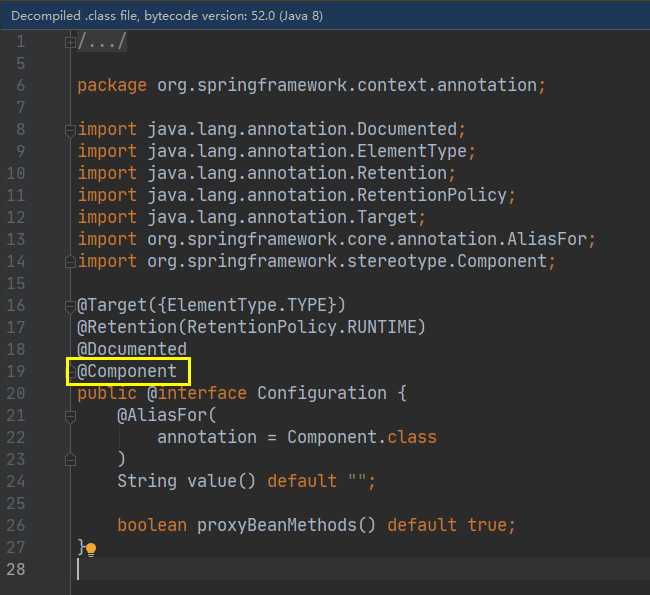
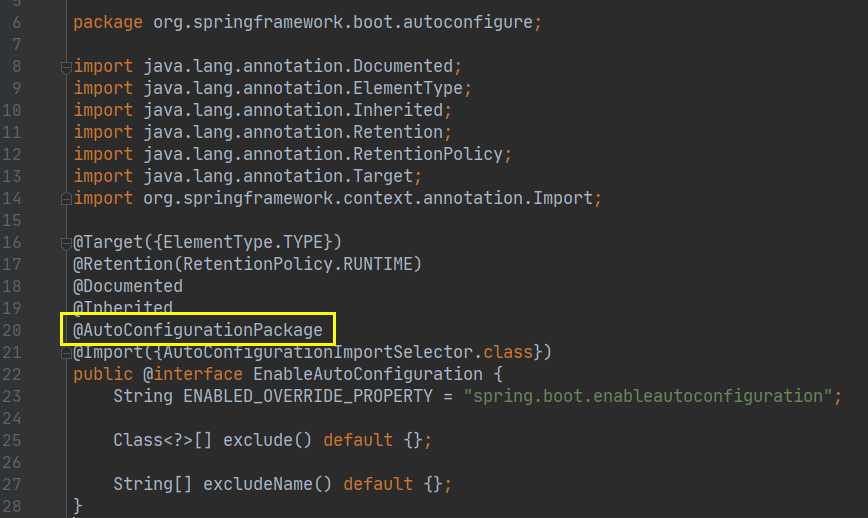
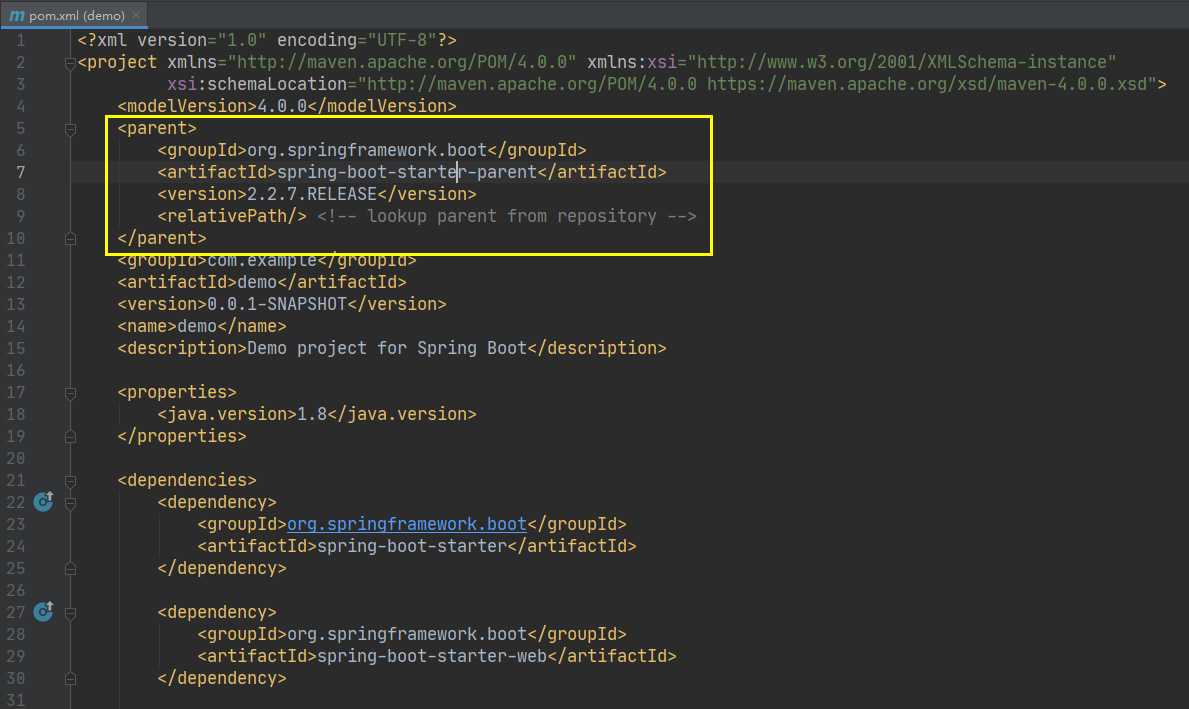
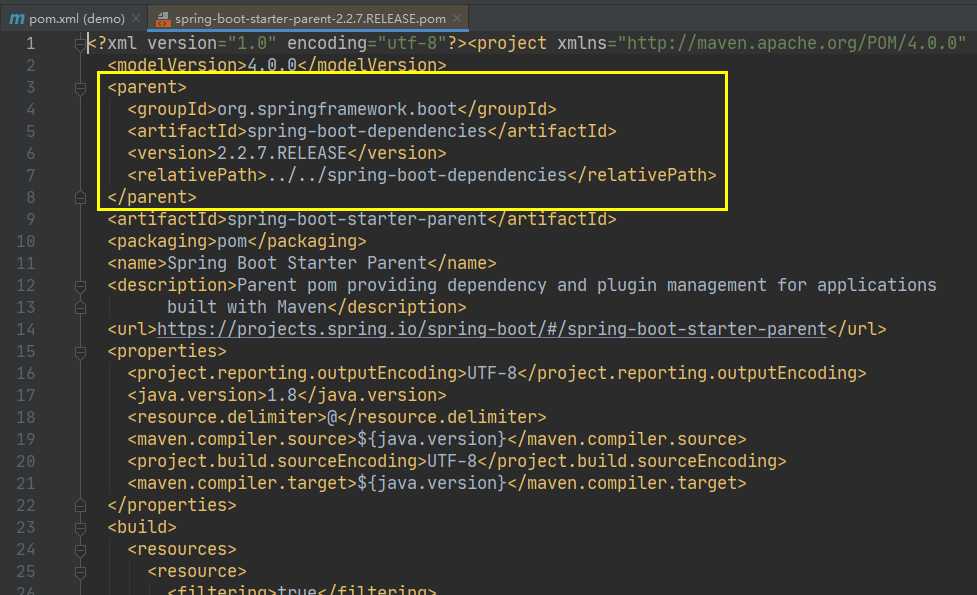
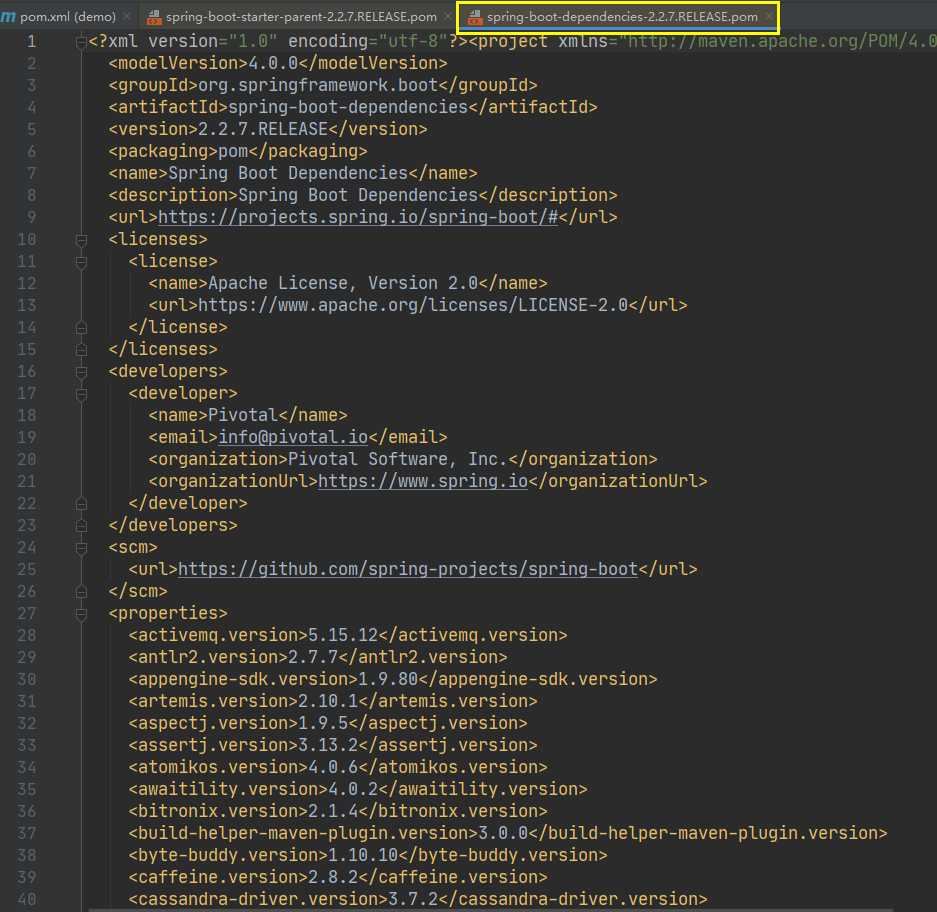
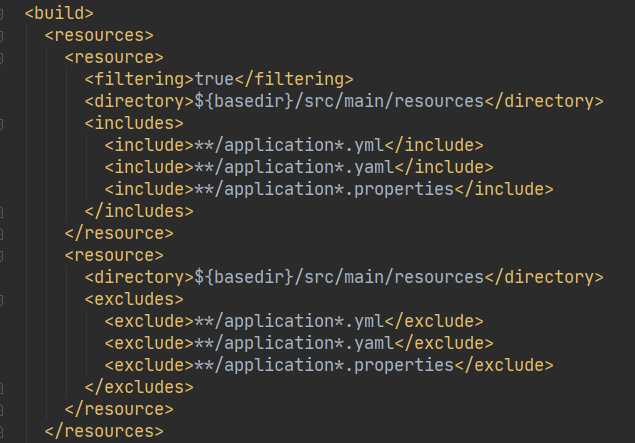
标签:探索 拆分 cat ase ring relative 图片 repo strong 首先是一个父级依赖管理的pom.xml 【Ctrl + 左键点击】访问进去之后还有父级的父级 到最后才是我们的真正的顶级父类Pom.xml 我们当前的父级坐标 第二级坐标 最后才是Boot依赖 顶级父类管理了所有依赖的版本, 实际导入依赖只需要声明具体的包即可 次级目录负责了资源导出过滤 启动被拆分成各个单元模块 回想SSM的启动 - Main写类实现 - Test写单元测试类 - 服务启动Tomcat @SpringBootApplication 标注这个类是一个SpringBoot的应用 就跟MVC的@Component差不多,注册 我们可以点击查看这个注解类 @SpringBootConfiguration 又是由一个@Configuration来配置 追到最后就是一个@Component注解, 也就是说SpringBoot的本质还是一个Spring, 但是是一个纯注解的Spring【不再是繁琐的XML配置了】 @EnableAutoConfiguration 顾名思义【开启自动配置】 @AutoConfigurationPackage 自动配置包 被@Import({Registrar.class}) 注解,也就是包注册扫描 看不下去了,总而言之就是通过这些注解对整个工程进行了一个 地毯式的注册配置,全部加载进了Properties,配合启动器完成运行 我们要做的就是配置启动器 https://www.bilibili.com/video/BV1PE411i7CV?t=2222&p=6 【SpringBoot】03 自动装配原理探索 标签:探索 拆分 cat ase ring relative 图片 repo strong 原文地址:https://www.cnblogs.com/mindzone/p/12849714.htmlSpringBoot的依赖探索
parent>
        groupId>org.springframework.bootgroupId>
        artifactId>spring-boot-starter-parentartifactId>
        version>2.2.7.RELEASEversion>
        relativePath/>
    parent>
parent>
    groupId>org.springframework.bootgroupId>
    artifactId>spring-boot-dependenciesartifactId>
    version>2.2.7.RELEASEversion>
    relativePath>../../spring-boot-dependenciesrelativePath>
  parent>
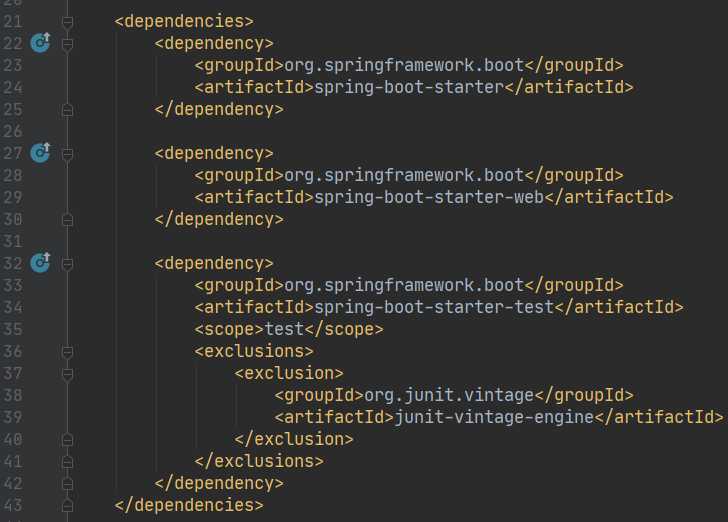
启动器:
主程序:
