[js高手之路]html5 canvas动画教程 - 自己动手做一个类似windows的画图软件
2021-05-05 09:29
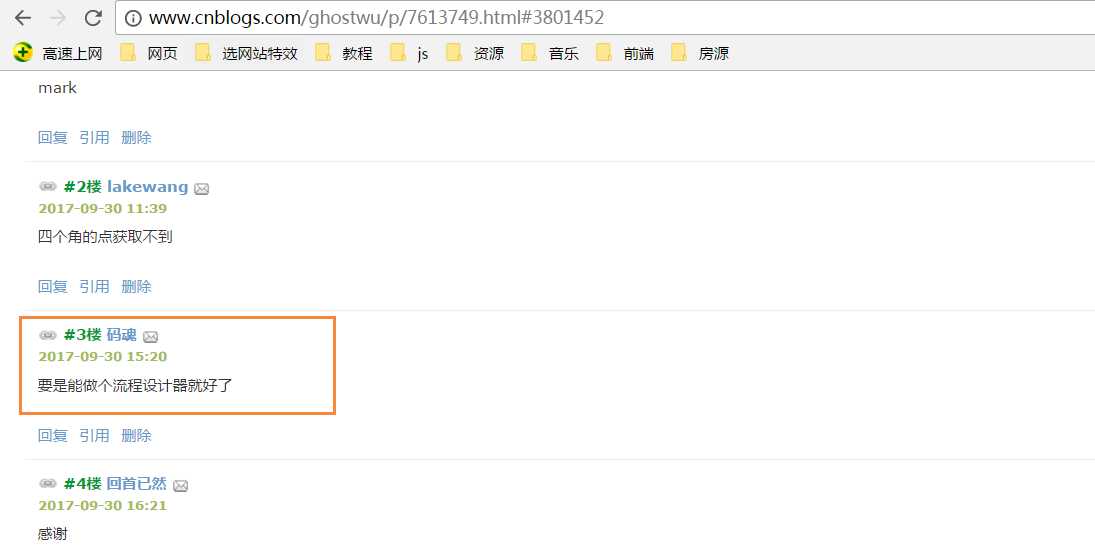
标签:自己 remove 技术分享 flow awt one window att 输入 这个绘图工具,我还没有做完,不过已经实现了总架构,以及常见的简易图形绘制功能: 1,可以绘制直线,圆,矩形,正多边形【已完成】 2,填充颜色和描边颜色的选择【已完成】 3,描边和填充功能的选择【已完成】 后续版本: 橡皮擦,坐标系,线形设置,箭头,其他流程图形,裁剪与调整图形。。。。。 终极目标: 流程绘制软件 我是之前看见一位朋友在我的博客中留言说: 非常感谢这个朋友,今天终于抽出时间完成非常非常小的雏形! 完整的雏形代码,请自行打开,复制到本地测试. 关于流程设计,后期要做的功能,思路基本上已经有了,好了,圆规正传,想要完成这个终极目标,完成一个画图工具应该就能接近目标了。先体验下目前的简易功能,下面是可以正常画图的,【需要你的浏览器支持canvas才可以额】 主要来讲下目标的雏形架构: 1,图形绘制部分,我封装了一个类Shape canvasObj: 就是canvas画布对象 cxtObj: 就是上下文绘图环境 w: canvas的宽度 h: canvas的高度 fillStyle: 填充颜色 strokeStyle: 描边颜色 lineWidth: 线宽 drawType: 默认为画直线 paintType: stroke/fill 两种选择( 描边/填充) 2,在原型对象上扩展一个公共方法draw用来绘制图形 draw方法,主要获取起始点坐标(startX, startY),以及终点坐标( endX, endY ); 然后调用init方法来获取绘制状态,绘制具体的图形靠下面这个关键方法: _this[_this.drawType](startX, startY, endX, endY) 这个方法的drawType会根据界面的实时选择,变换对应的绘制类型,如: _this[‘line‘]( startX, startY, endX, endY ) 调用的就是oShape对象中的line,画直线的方法 3,界面操作很简单,基本是选项卡的操作+html5的自定义属性+classList的应用 [js高手之路]html5 canvas动画教程 - 自己动手做一个类似windows的画图软件 标签:自己 remove 技术分享 flow awt one window att 输入 原文地址:http://www.cnblogs.com/ghostwu/p/7684379.html


1
2 3 4 5
12
18
 1 function Shape(canvasObj, cxtObj, w, h) {
 2         this.oCanvas = canvasObj;
 3         this.oGc = cxtObj;
 4         this.oCanvas.width = w;
 5         this.oCanvas.height = h;
 6         this.fillStyle = ‘#000‘;
 7         this.storkeStyle = ‘#000‘;
 8         this.lineWidth = 1;
 9         this.drawType = ‘line‘;
10         this.paintType = ‘stroke‘;
11         this.nums = 6; //正多边形的边数
12     }
 1 Shape.prototype = {
 2         init: function () {
 3             this.oGc.fillStyle = this.fillStyle;
 4             this.oGc.strokeStyle = this.strokeStyle;
 5             this.oGc.lineWidth = this.lineWidth;
 6         },
 7         draw: function () {
 8             var _this = this;
 9             this.oCanvas.onmousedown = function ( ev ) {
10                 _this.init();
11                 var oEvent = ev || event,
12                     startX = oEvent.clientX - _this.oCanvas.offsetLeft,
13                     startY = oEvent.clientY - _this.oCanvas.offsetTop;
14                 _this.oCanvas.onmousemove = function ( ev ) {
15                     _this.oGc.clearRect( 0, 0, _this.oCanvas.width, _this.oCanvas.height );
16                     var oEvent = ev || event,
17                         endX = oEvent.clientX - _this.oCanvas.offsetLeft,
18                         endY = oEvent.clientY - _this.oCanvas.offsetTop;
19                     _this[_this.drawType](startX, startY, endX, endY);
20                 };
21                 _this.oCanvas.onmouseup = function(){
22                     _this.oCanvas.onmousemove = null;
23                     _this.oCanvas.onmouseup = null;
24                 }
25             }
26         },
27         line: function ( x1, y1, x2, y2 ) {
28             this.oGc.beginPath();
29             this.oGc.moveTo( x1, y1 );
30             this.oGc.lineTo( x2, y2 );
31             this.oGc.closePath();
32             this.oGc.stroke();
33         },
34         circle : function( x1, y1, x2, y2 ){
35             this.oGc.beginPath();
36             var r = Math.sqrt( Math.pow( x2 - x1, 2 ) + Math.pow( y2 - y1, 2 ) );
37             this.oGc.arc( x1, y1, r, 0, 2 * Math.PI, false );
38             this.oGc.closePath();
39             this.oGc[this.paintType]();
40         },
41         rect : function( x1, y1, x2, y2 ){
42             this.oGc.beginPath();
43             this.oGc.rect( x1, y1, x2 - x1, y2 - y1 );
44             this.oGc[this.paintType]();
45         },
46         polygon : function( x1, y1, x2, y2 ){
47             var angle = 360 / this.nums * Math.PI / 180;//边对应的角的弧度
48             var r = Math.sqrt( Math.pow( x2 - x1, 2 ) + Math.pow( y2 - y1, 2 ) );
49             this.oGc.beginPath();
50             for( var i = 0; i this.nums; i ++ ){
51                 this.oGc.lineTo( x1 + r * Math.cos( angle * i ), y1 + r * Math.sin( angle * i ) );
52             }
53             this.oGc.closePath();
54             this.oGc[this.paintType]();
55         }
56     }
文章标题:[js高手之路]html5 canvas动画教程 - 自己动手做一个类似windows的画图软件
文章链接:http://soscw.com/essay/82683.html