51.Qt-使用ajax获取ashx接口的post数据
2021-05-07 14:29
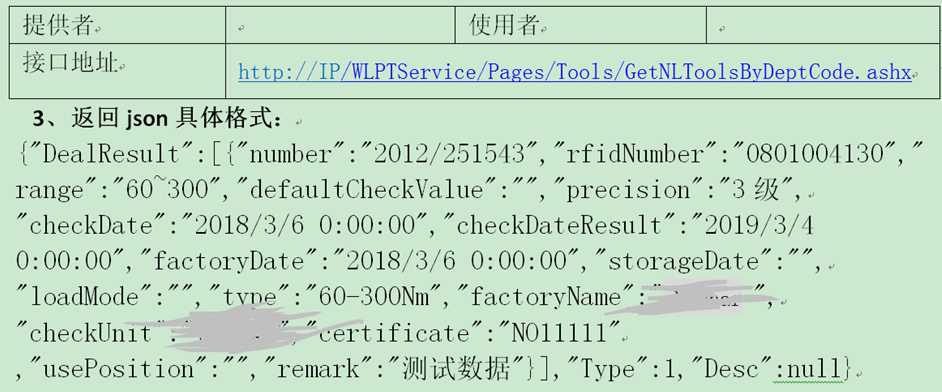
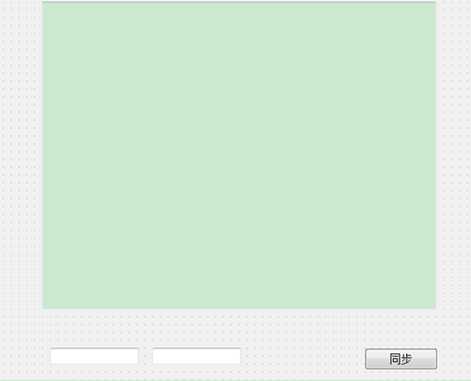
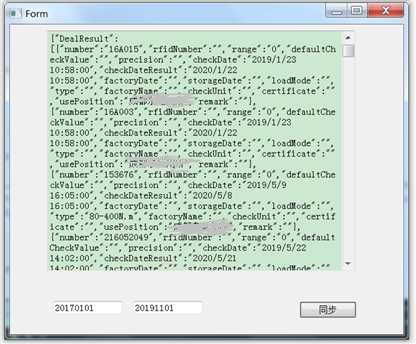
标签:使用 对象 import fail edit 接口 type https names 由于当前C++项目需要使用ajax库去post调用ashx接口,接口地址如下所示: 需要传递的参数如下: 然后发现qml比较好调用ajax.js库,所以本章通过C++界面去获取qml方法来实现调用ashx接口(以一个C++界面demo程序为例) 1.抓post数据 通过网页获取到的post数据如下所示: 所以查询20191121~20191122期间时则填入内容: "deptCode=021&startDate=20191121&endDate=20191122" 2.导入ajax.js库 ajax.js文件如下所示: 3.写main.qml 这里表示定义一个getWrenchTools()方法,当post成功并返回数据时,则调用Widget.invokeFunc()回调函数(Widget: 该qml对应的C++类,后面会讲怎么捆绑的) 4.widget界面如下 然后写widget.h 写widget.cpp 由于engineObject指向运行中的qml对象,然后我们通过invokeMethod()就可以方便的请求调用qml对象中的getWrenchTools()函数.从而实现post请求 点击同步后,效果如下所示(然后可以参考50.Qt-QJsonDocument读写json来提取数据): 51.Qt-使用ajax获取ashx接口的post数据 标签:使用 对象 import fail edit 接口 type https names 原文地址:https://www.cnblogs.com/lifexy/p/12088454.html


// GET
function get(url, success, failure)
{
    var xhr = new XMLHttpRequest;
    xhr.open("GET", url);
    xhr.onreadystatechange = function() {
        handleResponse(xhr, success, failure);
    }
    xhr.send();
}

// POST
function post(url, arg, success, failure)
{
    var xhr = new XMLHttpRequest;
    xhr.open("POST", url);
    xhr.setRequestHeader("Content-Length", arg.length);
    xhr.setRequestHeader("Content-Type", "application/x-www-form-urlencoded;");  //用POST的时候一定要有这句
    xhr.onreadystatechange = function() {
        handleResponse(xhr, success, failure);
    }
    xhr.send(arg);
}

// 处理返回值
function handleResponse(xhr, success, failure){
    if (xhr.readyState == XMLHttpRequest.DONE) {
        if (xhr.status ==  200){
            if (success != null && success != undefined)
            {
                var result = xhr.responseText;
                try{
                    success(result, JSON.parse(result));
                }catch(e){
                    success(result, {});
                }
            }
        }
        else{
            if (failure != null && failure != undefined)
                failure(xhr.responseText, xhr.status);
        }
    }
}
import QtQuick 2.3
import QtQuick.Window 2.2
import "ajax.js" as Ajax
Item {

    function getWrenchTools(deptCode,startDate,endDate) {
        console.log("Got message:", deptCode,startDate,endDate) //打印参数数据

Ajax.post("http://10.194.102.253/WLPTService/Pages/Tools/GetNLToolsByDeptCode.ashx","deptCode="+deptCode+"&startDate="+startDate+"&endDate="+endDate+"",
                  Widget.invokeFunc);

}

#ifndef WIDGET_H
#define WIDGET_H
#include
#include "widget.h"
#include "ui_widget.h"
#include
将QML中的Widget变量指向为当前类.从而使QML和widget类连接起来, 然后main.qml如果post成功则调用当前类的invokeFunc(QVariant data1,QVariant data2)方法,从而实现数据返回.

下一篇:PHP高并发和大流量怎么解决?