vue cli 构建的 webpack 项目设置多页面
2021-05-17 22:29
标签:gre 字符 文件引入 multi .com pen proc less cti ./build/webpack.dev.conf.js 中,修改 new HtmlWebpackPlugin ,一个页面一个实例。 打开 ./config/index.js 配置文件, build 属性中,默认只有一个 index ,在这里添加上自己的其他页面及其路径: 打开 ./build/webpack.prod.conf.js ,修改 new HtmlWebpackPlugin ,同理dev,一个页面一个实例。 webpack注意事项 参考博客: webpack前端构建工具学习总结 vue cli 构建的 webpack 项目设置多页面 标签:gre 字符 文件引入 multi .com pen proc less cti 原文地址:http://www.cnblogs.com/jehorn/p/7741814.html1. webpack-dev-server下的设置(npm run dev)new HtmlWebpackPlugin({
// 打包后文件名
filename: ‘index.html‘,
// html模板
template: ‘./src/views/index.html‘,
// 打包后文件引入位置,[‘body‘|‘head‘],这里的true等同于body
inject: true,
// 引入的入口文件(entry)
chunks: [‘index‘]
}),
new HtmlWebpackPlugin({
filename: ‘login.html‘,
template: ‘./src/views/login.html‘,
inject: true,
chunks: [‘login‘]
}),
2. webpack-build下的设置(npm run build) build: {
env: require(‘./prod.env‘),
index: path.resolve(__dirname, ‘../dist/index.html‘), // index page
login: path.resolve(__dirname, ‘../dist/login.html‘), // login page
assetsRoot: path.resolve(__dirname, ‘../dist‘),
assetsSubDirectory: ‘static‘,
assetsPublicPath: ‘/‘, // 多级路径可以在这里配置, 比如{hostname}/admin/xxx 这里可以写为 ‘/admin/‘
productionSourceMap: true,
productionGzip: false,
productionGzipExtensions: [‘js‘, ‘css‘],
bundleAnalyzerReport: process.env.npm_config_report
}
  new HtmlWebpackPlugin({
      // 注意修改config.build.index,对应上面的config
      filename: process.env.NODE_ENV === ‘testing‘
        ? ‘index.html‘
        : config.build.index,
      // 模板文件路径
      template: ‘./src/views/index.html‘,
      inject: true,
      minify: {
        // 删除注释
        removeComments: true,
        // 删除空格
        collapseWhitespace: true,
        removeAttributeQuotes: true
        // 更多属性参见
        // https://github.com/kangax/html-minifier#options-quick-reference
      },
      // 打包文件,注意公共文件(CommonsChunkPlugin中的name)放在前面
      chunks: [‘manifest‘, ‘vendor‘, ‘index‘],
      // necessary to consistently work with multiple chunks via CommonsChunkPlugin
      chunksSortMode: ‘dependency‘
  }),
  new HtmlWebpackPlugin({
      filename: process.env.NODE_ENV === ‘testing‘
        ? ‘login.html‘
        : config.build.login,
      template: ‘./src/views/login.html‘,
      inject: true,
      minify: {
        removeComments: true,
        collapseWhitespace: true,
        removeAttributeQuotes: true
      },
      chunks: [‘manifest‘, ‘vendor‘, ‘login‘],
      chunksSortMode: ‘dependency‘
  }),
css-loader无需配置,配置后会导致找不到包,vue-cli已经自动配置。
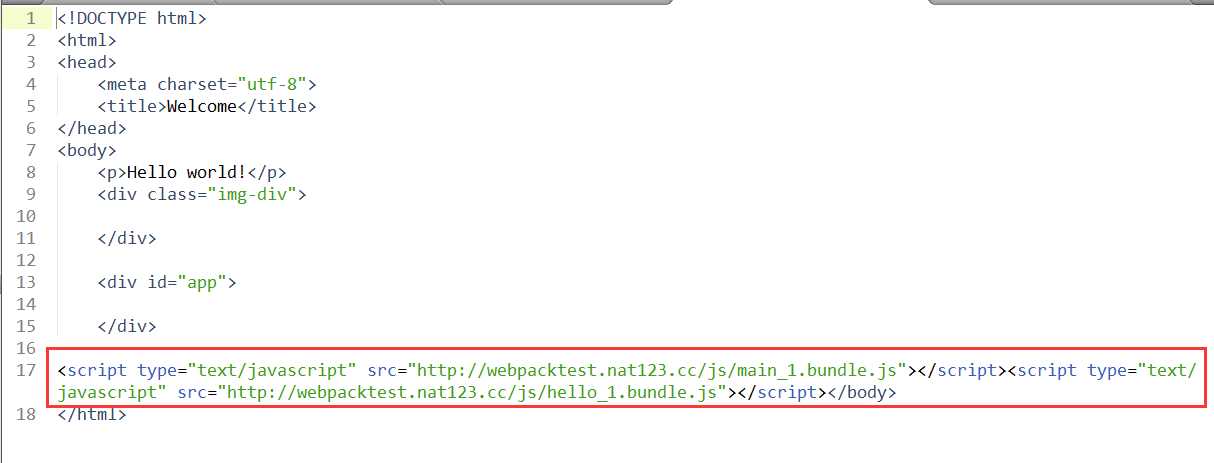
json对象时打包为多个js文件, key 为占位符[name]的值。,是打包后文件存放位置, filename: ‘js/[name].bundle.js‘ ,是打包后文件名, publicPath: ‘http://webpacktest.nat123.cc‘ 是程序上线后的域名,这样HTML中引入的文件就有hostname,如图所示:
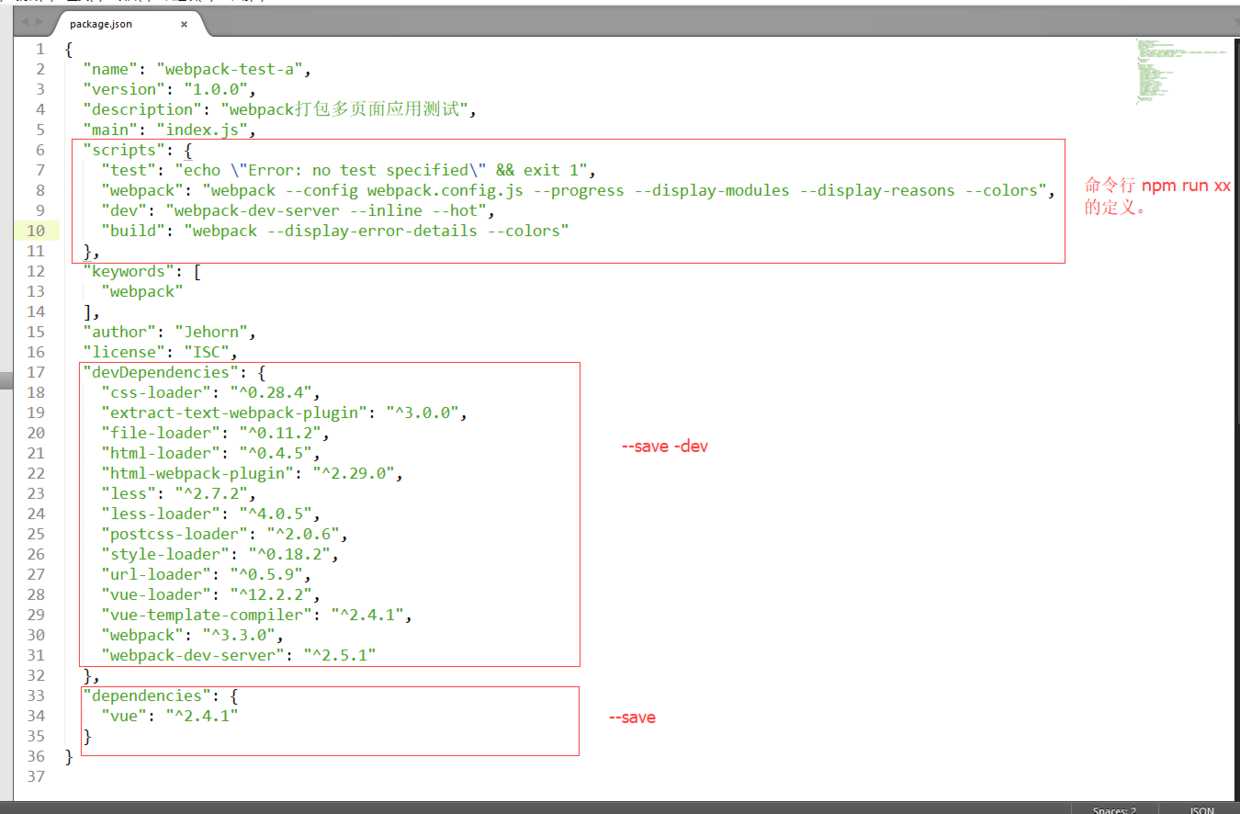
package.json配置文件中,scripts属性可以配置webpack打包设置:"webpack": "webpack --config webpack.config.js --progress --display-modules --display-reasons --colors"。