第一个C# Winform实例
2021-05-22 03:31
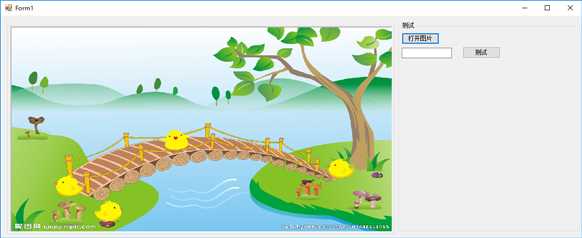
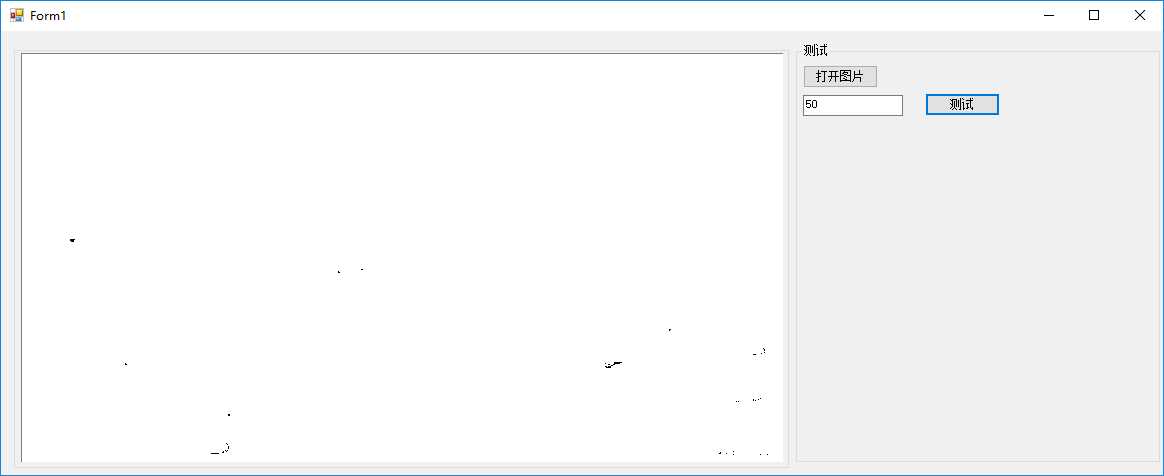
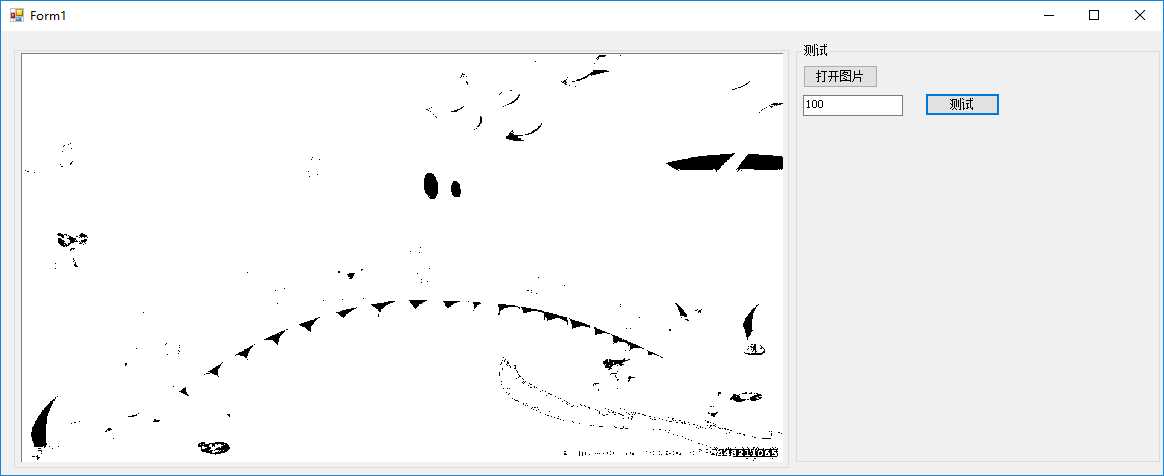
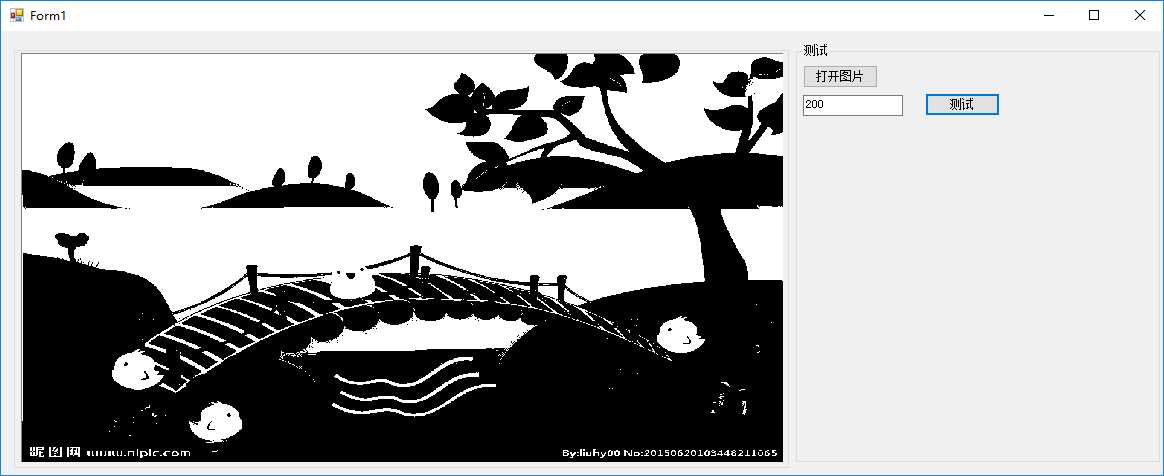
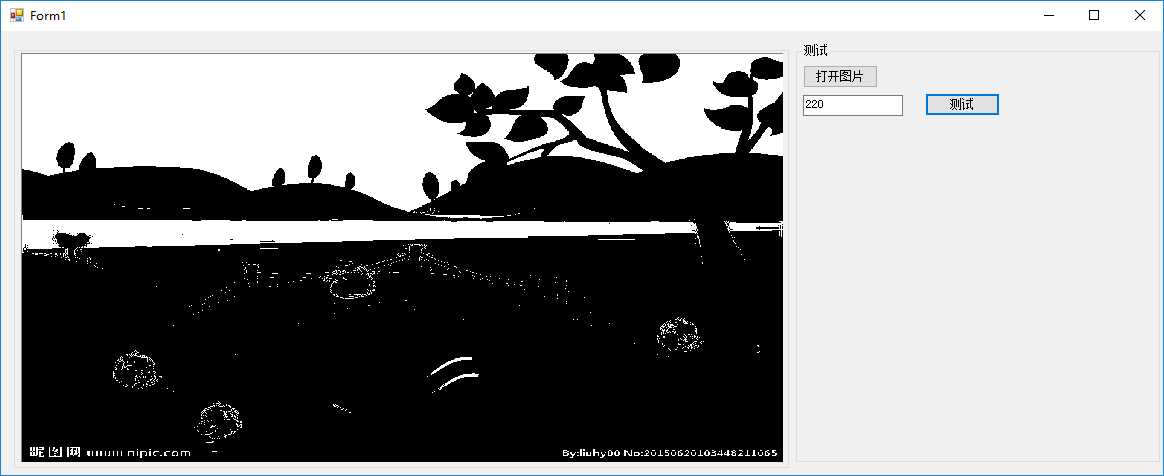
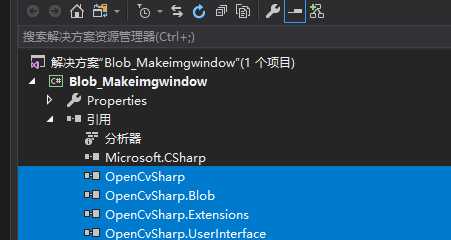
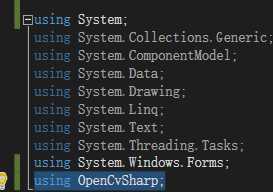
标签:group 问题 搭建 null clone amp jpg his test 前面我们准备好了相关的库,现在开始搭建环境,本人自动化行业,就用Windorm开发吧,例子仅仅做引导,希望大家能深入。VS版本VS2017 1:打开VS建立一个WInform 项目。拉入两个控件,groupbox,picturebox放到左侧,右侧也拉入一个groupbox,里面放入两个button.一个用来选择图片,一个用来测试二值化的效果。UI效果如下: 2:本人系统win10,64位。所以用OpencvSharp的64位库。先在项目里添加引用:(net461版本);然后在类里添加 using OpenCvSharp;最后根据个人项目平台,选择新建X64或者X86,用anycpu 容易出问题。好了,经过上面的准备,OpencvSharp相关库所有的东西都可以调用了。 3:图像少不了显示,我们新建一个类,用来管理OpencvSharp的图片显示。 4.在winform主UI里面初始化一个OpencvSharp的显示窗口:(同时创建一个Mat变量) 5.两个button点击事件: 6.代码敲完。剩下我们测试一下效果: 点击打开图片按钮,选择需要显示的图片,我网上下载了一张,UI那里就有显示了,还是很直观方便的。 接着我们测试一下简单的二值化效果。在text文本框里分别填入50,100,200,220效果分别如下: 本次实例结束。希望大家动手操作,这样才能学习到东西。 各位,如果需要我的源码,请留言,谢谢! 第一个C# Winform实例 标签:group 问题 搭建 null clone amp jpg his test 原文地址:https://www.cnblogs.com/banluqiaodaima/p/11215030.html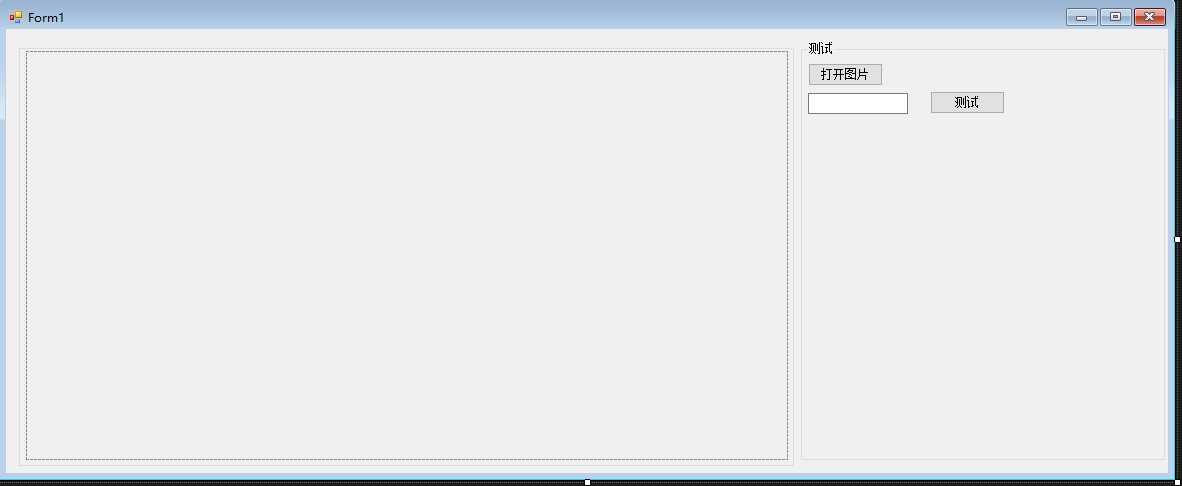

  public class SharpWindows
    {

        [DllImport("user32.dll", SetLastError = true)]
        private static extern IntPtr FindWindow(string lpClassName, string lpWindowName);
        [DllImport("user32.dll", SetLastError = true)]
        private static extern int SetParent(IntPtr hWndChild, IntPtr hWndNewParent);
        private PictureBox pictureBox;
        private Control Parentform;
        public Window Opencvwin;
        public SharpWindows(PictureBox _pictureBox,string winname)
        {
            pictureBox = _pictureBox;
            Cv2.NamedWindow(winname);
            Opencvwin = new Window(winname, WindowMode.FullScreen);
            Cv2.SetWindowProperty(Opencvwin.Name, WindowProperty.Fullscreen, 1);
            IntPtr Childwin = FindWindow(null, winname);
            SetParent(Childwin, _pictureBox.Handle);
            Parentform = Control.FromHandle(_pictureBox.Handle);

        }
        public void Showimg(Mat img)
        {
            try
            {
                int width = Parentform.Width;
                int height = Parentform.Height;
                Cv2.ResizeWindow(Opencvwin.Name, width, height);
                Cv2.MoveWindow(Opencvwin.Name, Parentform.Left, Parentform.Top);
                Cv2.SetWindowProperty(Opencvwin.Name, WindowProperty.Fullscreen, 1);
                Opencvwin.ShowImage(img);

            }
            catch(Exception ex)
            {
                throw (ex);

            }

        }
    }
 SharpWindows Imgwindow;
        Mat rawimg;
        public OpencvSharpWindow()
        {
            InitializeComponent();
            Imgwindow = new SharpWindows(this.pictureBox1, "MainUIwindow");
        }
  private void button_Openpic_Click(object sender, EventArgs e)
        {
            try
            {
               var filename= OpenfileDlg();
                if(filename!=null&& filename!="")
                {
                    Mat img = Cv2.ImRead(filename);
                    Imgwindow.Showimg(img);
                    rawimg = img.Clone();
                    img.Dispose();
                }

            }
            catch(Exception ex )
            {
                throw (ex);

            }
        }
        private static string OpenfileDlg(string Defaultpath = null)
        {
            OpenFileDialog ofd = new OpenFileDialog();
            ofd.Title = "请选择要打开的文件";
            //多选
            ofd.Multiselect = true;
            //初始目录
            ofd.InitialDirectory = Defaultpath;
            //设定文件类型
            //   ofd.Filter = "*.bmp | *.jpg";

            ofd.ShowDialog();

            //获得在打开文件对话框中选择的文件的路径
            string path = ofd.FileName;
            return path;
        }

        private void button_Test_Click(object sender, EventArgs e)
        {
            try
            {
                if(rawimg!=null)
                {
                    //转灰度
                    Mat grayimg;
                    if (rawimg.Channels()==3)
                    {
                        grayimg = rawimg.CvtColor(ColorConversionCodes.BGR2GRAY);

                    }
                    else
                    {
                        grayimg = rawimg.Clone();
                    }
                    Imgwindow.Showimg(grayimg);
                    //bin
                    double dvalue = 0;
                    double.TryParse(textBox_ThreshValue.Text, out dvalue);
                    if(dvalue==0)
                    {
                        dvalue = 10;
                    }

                    Mat binimg = grayimg.Threshold(dvalue, 255, ThresholdTypes.Binary);
                    Imgwindow.Showimg(binimg);
                    grayimg.Dispose();
                    binimg.Dispose();

                }

            }
            catch(Exception ex)
            {
                throw (ex);
            }

        }
