Spring配置多数据源
2020-12-20 05:34
标签:control red 数据库 require tran extern rmi map created 这里以配置两个mysql数据库为展示用例。持久层使用mybatis实现。两个连接分别使用不同的连接池 druid 和 hikari 这里介绍了一些相关的知识点,清楚后可以跳过 在pom依赖上它们是两个不同的依赖文件。 mybatis-spring-boot-starter类似一个中间件,链接Springboot和mybatis,构建基于Springboot的mybatis应用程序。同时mybatis-spring-boot-starter作为一个集成包是包含mybatis的。 mybatis-spring-boot-starter作为一个集成包,如果在项目里引入了该依赖那就不需要在显示的依赖spring-boot-starter-jdbc,因为mybatis-spring-boot-starter是包含spring-boot-starter-jdbc的。 作为一个集成包,可以看到包含了mybatis、mybatis-spring、spring-boot-starter-jdbc。 @ConfigurationProperties和@PropertySource都是用来读取Spring的配置文件的,有三种配置方式 测试用例 测试用例 测试用例 基于环境背景信息,mysql数据库,mybatis持久层,三方数据源druid。添加配置信息如下: 既然是多数据源的配置操作,那就是配置数据源信息了。配置方式有两种: 这里以配置文件中为例说明。 已经对信息进行了配置,下面就是对配置信息的使用了。 建议将需要的都创建好,这样方便做一些优化,比如超时时间、最大连接数、事务的处理方式 bar数据源的配置和foo的模式是一样的,代码如下: 两个数据源foo和bar连接的数据库分别是readinglist和shiro,分别以readinglist数据库例的foo表和tpermission表为例。 Spring配置多数据源 标签:control red 数据库 require tran extern rmi map created 原文地址:https://www.cnblogs.com/lucky9322/p/13326622.html环境背景
相关知识
mybatis和mybatis-spring-boot-starter的关系
mybatis-spring-boot-starter和spring-boot-starter-jdbc
mybatis-spring-boot-starter的集成
Spring自动装配的相关注解
@Autowired
@Qualifire
    /**
     * 得到数据源
     * 定义一个名字为barDataSource的数据源
     *
     * @return
     */
    @Bean("barDataSource")
    public DataSource barDataSource() {
        DataSourceProperties dataSourceProperties = barDataSourceProperties();
        log.info("bar datasource url:{}", dataSourceProperties.getUrl());
        log.info("{}", dataSourceProperties.getType().getName());
        return dataSourceProperties.initializeDataSourceBuilder().build();
    }

    /**
     * 定义一个名字为 barSqlSessionFactory 的SqlSession工厂,实现的时候使用名字为barDataSource的数据源去实现
     * @param dataSource
     * @return
     * @throws Exception
     */
    @Bean("barSqlSessionFactory")
    public SqlSessionFactory sqlSessionFactory(@Qualifier("barDataSource") DataSource dataSource) throws Exception {
        SqlSessionFactoryBean bean = new SqlSessionFactoryBean();
        bean.setDataSource(dataSource);
        bean.setMapperLocations(new PathMatchingResourcePatternResolver().getResources(MAPPER_LOCATION));
        return bean.getObject();
    }
@Qualifier指定使用名字为barDataSource数据源对象@Primary
@Resource
@ConfigurationProperties和@PropertySource
第一种
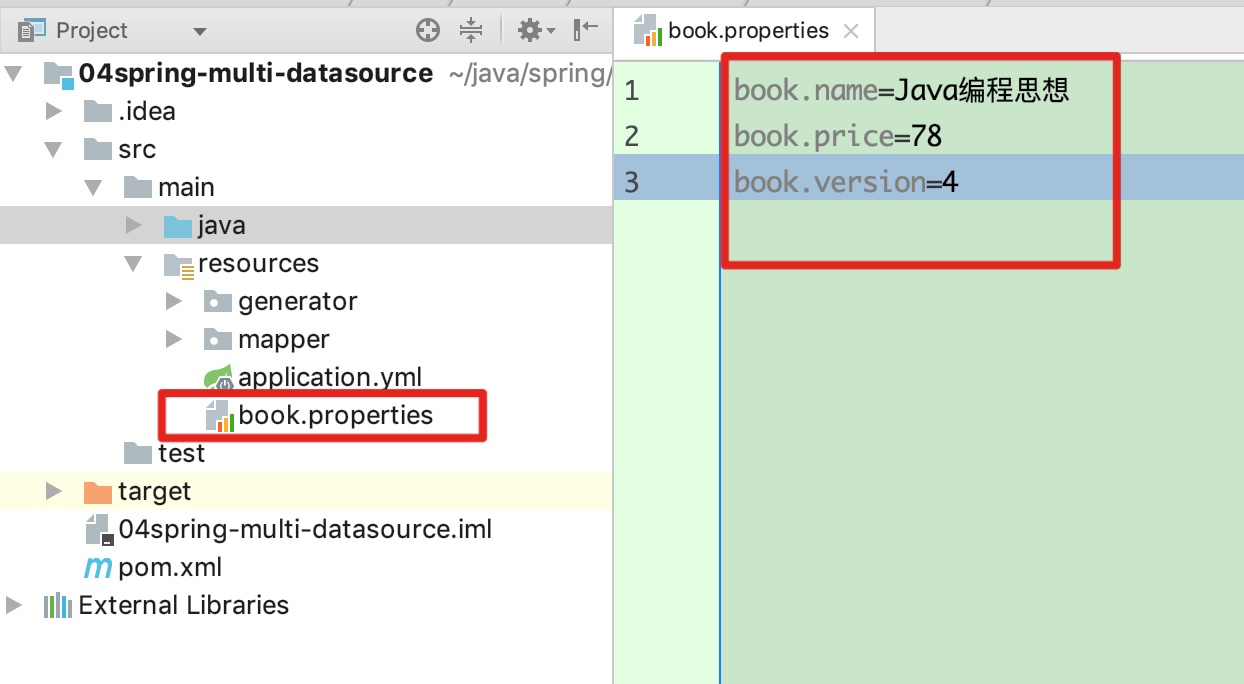
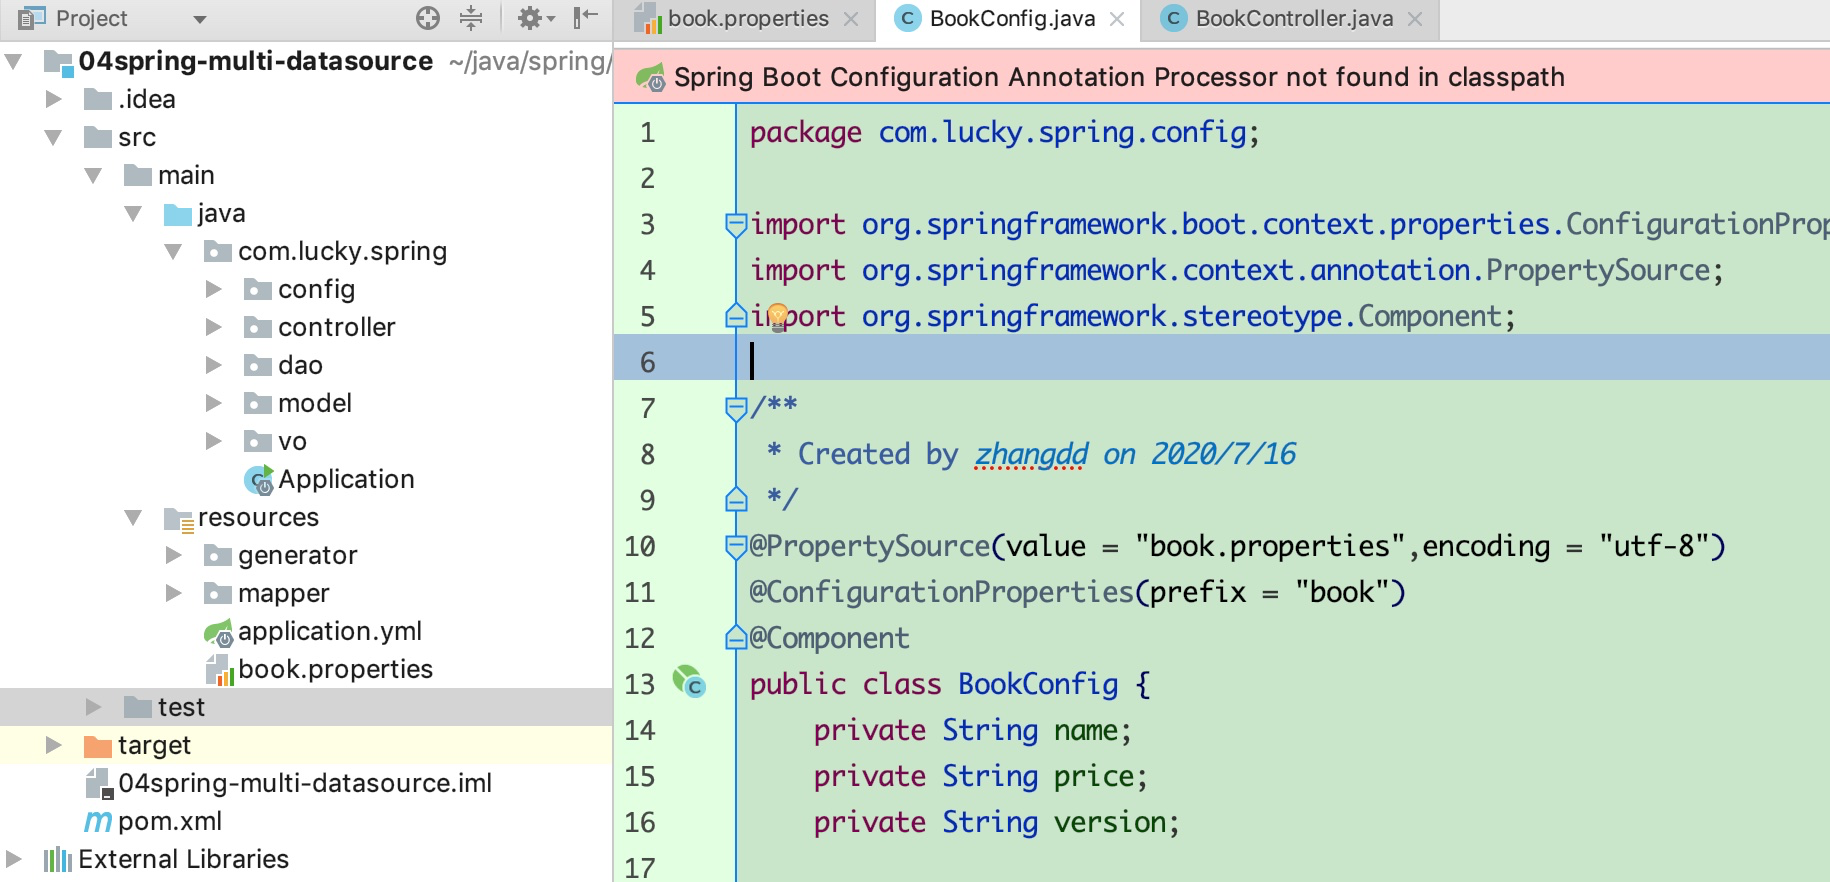
package com.lucky.spring.config;

import org.springframework.boot.context.properties.ConfigurationProperties;
import org.springframework.context.annotation.PropertySource;
import org.springframework.stereotype.Component;

/**
 * Created by zhangdd on 2020/7/16
 */
@PropertySource(value = "book.properties",encoding = "utf-8")
@ConfigurationProperties(prefix = "book")
@Component
public class BookConfig {
    private String name;
    private String price;
    private String version;

    public String getName() {
        return name;
    }

    public String getPrice() {
        return price;
    }

    public String getVersion() {
        return version;
    }

    public void setName(String name) {
        this.name = name;
    }

    public void setPrice(String price) {
        this.price = price;
    }

    public void setVersion(String version) {
        this.version = version;
    }
}
@RestController
public class BookController {

    @Autowired
    BookConfig bookConfig;

    @GetMapping("/api/queryBook")
    public String queryBook() {
        StringBuilder builder = new StringBuilder();
        StringBuilder bookInfo = builder.append(bookConfig.getName())
                .append(",")
                .append(bookConfig.getPrice())
                .append(",")
                .append(bookConfig.getVersion());
        return bookInfo.toString();
    }
}
第二种
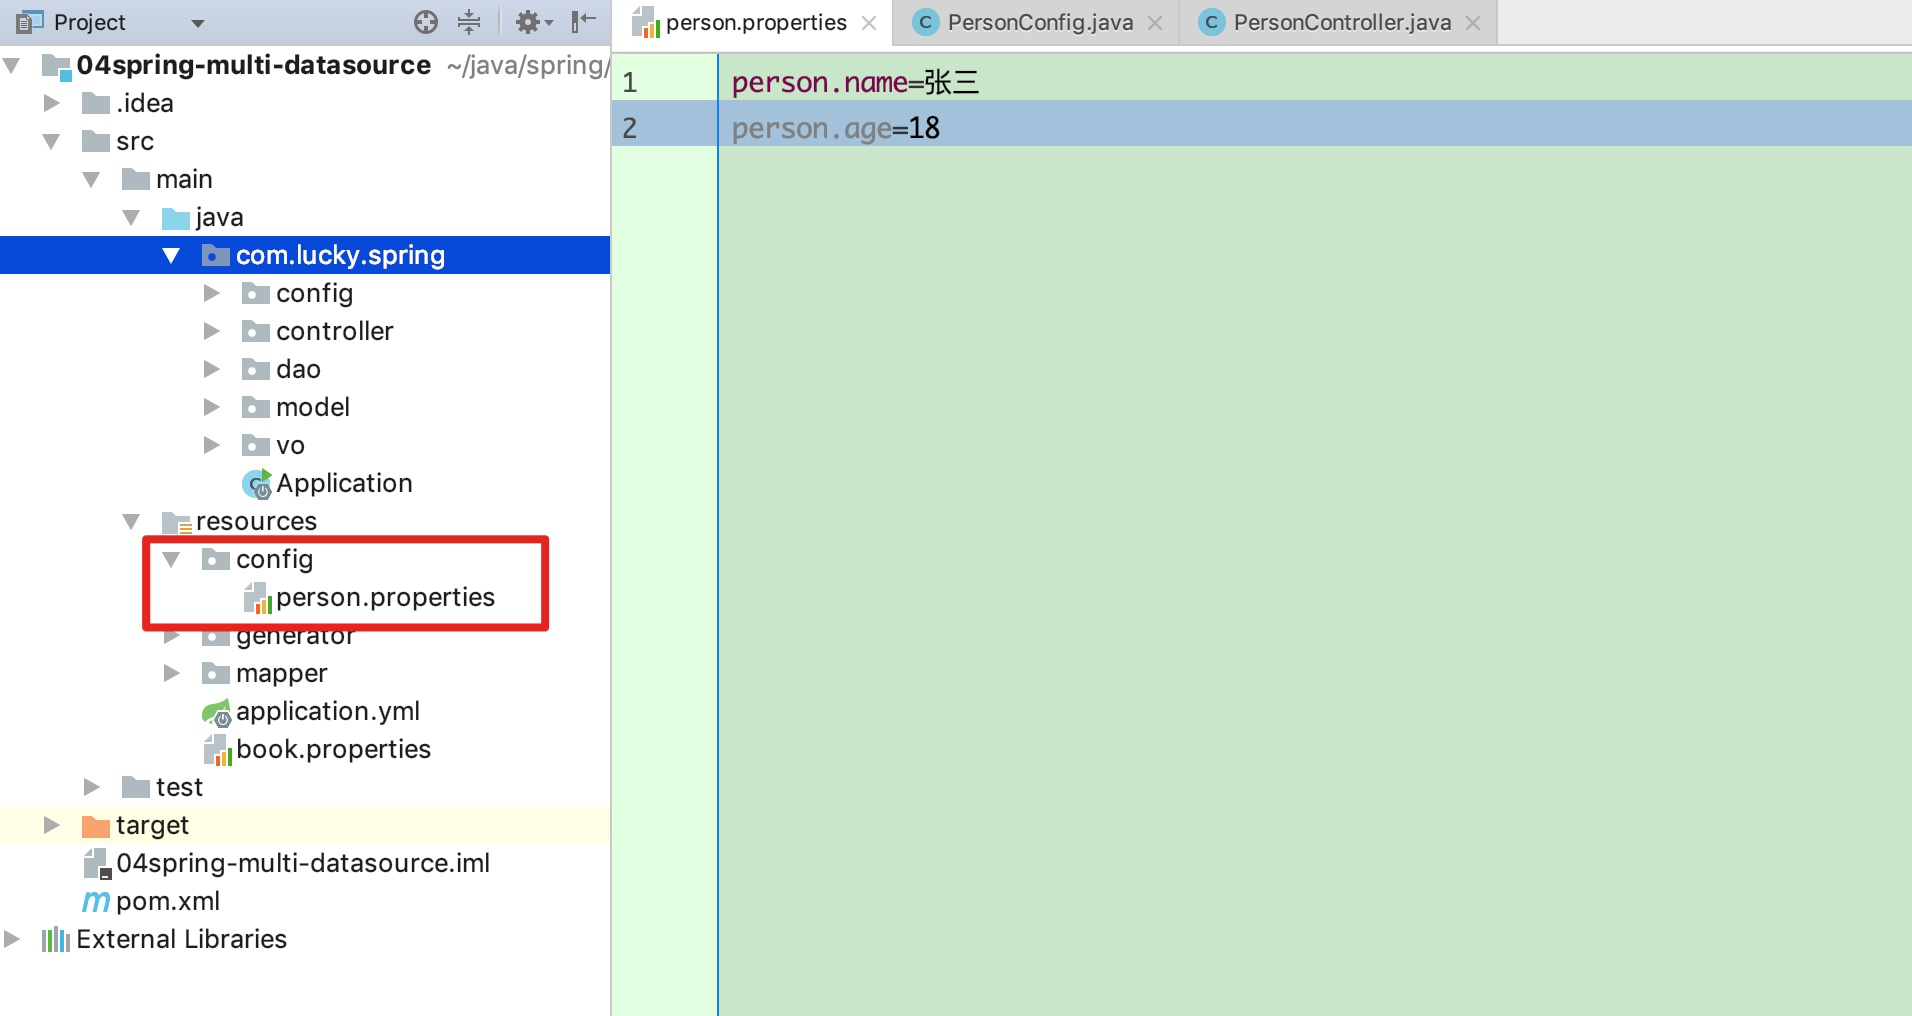
person.name=张三
person.age=18

package com.lucky.spring.config;

import org.springframework.boot.context.properties.ConfigurationProperties;
import org.springframework.context.annotation.PropertySource;
import org.springframework.stereotype.Component;

/**
 * Created by zhangdd on 2020/7/16
 */
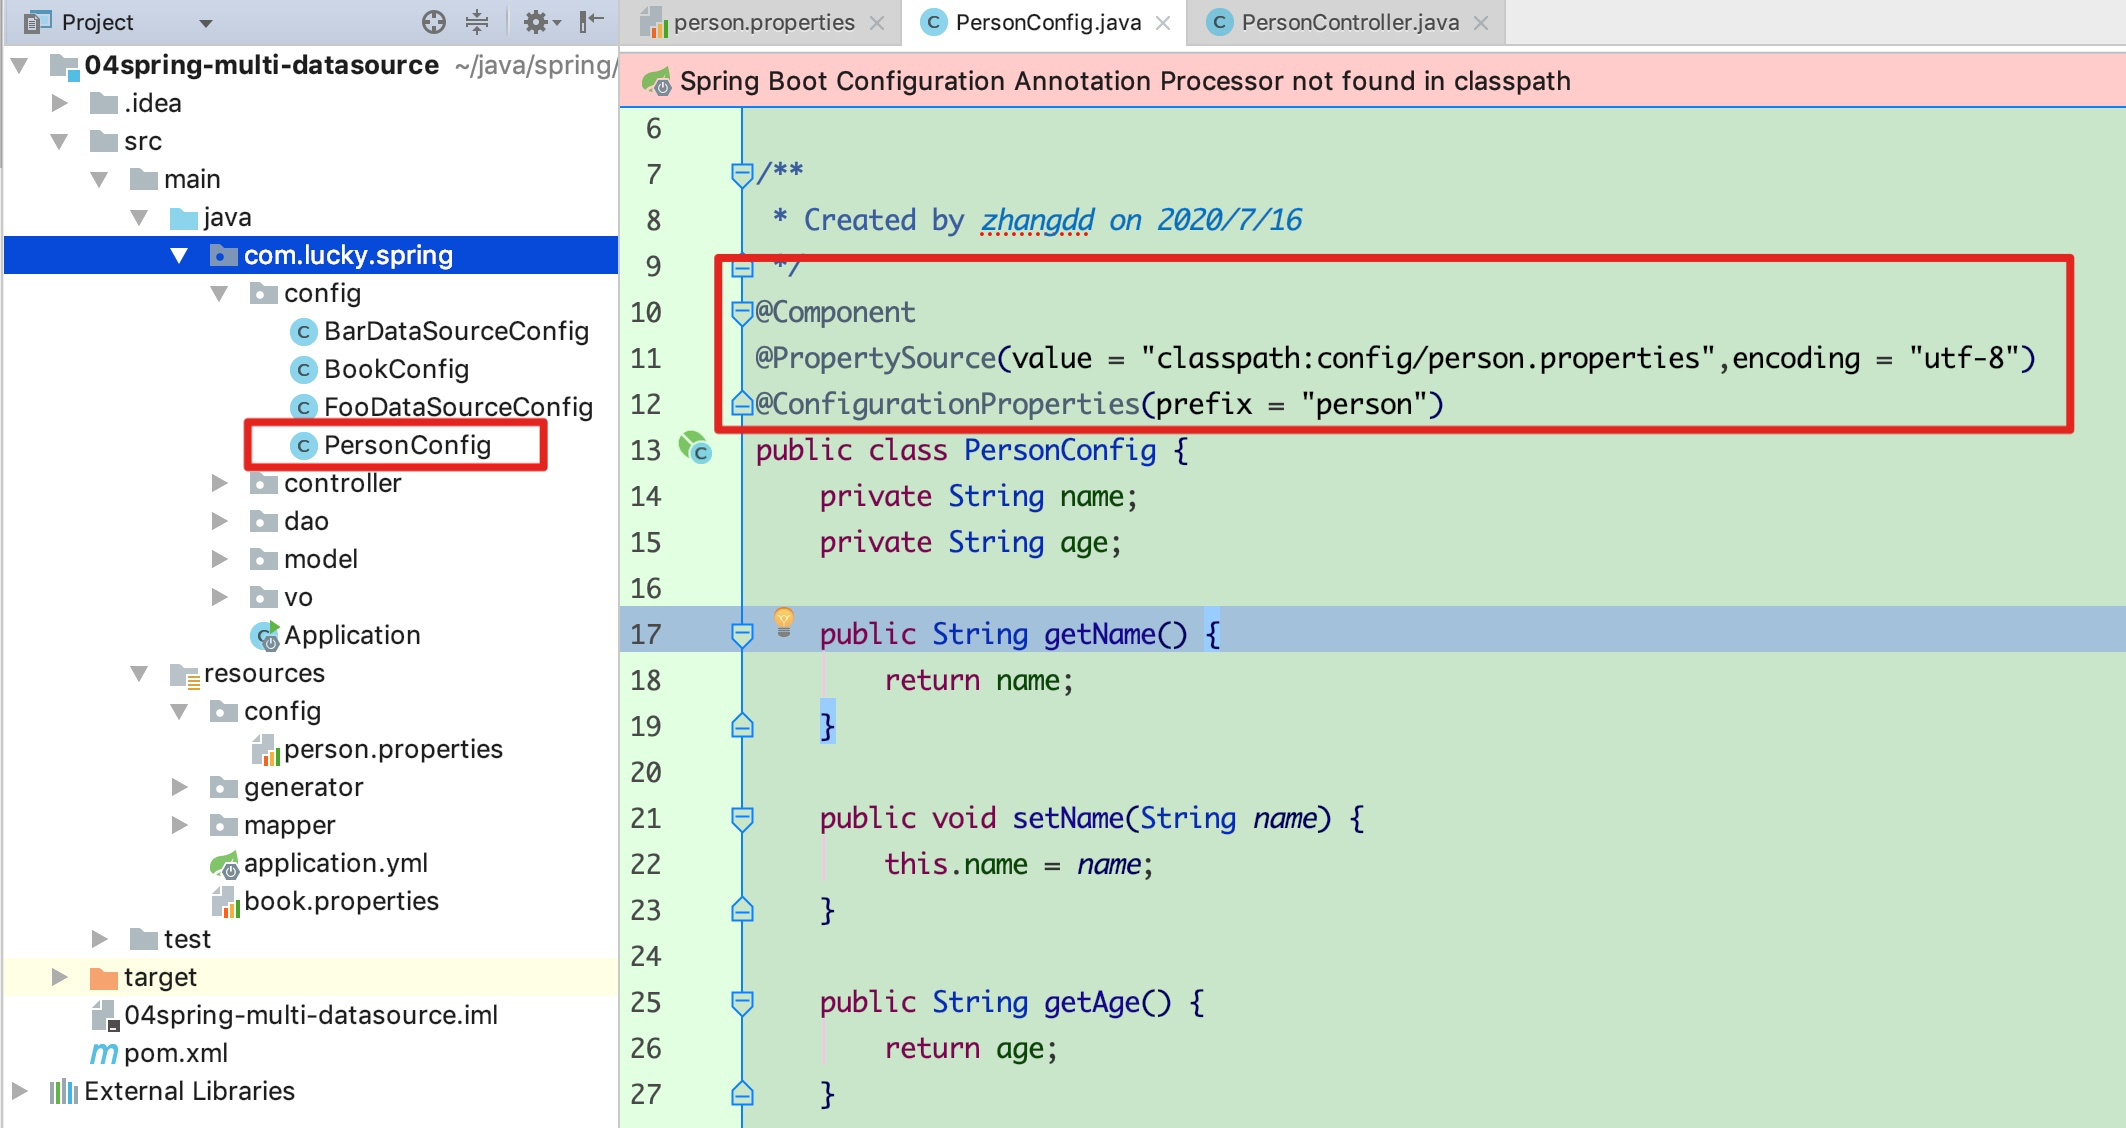
@Component
@PropertySource(value = "classpath:config/person.properties",encoding = "utf-8")
@ConfigurationProperties(prefix = "person")
public class PersonConfig {
    private String name;
    private String age;

    public String getName() {
        return name;
    }

    public void setName(String name) {
        this.name = name;
    }

    public String getAge() {
        return age;
    }

    public void setAge(String age) {
        this.age = age;
    }
}
public class PersonController {

    @Autowired
    PersonConfig personConfig;

    @GetMapping("/api/queryPersonInfo")
    public String queryPersonInfo() {
        StringBuilder builder = new StringBuilder();
        builder.append(personConfig.getName())
                .append(",")
                .append(personConfig.getAge());
        return builder.toString();
    }
}
第三种
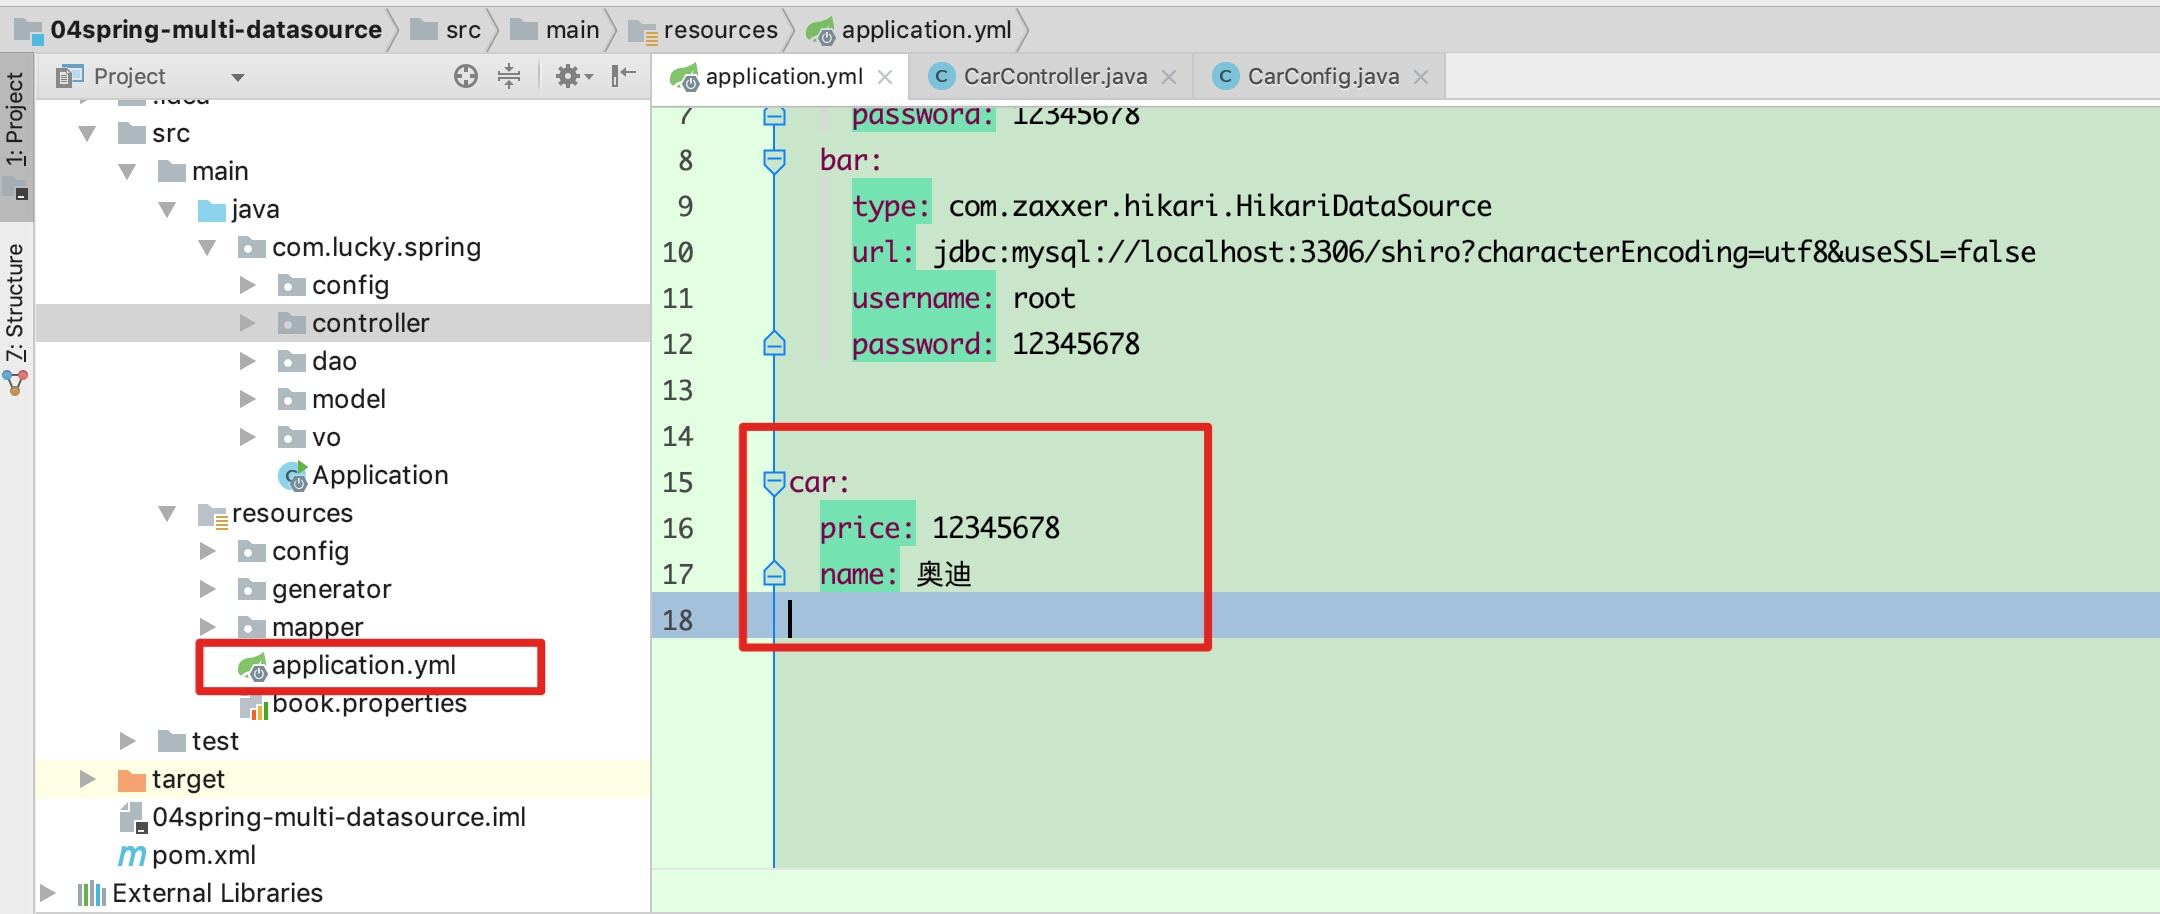
car:
  price: 12345678
  name: 奥迪

 package com.lucky.spring.config;

import org.springframework.boot.context.properties.ConfigurationProperties;
import org.springframework.stereotype.Component;

/**
 * Created by zhangdd on 2020/7/16
 */
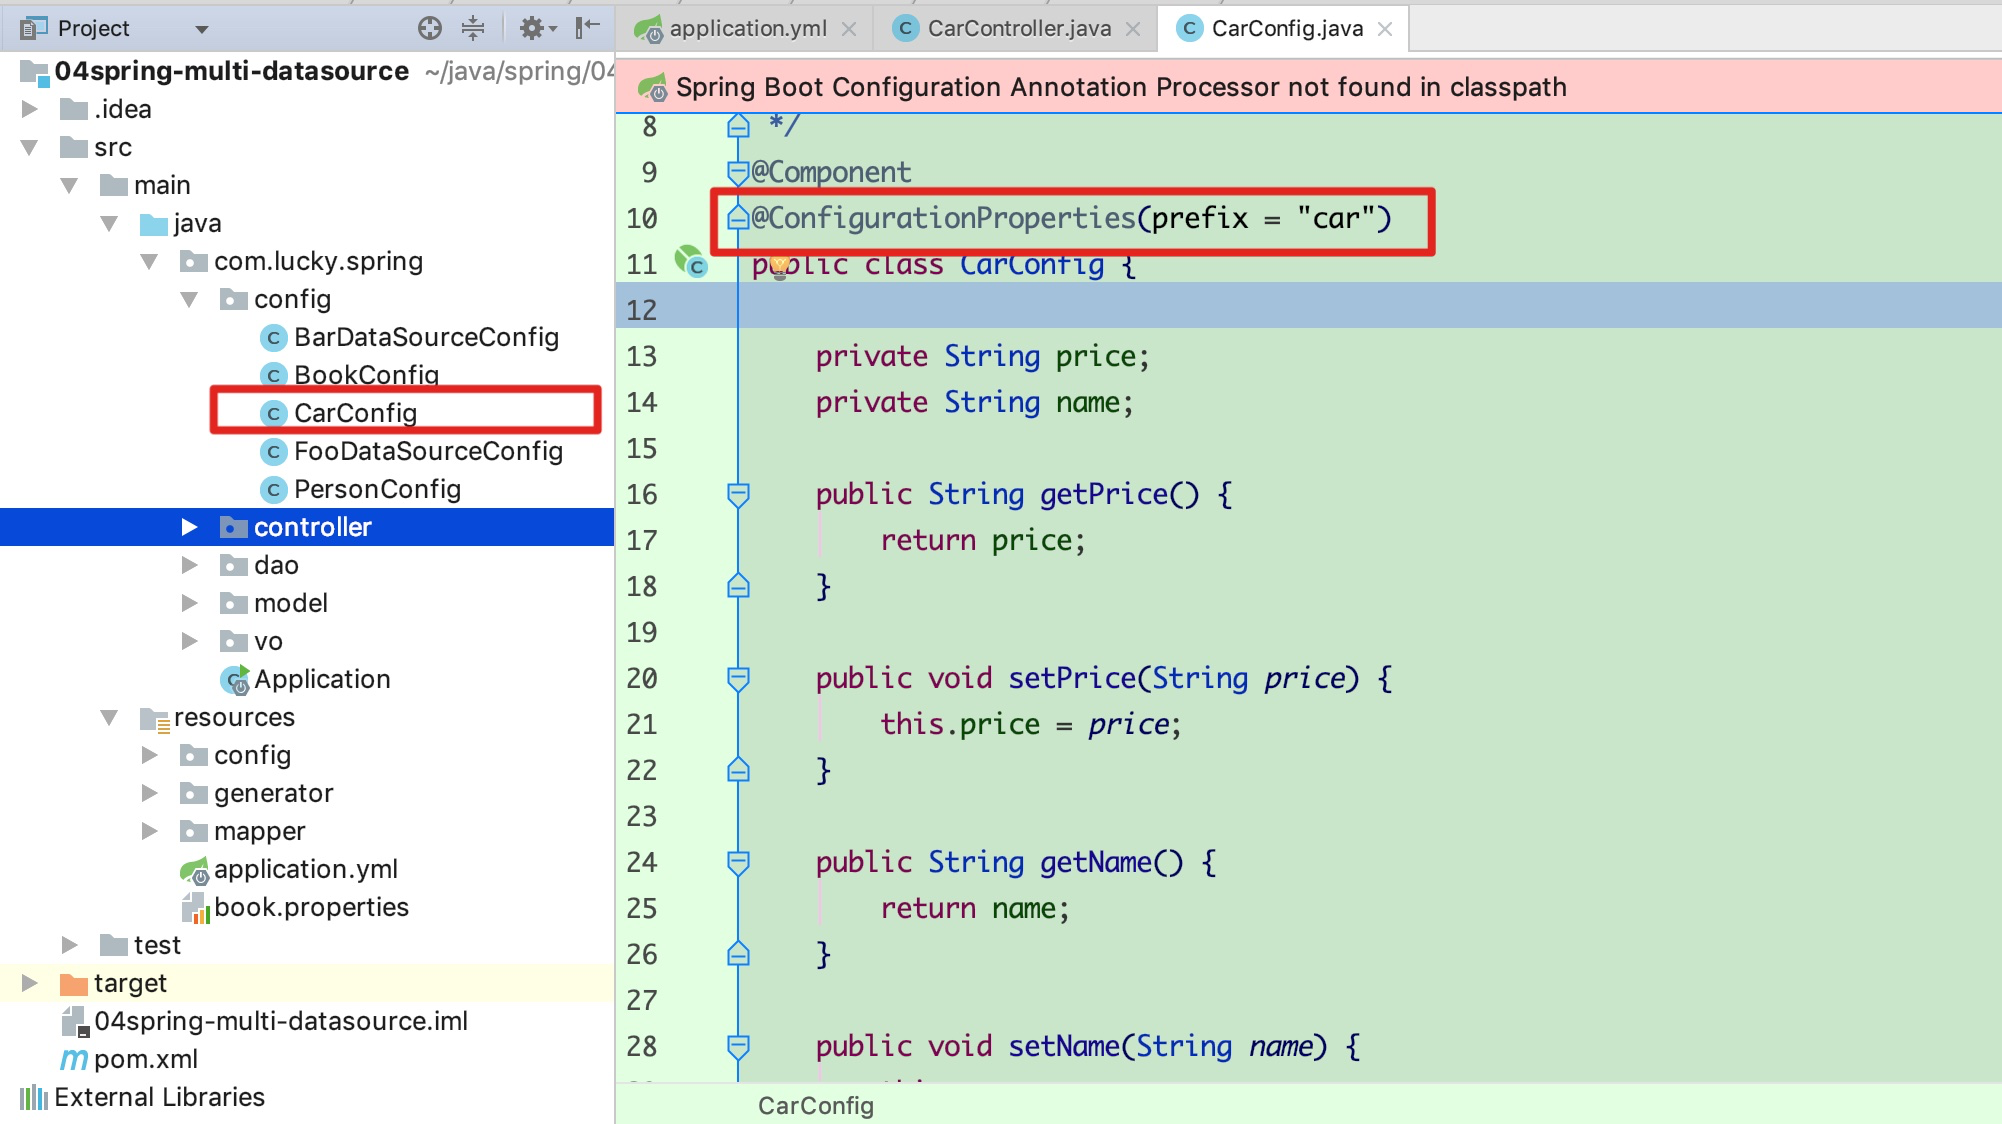
@Component
@ConfigurationProperties(prefix = "car")
public class CarConfig {

    private String price;
    private String name;

    public String getPrice() {
        return price;
    }

    public void setPrice(String price) {
        this.price = price;
    }

    public String getName() {
        return name;
    }

    public void setName(String name) {
        this.name = name;
    }
}
package com.lucky.spring.controller;

import com.lucky.spring.config.CarConfig;
import org.springframework.beans.factory.annotation.Autowired;
import org.springframework.web.bind.annotation.GetMapping;
import org.springframework.web.bind.annotation.RestController;

/**
 * Created by zhangdd on 2020/7/16
 */
@RestController
public class CarController {

    @Autowired
    CarConfig carConfig;

    @GetMapping("/api/queryCarInfo")
    public String queryCarInfo() {
        StringBuilder builder = new StringBuilder();
        builder.append(carConfig.getName())
                .append(",")
                .append(carConfig.getPrice());
        return builder.toString();
    }
}
多数据源配置使用
相关依赖配置
连接信息配置
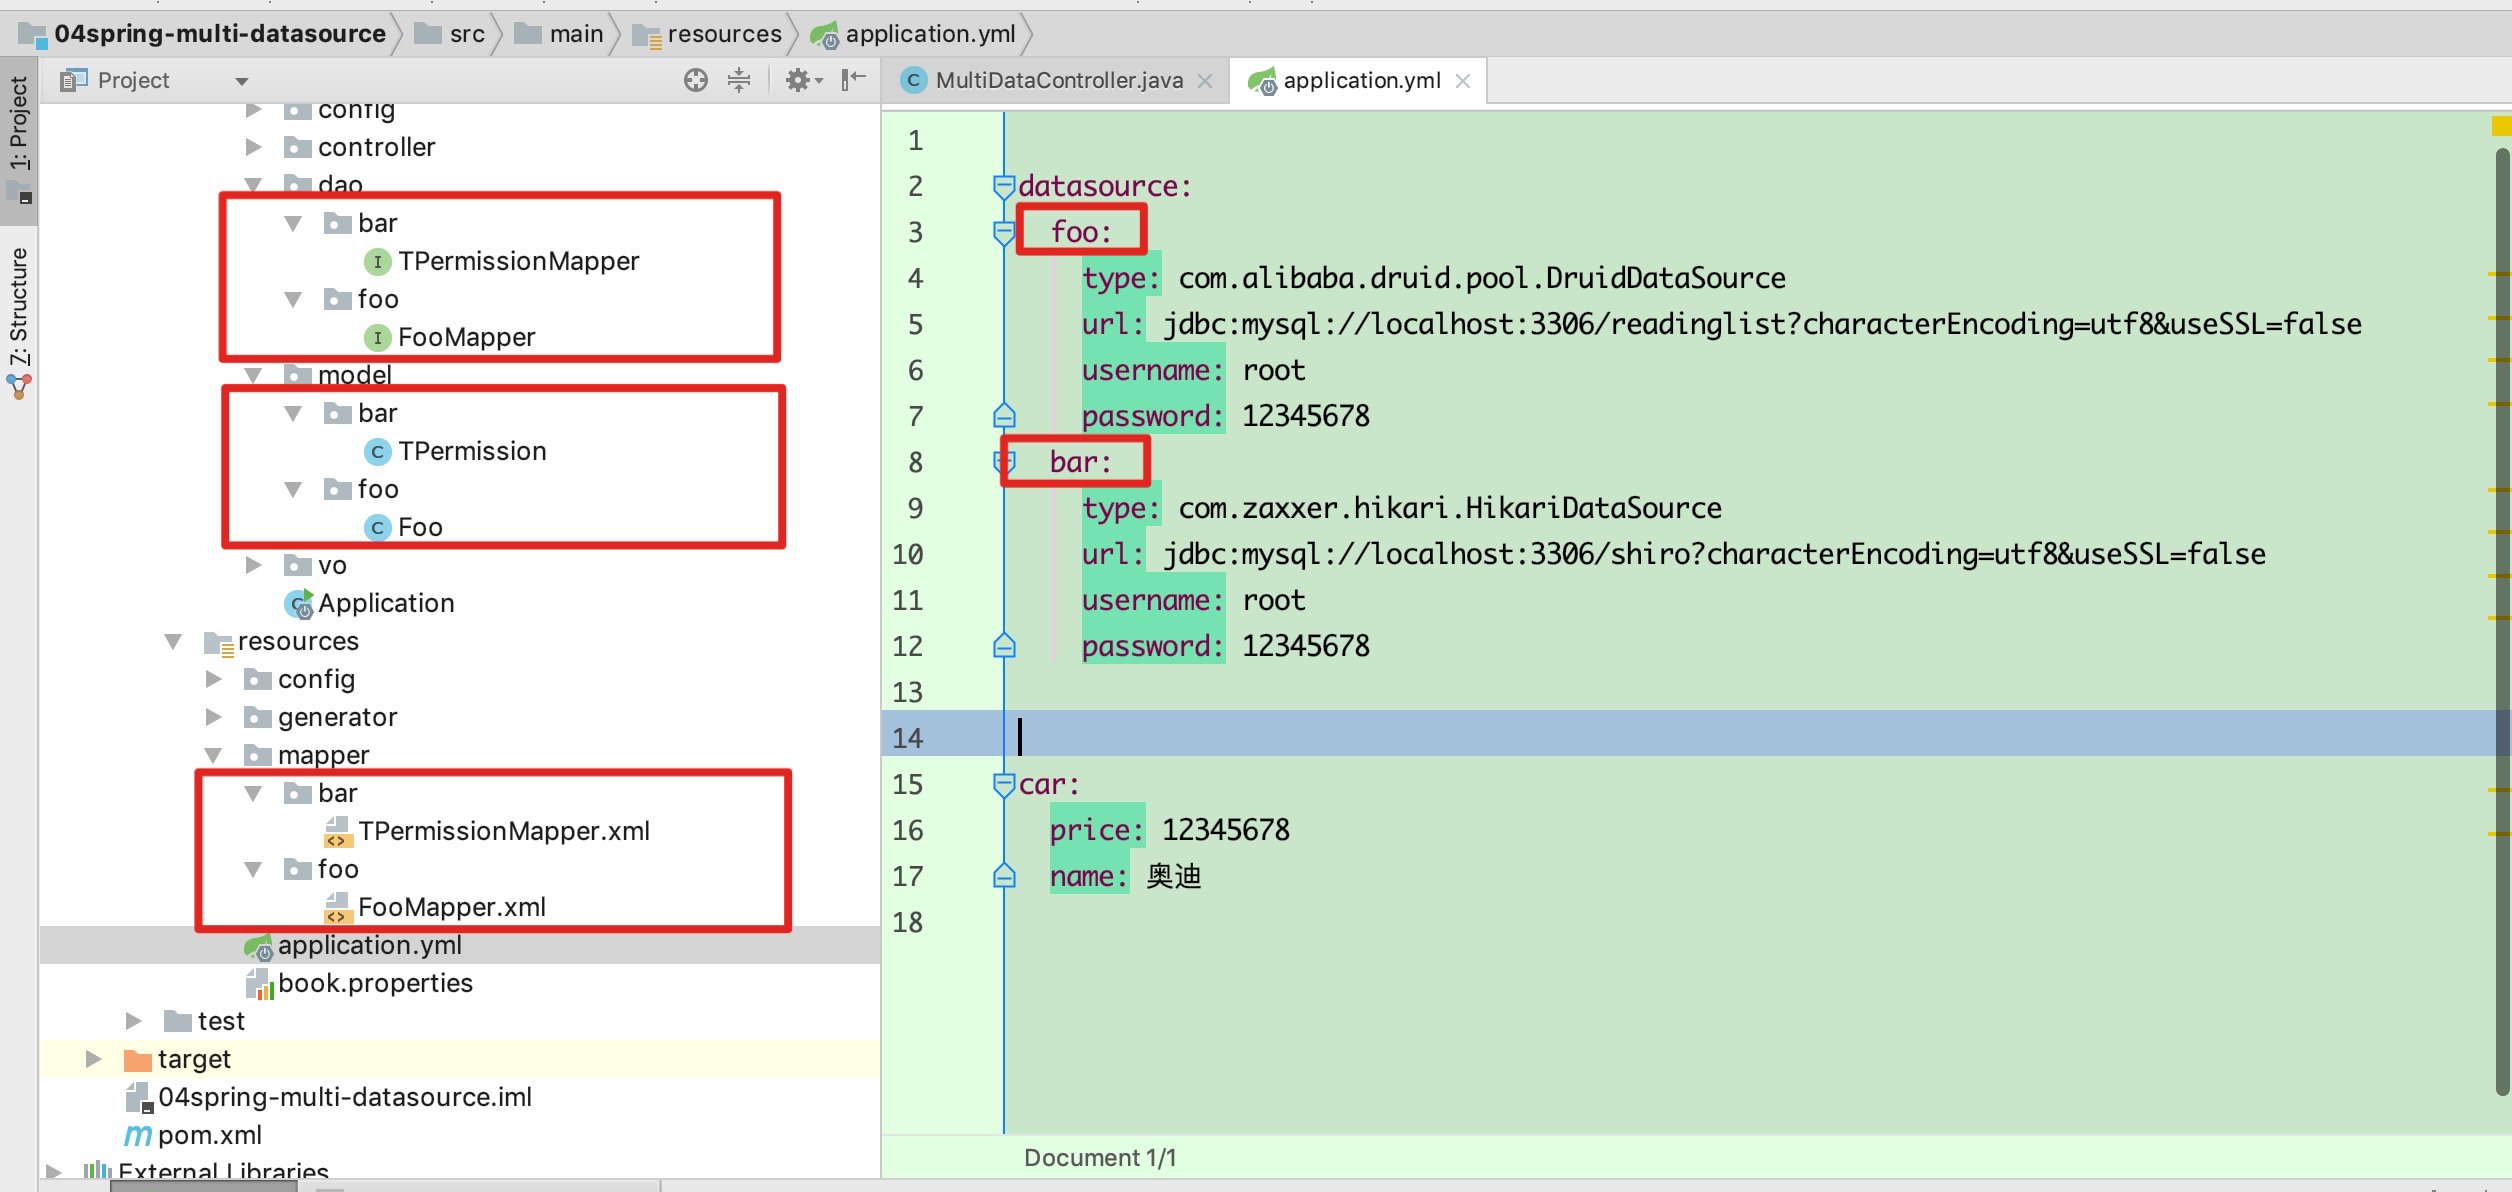
datasource:
  foo:
    type: com.alibaba.druid.pool.DruidDataSource
    url: jdbc:mysql://localhost:3306/readinglist?characterEncoding=utf8&useSSL=false
    username: root
    password: 12345678
  bar:
    type: com.zaxxer.hikari.HikariDataSource
    url: jdbc:mysql://localhost:3306/shiro?characterEncoding=utf8&useSSL=false
    username: root
    password: 12345678
使用配置信息
foo数据源的配置
package com.lucky.spring.config;

import lombok.extern.slf4j.Slf4j;
import org.apache.ibatis.session.SqlSessionFactory;
import org.mybatis.spring.SqlSessionFactoryBean;
import org.mybatis.spring.SqlSessionTemplate;
import org.mybatis.spring.annotation.MapperScan;
import org.springframework.beans.factory.annotation.Qualifier;
import org.springframework.boot.autoconfigure.jdbc.DataSourceProperties;
import org.springframework.boot.context.properties.ConfigurationProperties;
import org.springframework.context.annotation.Bean;
import org.springframework.context.annotation.Configuration;
import org.springframework.context.annotation.Primary;
import org.springframework.core.io.support.PathMatchingResourcePatternResolver;
import org.springframework.jdbc.datasource.DataSourceTransactionManager;

import javax.sql.DataSource;

/**
 * Created by zhangdd on 2020/7/13
 */
@Configuration
@Slf4j
@MapperScan(basePackages = "com.lucky.spring.dao.foo", sqlSessionFactoryRef = "fooSqlSessionFactory")
public class FooDataSourceConfig {


    static final String MAPPER_LOCATION = "classpath:mapper/foo/*.xml";
    //=========foo 数据源相关配置 start==================================================


    @Bean
    @Primary// 该注解是指当有多个相同的bean时,优先使用用@Primary注解的bean
    @ConfigurationProperties("datasource.foo")
    public DataSourceProperties fooDataSourceProperties() {
        return new DataSourceProperties();
    }

    /**
     * 返回 foo 对应的数据源
     *
     * @return
     */
    @Bean("fooDataSource")
    @Primary
    public DataSource fooDataSource() {
        DataSourceProperties dataSourceProperties = fooDataSourceProperties();
        log.info("foo datasource url:{}", dataSourceProperties.getUrl());
        log.info("{}", dataSourceProperties.getType().getName());
        return dataSourceProperties.initializeDataSourceBuilder().build();
    }


    /**
     * 返回foo 对应数据库的会话工厂
     *
     * @param ds
     * @return
     */
    @Bean(name = "fooSqlSessionFactory")
    @Primary
    public SqlSessionFactory sqlSessionFactory(@Qualifier("fooDataSource") DataSource ds) throws Exception {
        SqlSessionFactoryBean bean = new SqlSessionFactoryBean();
        bean.setDataSource(ds);
        bean.setMapperLocations(new PathMatchingResourcePatternResolver().getResources(MAPPER_LOCATION));
        return bean.getObject();
    }

    /**
     * foo 对应的数据库会话模版
     *
     * @param sessionFactory
     * @return
     */
    @Bean("fooSqlSessionTemplate")
    @Primary
    public SqlSessionTemplate sqlSessionTemplate(@Qualifier("fooSqlSessionFactory") SqlSessionFactory sessionFactory) {
        log.info("sessionFactory:{}", sessionFactory.toString());
        return new SqlSessionTemplate(sessionFactory);
    }

    /**
     * 返回 foo 对应的数据库事务
     *
     * @param fooDatasource
     * @return
     */
    @Bean
    @Primary
    public DataSourceTransactionManager fooTxManager(@Qualifier("fooDataSource") DataSource fooDatasource) {
        return new DataSourceTransactionManager(fooDatasource);
    }

    //=========foo 数据源相关配置 end==================================================


}
@ConfigurationProperties("datasource.foo")来装载yml文件例的配置信息DataSource,这里调用第一步获取配置信息。如果不在yml文件例进行配置,也可以全部在这里使用Java代码实现bar数据源的配置
package com.lucky.spring.config;

import lombok.extern.slf4j.Slf4j;
import org.apache.ibatis.session.SqlSessionFactory;
import org.mybatis.spring.SqlSessionFactoryBean;
import org.mybatis.spring.SqlSessionTemplate;
import org.mybatis.spring.annotation.MapperScan;
import org.springframework.beans.factory.annotation.Qualifier;
import org.springframework.boot.autoconfigure.jdbc.DataSourceProperties;
import org.springframework.boot.context.properties.ConfigurationProperties;
import org.springframework.context.annotation.Bean;
import org.springframework.context.annotation.Configuration;
import org.springframework.core.io.support.PathMatchingResourcePatternResolver;
import org.springframework.jdbc.datasource.DataSourceTransactionManager;

import javax.annotation.Resource;
import javax.sql.DataSource;

/**
 * Created by zhangdd on 2020/7/13
 */
@Configuration
@Slf4j
@MapperScan(basePackages = "com.lucky.spring.dao.bar", sqlSessionFactoryRef = "barSqlSessionFactory")
public class BarDataSourceConfig {

    static final String MAPPER_LOCATION = "classpath:mapper/bar/*.xml";

    //=========bar 数据源相关配置 start==================================================

    @Bean
    @ConfigurationProperties("datasource.bar")
    public DataSourceProperties barDataSourceProperties() {
        return new DataSourceProperties();
    }

    /**
     * 得到数据源
     *
     * @return
     */
    @Bean("barDataSource")
    public DataSource barDataSource() {
        DataSourceProperties dataSourceProperties = barDataSourceProperties();
        log.info("bar datasource url:{}", dataSourceProperties.getUrl());
        log.info("{}", dataSourceProperties.getType().getName());
        return dataSourceProperties.initializeDataSourceBuilder().build();
    }

    /**
     *
     * @param dataSource
     * @return
     * @throws Exception
     */
    @Bean("barSqlSessionFactory")
    public SqlSessionFactory sqlSessionFactory(@Qualifier("barDataSource") DataSource dataSource) throws Exception {
        SqlSessionFactoryBean bean = new SqlSessionFactoryBean();
        bean.setDataSource(dataSource);
        bean.setMapperLocations(new PathMatchingResourcePatternResolver().getResources(MAPPER_LOCATION));
        return bean.getObject();
    }


    /**
     * bar 对应的数据库会话模版
     *
     * @param sessionFactory
     * @return
     */
    @Bean("barSqlSessionTemplate")
    public SqlSessionTemplate sqlSessionTemplate(@Qualifier("barSqlSessionFactory") SqlSessionFactory sessionFactory) {
        return new SqlSessionTemplate(sessionFactory);
    }


    @Bean
    @Resource
    public DataSourceTransactionManager barTxManager(@Qualifier("barDataSource") DataSource barDatasource) {
        return new DataSourceTransactionManager(barDatasource);
    }

    //=========bar 数据源相关配置 end==================================================

}
测试场景
@RestController
public class MultiDataController {
@Autowired
TPermissionMapper permissionMapper;
@Autowired
FooMapper fooMapper;
@GetMapping("/api/getData")
public MultiDataVo getData() {
Listpackage com.lucky.spring.vo;
import com.lucky.spring.model.bar.TPermission;
import com.lucky.spring.model.foo.Foo;
import lombok.Data;
import java.util.List;
/**
* Created by zhangdd on 2020/7/14
*/
@Data
public class MultiDataVo {
private List