Spring boot Sample 012之spring-boot-web-upload
2020-12-27 22:32
标签:Servle relative instance input ges tle link 目的 配置 Spring boot Sample 012之spring-boot-web-upload 标签:Servle relative instance input ges tle link 目的 配置 原文地址:https://www.cnblogs.com/ouyushan/p/13029788.html一、环境
1.1、Idea 2020.1
1.2、JDK 1.8
二、目的
三、步骤
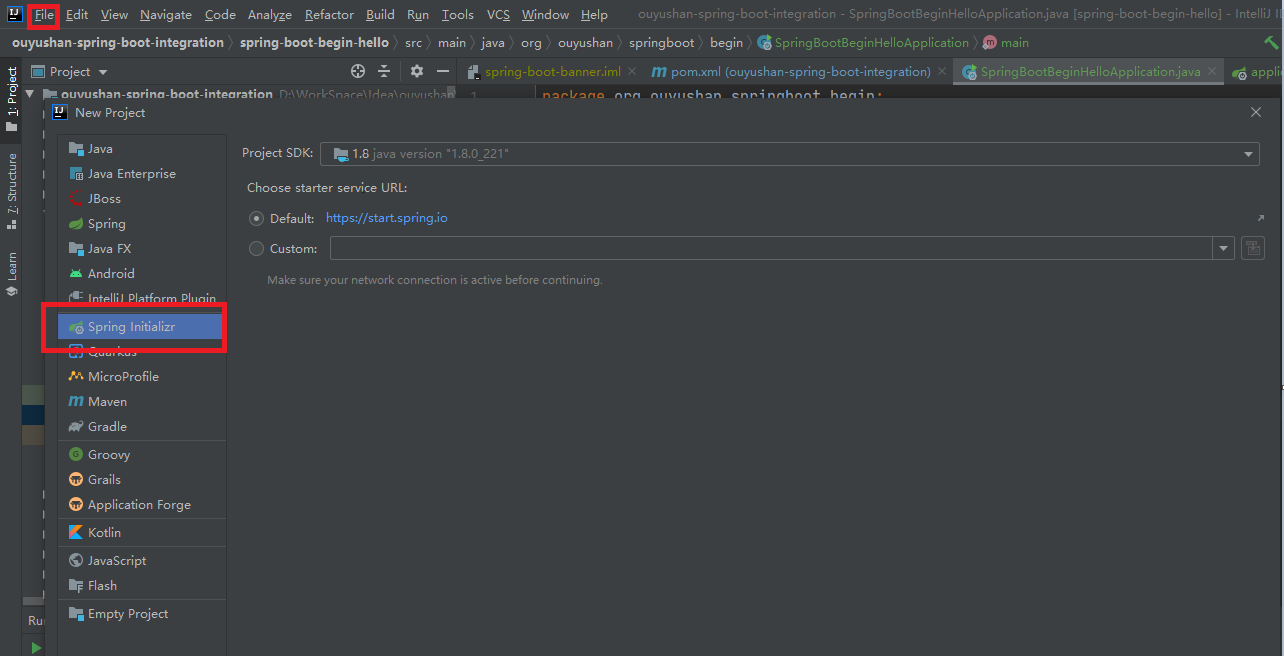
3.1、点击File -> New Project -> Spring Initializer,点击next
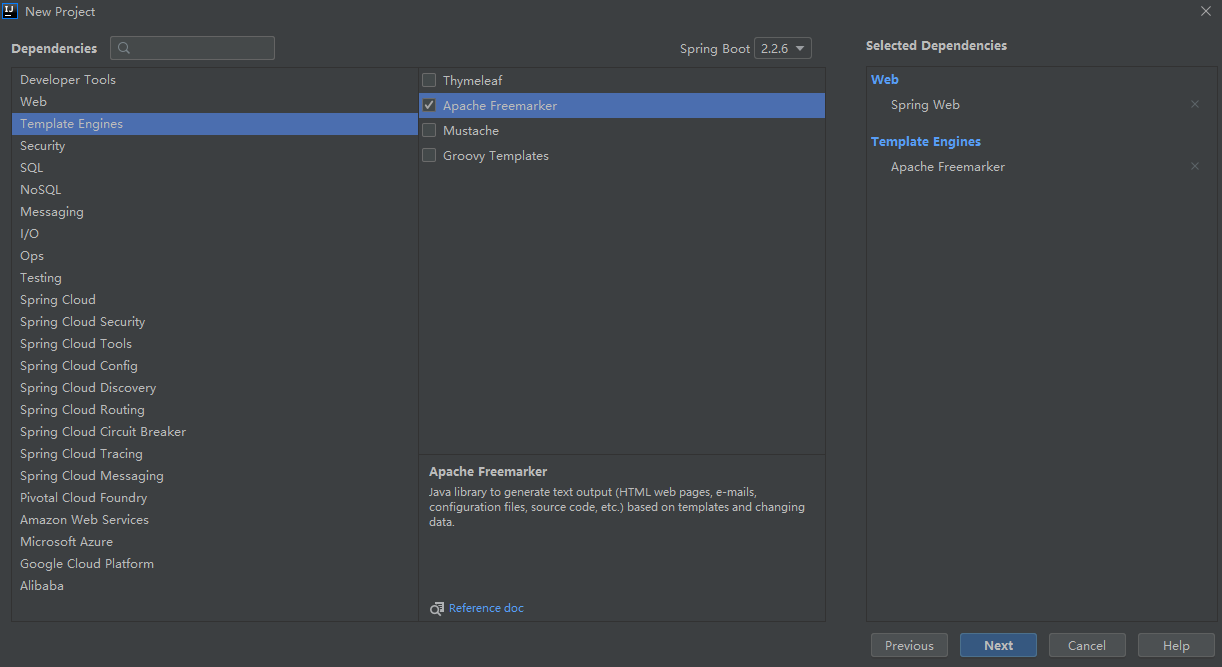
3.2、选择Web依赖,选中Spring Web。可以选择Spring Boot版本,本次默认为2.2.6,点击Next
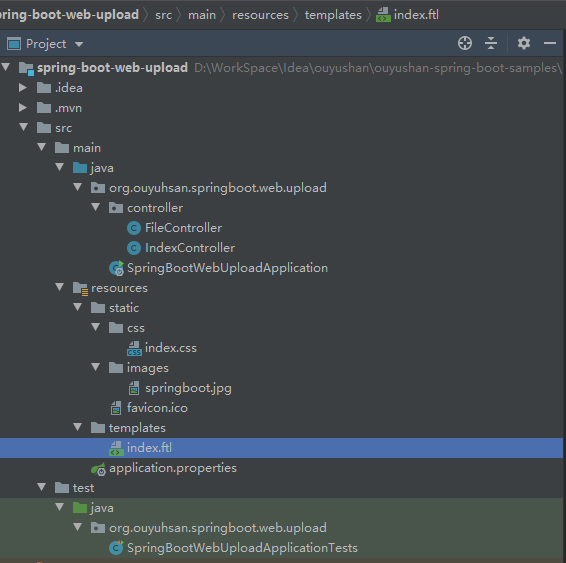
3.3、项目结构
四、添加文件
xml version="1.0" encoding="UTF-8"?>
project xmlns="http://maven.apache.org/POM/4.0.0" xmlns:xsi="http://www.w3.org/2001/XMLSchema-instance"
         xsi:schemaLocation="http://maven.apache.org/POM/4.0.0 https://maven.apache.org/xsd/maven-4.0.0.xsd">
    modelVersion>4.0.0modelVersion>
    parent>
        groupId>org.springframework.bootgroupId>
        artifactId>spring-boot-starter-parentartifactId>
        version>2.2.6.RELEASEversion>
        relativePath/>
    parent>
    groupId>org.ouyuhsangroupId>
    artifactId>spring-boot-web-uploadartifactId>
    version>0.0.1-SNAPSHOTversion>
    name>spring-boot-web-uploadname>
    description>Demo project for Spring Bootdescription>

    properties>
        java.version>1.8java.version>
    properties>

    dependencies>
        dependency>
            groupId>org.springframework.bootgroupId>
            artifactId>spring-boot-starter-freemarkerartifactId>
        dependency>
        dependency>
            groupId>org.springframework.bootgroupId>
            artifactId>spring-boot-starter-webartifactId>
        dependency>

        dependency>
            groupId>org.springframework.bootgroupId>
            artifactId>spring-boot-starter-testartifactId>
            scope>testscope>
            exclusions>
                exclusion>
                    groupId>org.junit.vintagegroupId>
                    artifactId>junit-vintage-engineartifactId>
                exclusion>
            exclusions>
        dependency>
    dependencies>

    build>
        plugins>
            plugin>
                groupId>org.springframework.bootgroupId>
                artifactId>spring-boot-maven-pluginartifactId>
            plugin>
        plugins>
    build>

project>
DOCTYPE html>
html>
head lang="en">
    title>Spring Boot Demo - FreeMarkertitle>

    link href="/css/index.css" rel="stylesheet" />

head>
body>
div style="text-align: center;">
    img src="/images/springboot.jpg" />
div>

form method="POST" enctype="multipart/form-data" action="/file/upload">
    文件:input type="file" name="file" />
    input type="submit" value="上传" />
form>

script type="text/javascript" src="/webjars/jquery/3.3.1/jquery.min.js">script>

script>
    $(function(){
        $(‘#title‘).click(function(){
            alert(‘点击了‘);
        });
    })
script>
body>
html>
h1{color: blue;}
spring.freemarker.template-loader-path=classpath:/templates
spring.freemarker.suffix=.ftl
# Multipart
spring.servlet.multipart.enabled=true
spring.servlet.multipart.max-file-size=2MB
spring.servlet.multipart.max-request-size=10MB
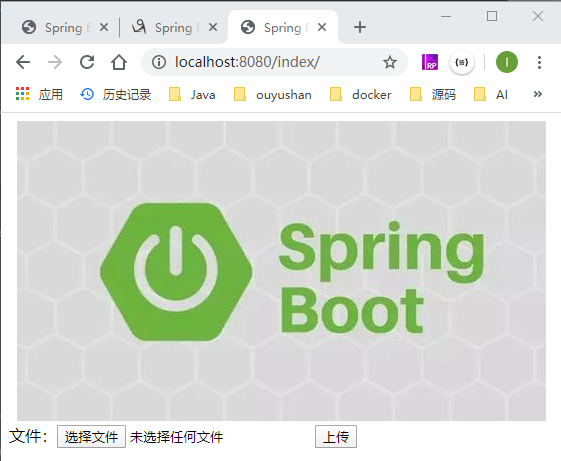
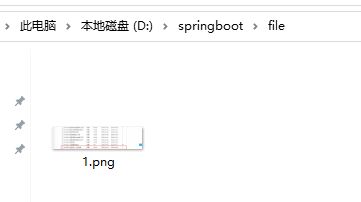
五、测试
上一篇:java使用socket读取网页
下一篇:kodi 网站收藏贴
文章标题:Spring boot Sample 012之spring-boot-web-upload
文章链接:http://soscw.com/index.php/essay/38690.html