springBoot 整合servlet
2021-03-02 19:27
标签:autoconf jdb img space 关于 src order auth exclude 详情请参考:《使用IDEA创建一个springboot项目》 springBoot 整合servlet 标签:autoconf jdb img space 关于 src order auth exclude 原文地址:https://www.cnblogs.com/ios9/p/14403055.html一:用idea 创建 springboot 项目:
二:具体代码内容;

一: FirstServlet
package com.alancode.springboot.Servlet;
import javax.servlet.ServletException;
import javax.servlet.annotation.WebServlet;
import javax.servlet.http.HttpServlet;
import javax.servlet.http.HttpServletRequest;
import javax.servlet.http.HttpServletResponse;
import java.io.IOException;
/**
* @program: springBootAddServlet
* @description: FristServlet
* 一:传统的spring 框架增加 servlet 的配置方式
*
二:SecondServlet
package com.alancode.springboot.Servlet;
/**
 * @author Alan_liu
 * @Create 2021/2/14 23:46
 */

import javax.servlet.ServletException;
import javax.servlet.http.HttpServlet;
import javax.servlet.http.HttpServletRequest;
import javax.servlet.http.HttpServletResponse;
import java.io.IOException;

/**
 *@program: springBootAddServlet
 *@description: SecondServlet
 *@author: Alan_Liu
 *@create: 2021-02-14 23:46
 */
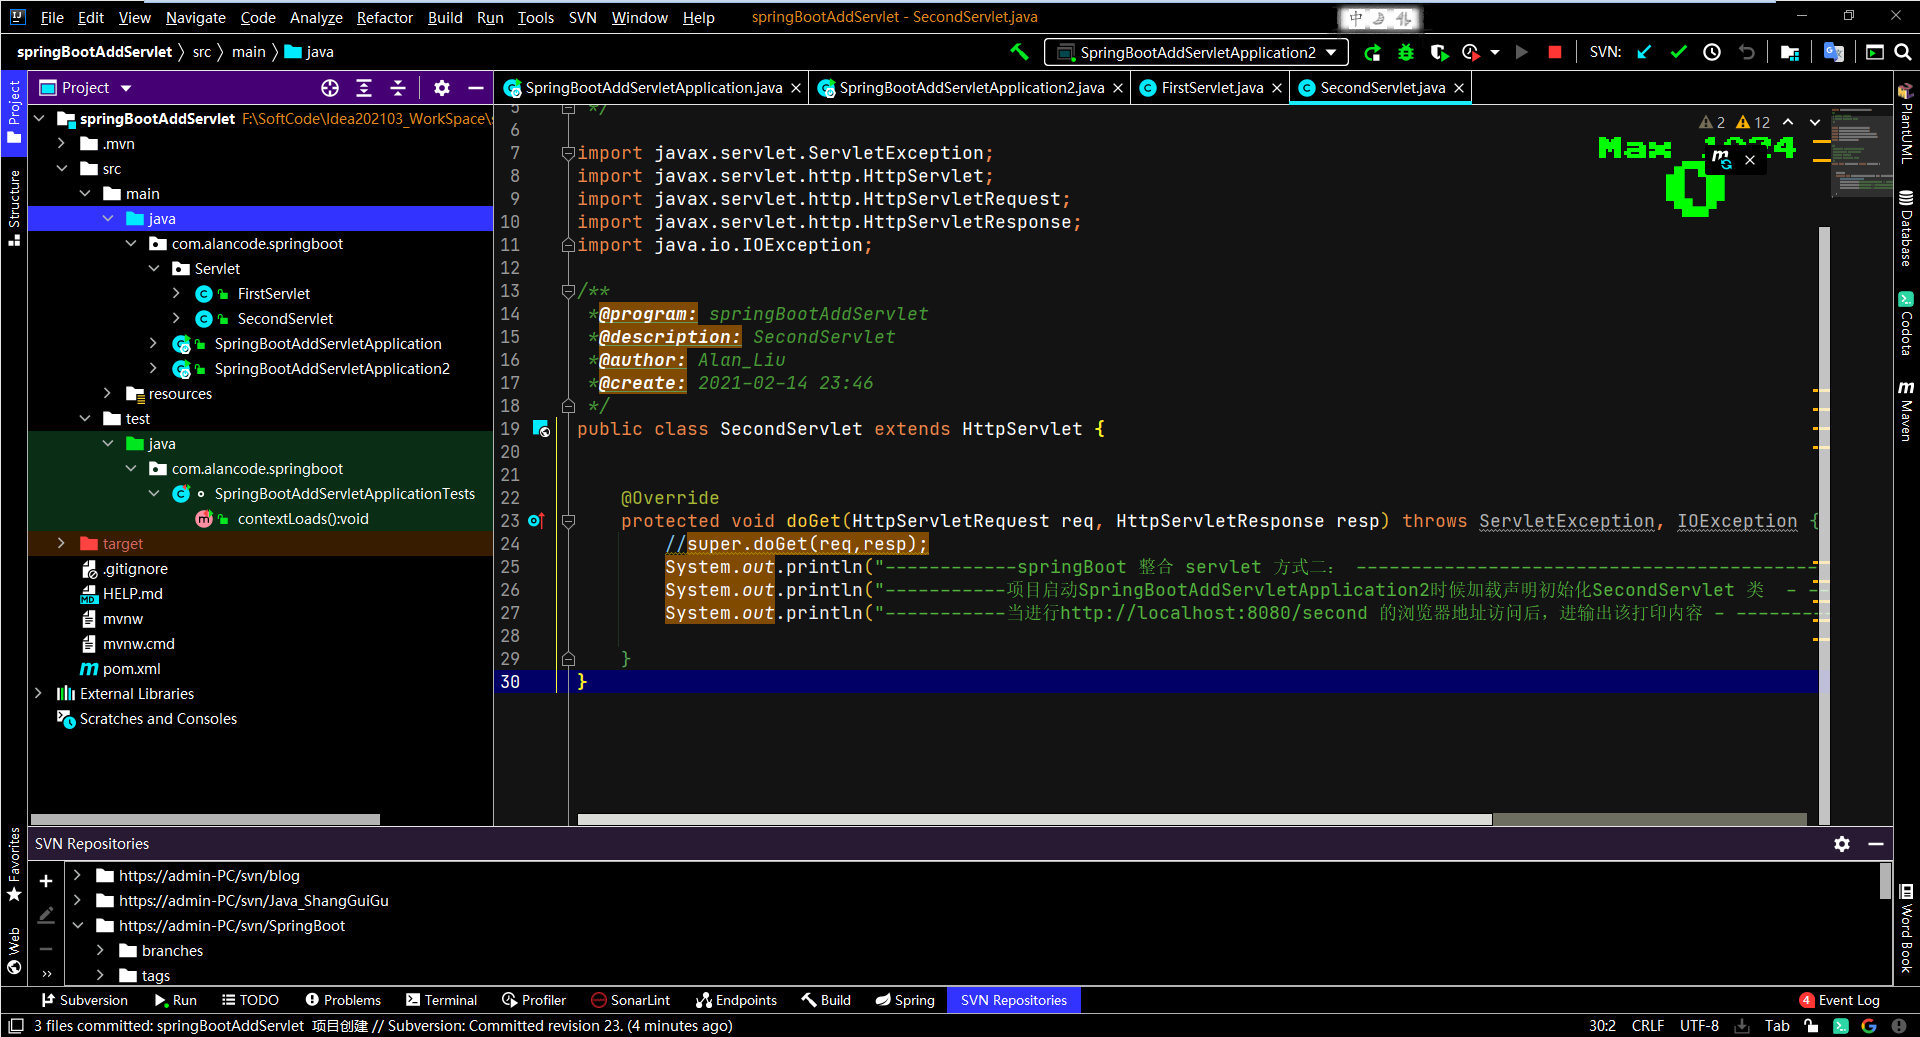
public class SecondServlet extends HttpServlet {


	@Override
	protected void doGet(HttpServletRequest req, HttpServletResponse resp) throws ServletException, IOException {
		//super.doGet(req,resp);
		System.out.println("------------springBoot 整合 servlet 方式二: ------------------------------------------ -----------");
		System.out.println("-----------项目启动SpringBootAddServletApplication2时候加载声明初始化SecondServlet 类  - ---------------------------------");
		System.out.println("-----------当进行http://localhost:8080/second 的浏览器地址访问后,进输出该打印内容 - ----------------------");

	}
}
三:SpringBootAddServletApplication
package com.alancode.springboot;

import org.springframework.boot.SpringApplication;
import org.springframework.boot.autoconfigure.SpringBootApplication;
import org.springframework.boot.autoconfigure.jdbc.DataSourceAutoConfiguration;
import org.springframework.boot.autoconfigure.orm.jpa.HibernateJpaAutoConfiguration;
import org.springframework.boot.web.servlet.ServletComponentScan;

/**
 * @author Alan_Liu
 */
@SpringBootApplication(exclude={DataSourceAutoConfiguration.class, HibernateJpaAutoConfiguration.class})
@ServletComponentScan
public class SpringBootAddServletApplication {

	public static void main(String[] args) {
		SpringApplication.run(SpringBootAddServletApplication.class, args);
	}

}

/***
 *
 *
 **注意:
 **关于编写启动器需要注意的问题。
 **启动器存放位置:启动器可以和controller 位于同一个包 package下,或者位于controller的上一级包。
 **但是不能把该文件放到controller平行级的包或者其子包下。
 * ServletComponentScan 含义:
 *   在springboot 启动时候进行扫描@webServlet注解的所有servlet类。并将该类实例化
 *
 * ***/
四:SpringBootAddServletApplication2
package com.alancode.springboot;

import com.alancode.springboot.Servlet.SecondServlet;
import org.springframework.boot.SpringApplication;
import org.springframework.boot.autoconfigure.SpringBootApplication;
import org.springframework.boot.autoconfigure.jdbc.DataSourceAutoConfiguration;
import org.springframework.boot.autoconfigure.orm.jpa.HibernateJpaAutoConfiguration;
import org.springframework.boot.web.servlet.ServletComponentScan;
import org.springframework.boot.web.servlet.ServletRegistrationBean;
import org.springframework.context.annotation.Bean;

/**
 * @author Alan_Liu
 */
@SpringBootApplication(exclude={DataSourceAutoConfiguration.class, HibernateJpaAutoConfiguration.class})
public class SpringBootAddServletApplication2 {

	public static void main(String[] args) {
		SpringApplication.run(SpringBootAddServletApplication2.class, args);
	}
	@Bean
	public ServletRegistrationBean getServletRegistrationBean(){
		ServletRegistrationBean bean=new ServletRegistrationBean(new SecondServlet());
		bean.addUrlMappings("/second");
		System.out.println("------------springBoot 整合 servlet 方式二: ------------------------------------------ -----------");
		System.out.println("-----------项目启动SpringBootAddServletApplication2时候加载声明初始化SecondServlet 类  - ---------------------------------");
		System.out.println("-----------当进行http://localhost:8080/second 的浏览器地址访问后,进输出该打印内容 - ----------------------");

		return  bean;
	}
}

/***
 *
 *
 **注意:
 **关于编写启动器需要注意的问题。
 **启动器存放位置:启动器可以和controller 位于同一个包 package下,或者位于controller的上一级包。
 **但是不能把该文件放到controller平行级的包或者其子包下。
 * ServletComponentScan 含义:
 *   在springboot 启动时候进行扫描@webServlet注解的所有servlet类。并将该类实例化
 *
 * ***/
五:pom.xml
xml version="1.0" encoding="UTF-8"?>
project xmlns="http://maven.apache.org/POM/4.0.0" xmlns:xsi="http://www.w3.org/2001/XMLSchema-instance"
         xsi:schemaLocation="http://maven.apache.org/POM/4.0.0 https://maven.apache.org/xsd/maven-4.0.0.xsd">
    modelVersion>4.0.0modelVersion>
    parent>
        groupId>org.springframework.bootgroupId>
        artifactId>spring-boot-starter-parentartifactId>
        version>2.4.2version>
        relativePath/>
    parent>
    groupId>com.AlanCode.springBootgroupId>
    artifactId>springBootAddServletartifactId>
    version>0.0.1-SNAPSHOTversion>
    name>springBootAddServletname>
    description>springBootAddServletdescription>
    properties>
        java.version>1.8java.version>
    properties>
    dependencies>
        dependency>
            groupId>org.springframework.bootgroupId>
            artifactId>spring-boot-starter-webartifactId>
        dependency>

        dependency>
            groupId>org.springframework.bootgroupId>
            artifactId>spring-boot-starter-testartifactId>
            scope>testscope>
        dependency>
    dependencies>

    build>
        plugins>
            plugin>
                groupId>org.springframework.bootgroupId>
                artifactId>spring-boot-maven-pluginartifactId>
            plugin>
        plugins>
    build>

project>
文章标题:springBoot 整合servlet
文章链接:http://soscw.com/index.php/essay/59171.html