标签:load res count help tar inpu key lib and
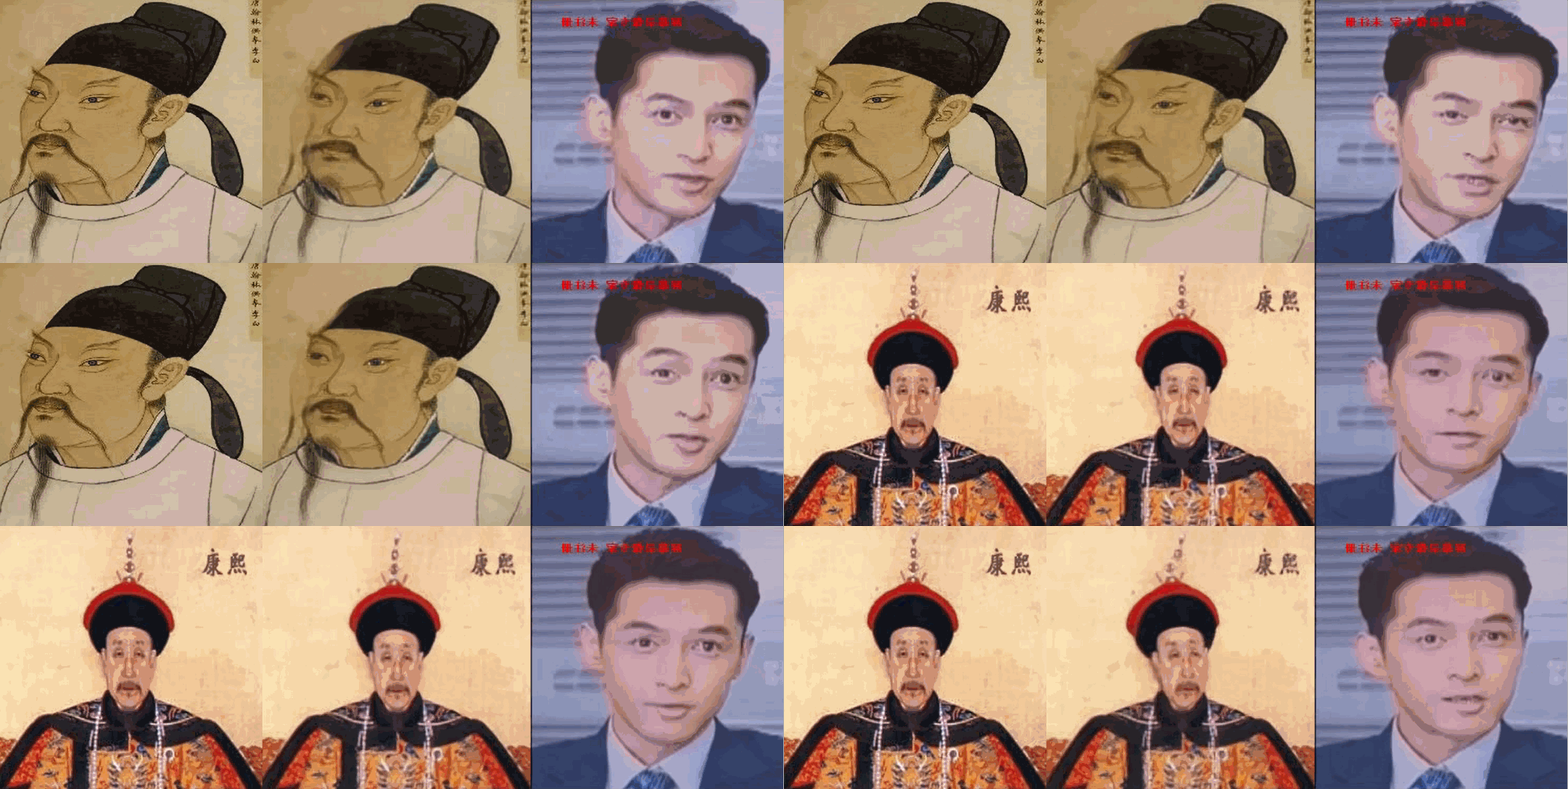
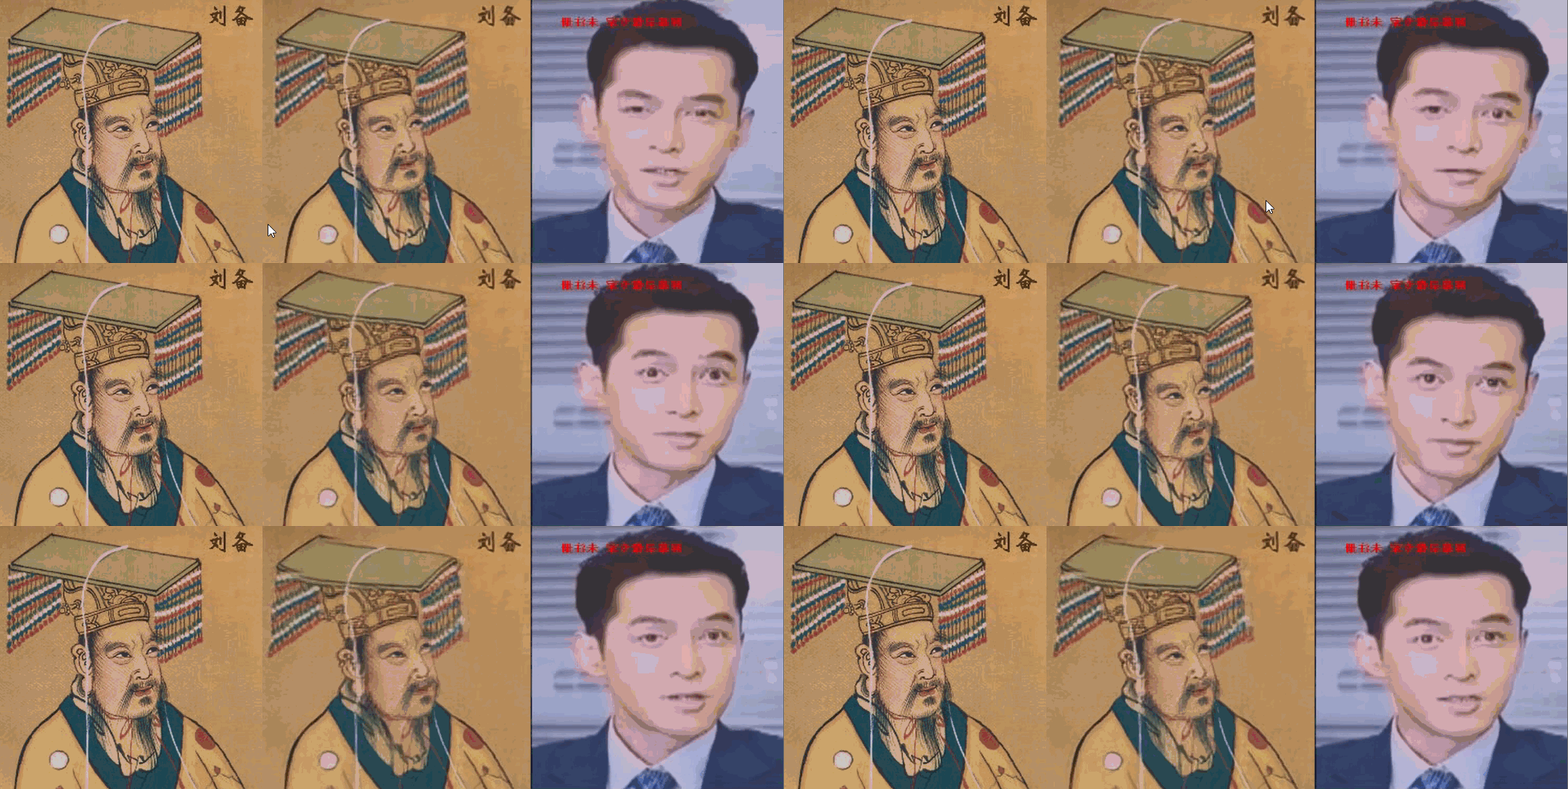
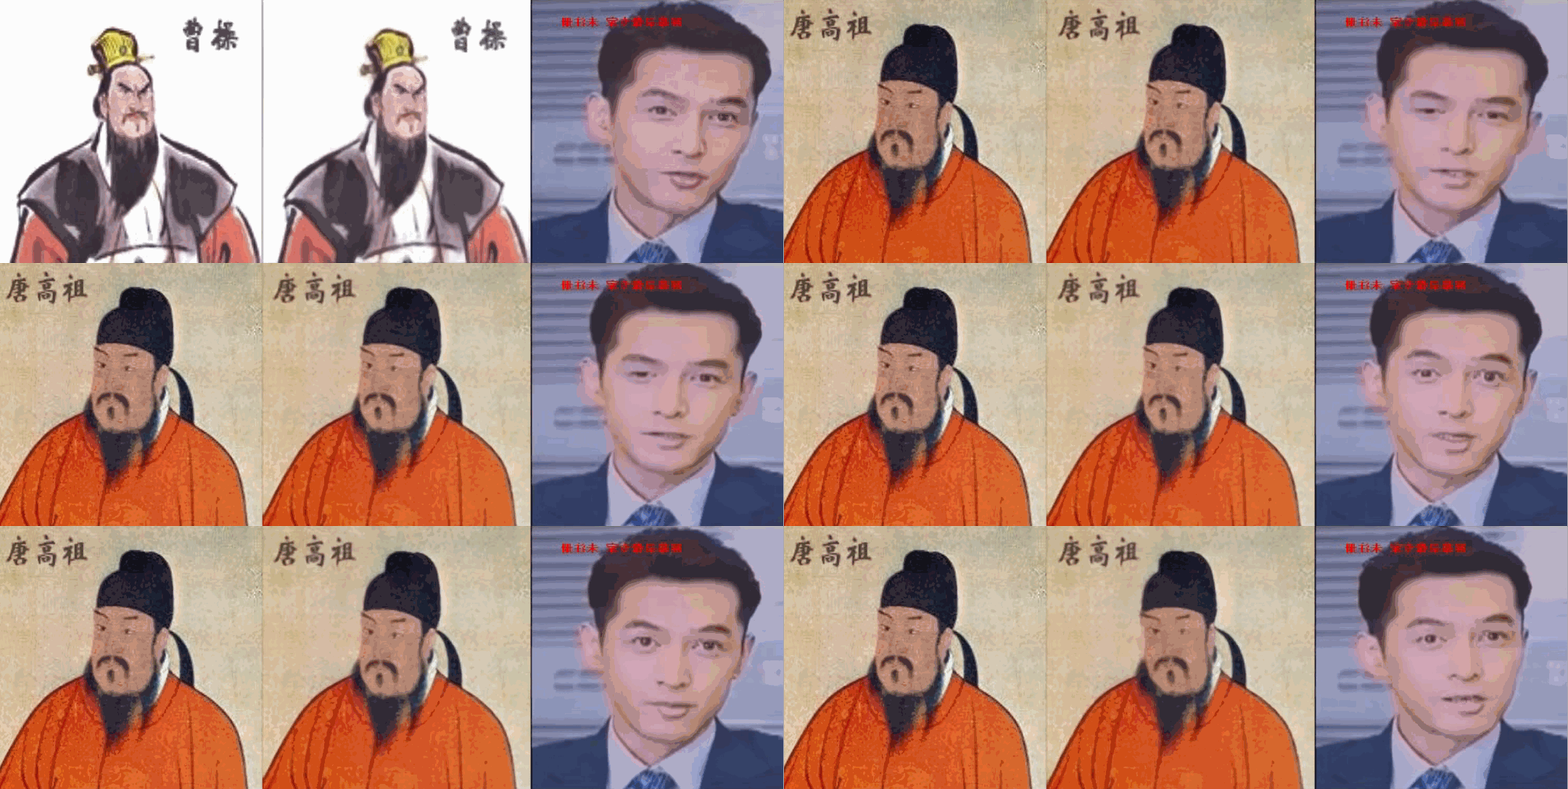
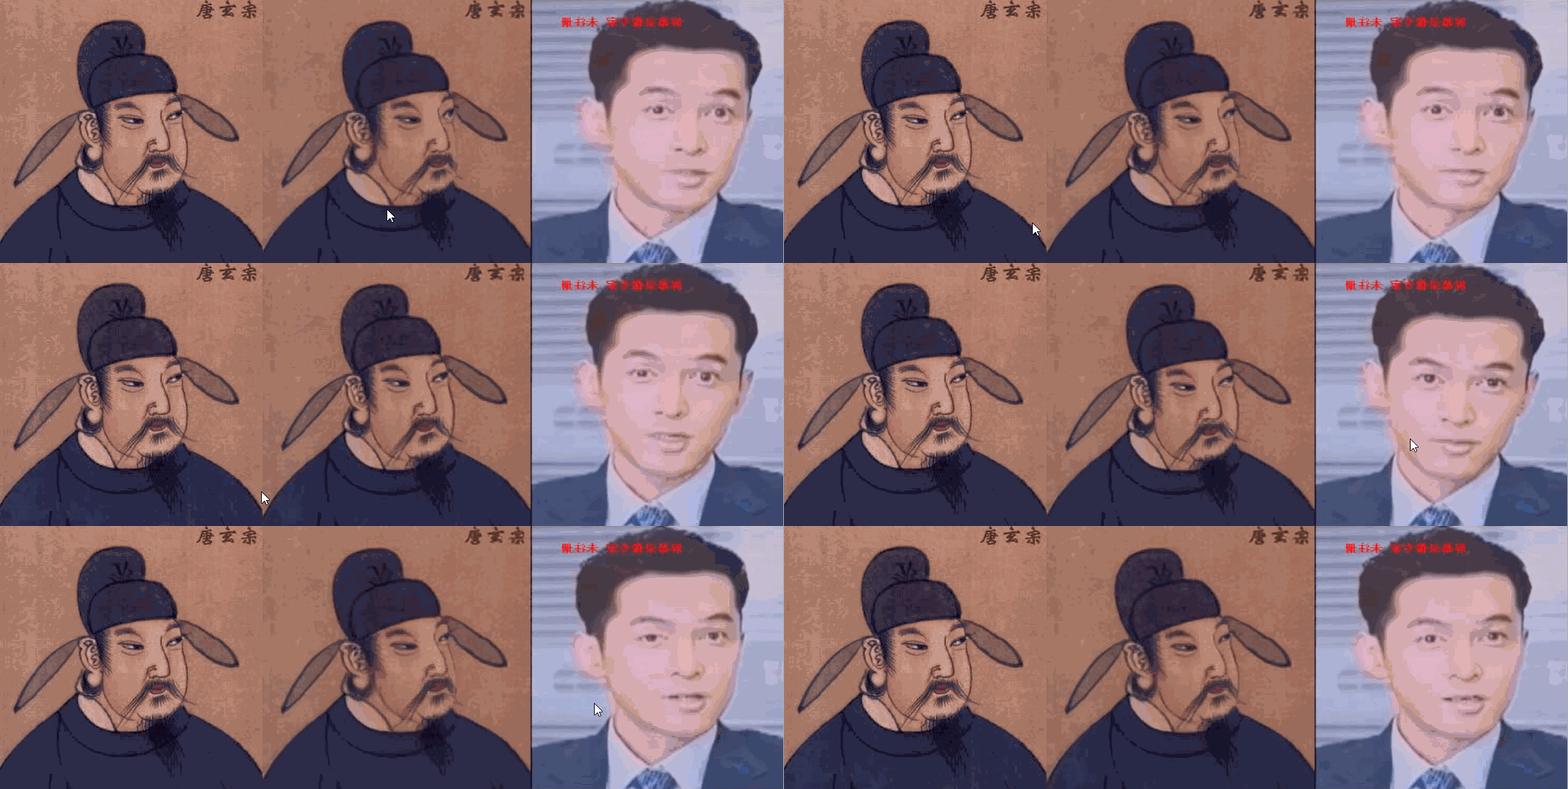
CV:利用人工智能算法让古代皇帝画像以及古代四大美女画像动起来(模仿偶像胡歌剧中角色表情动作)
利用人工智能算法让古代四大美女画像动起来(模仿偶像胡歌剧中角色表情动作)
导读:本论文来自NeurIPS2019,该算法中主要采用一阶运动模型的思想,用一组自学习的关键点和局部仿射变换,建立了复杂运动模型。模型由运动估计模块和图像生成模块两个主要部分组成。首先进行关键点检测,然后根据关键点,进行运动估计,最后使用图像生成模块,生成最终效果。
额,哈哈,不好意思了,又拿我的偶像胡歌下手啦,视频截取来源偶像胡歌在《猎场》中的一角色。
目录
利用人工智能算法让经典图片根据自定义动作嗨起来(将一张静态人像图片转为带表情动作视频)
相关论文
输出结果
利用人工智能算法让古代皇帝画像动起来(模仿偶像胡歌《猎场》剧中角色表情动作)
利用人工智能算法让古代四大美女画像动起来
实现代码
作品视频链接
利用人工智能算法,让古代皇帝画像动起来(模仿偶像胡歌《猎场》剧中角色表情动作)
利用人工智能算法让古代美女《西施、王昭君、貂蝉、杨玉环四大美女领衔》画像动起来
利用人工智能算法让经典图片根据自定义动作嗨起来(将一张静态人像图片转为带表情动作视频)
相关论文
Paper:《First Order Motion Model for Image Animation》翻译与解读
输出结果
利用人工智能算法让古代皇帝画像动起来(模仿偶像胡歌《猎场》剧中角色表情动作)


利用人工智能算法让古代四大美女画像动起来


实现代码
更新中……
-
-
-
-
from animate import normalize_kp
-
from demo import load_checkpoints
-
-
import matplotlib.pyplot as plt
-
import matplotlib.animation as animation
-
from skimage import img_as_ubyte
-
from skimage.transform import resize
-
-
-
-
-
ap = argparse.ArgumentParser()
-
ap.add_argument("-i", "--input_image", required=True,help="Path to image to animate")
-
ap.add_argument("-c", "--checkpoint", required=True,help="Path to checkpoint")
-
ap.add_argument("-v","--input_video", required=False, help="Path to video input")
-
-
args = vars(ap.parse_args())
-
-
print("[INFO] loading source image and checkpoint...")
-
source_path = args[‘input_image‘]
-
checkpoint_path = args[‘checkpoint‘]
-
-
video_path = args[‘input_video‘]
-
-
-
source_image = imageio.imread(source_path)
-
source_image = resize(source_image,(256,256))[..., :3]
-
-
generator, kp_detector = load_checkpoints(config_path=‘config/vox-256.yaml‘, checkpoint_path=checkpoint_path)
-
-
if not os.path.exists(‘output‘):
-
-
-
-
-
adapt_movement_scale=True
-
-
-
-
cap = cv2.VideoCapture(video_path)
-
print("[INFO] Loading video from the given path")
-
-
cap = cv2.VideoCapture(0)
-
print("[INFO] Initializing front camera...")
-
-
fourcc = cv2.VideoWriter_fourcc(*‘MJPG‘)
-
out1 = cv2.VideoWriter(‘output/Animation_HuGe_02.avi‘, fourcc, 12, (256*3 , 256), True)
-
-
cv2_source = cv2.cvtColor(source_image.astype(‘float32‘),cv2.COLOR_BGR2RGB)
-
-
-
source = torch.tensor(source_image[np.newaxis].astype(np.float32)).permute(0, 3, 1, 2)
-
-
-
kp_source = kp_detector(source)
-
-
-
-
frame = cv2.flip(frame,1)
-
-
-
-
-
-
-
-
frame = frame[y:y+h,x:x+w]
-
frame1 = resize(frame,(256,256))[..., :3]
-
-
-
-
source1 = torch.tensor(source_image1[np.newaxis].astype(np.float32)).permute(0, 3, 1, 2)
-
kp_driving_initial = kp_detector(source1)
-
-
frame_test = torch.tensor(frame1[np.newaxis].astype(np.float32)).permute(0, 3, 1, 2)
-
-
driving_frame = frame_test
-
-
driving_frame = driving_frame.cuda()
-
kp_driving = kp_detector(driving_frame)
-
kp_norm = normalize_kp(kp_source=kp_source,
-
-
kp_driving_initial=kp_driving_initial,
-
use_relative_movement=relative,
-
use_relative_jacobian=relative,
-
adapt_movement_scale=adapt_movement_scale)
-
out = generator(source, kp_source=kp_source, kp_driving=kp_norm)
-
predictions.append(np.transpose(out[‘prediction‘].data.cpu().numpy(), [0, 2, 3, 1])[0])
-
im = np.transpose(out[‘prediction‘].data.cpu().numpy(), [0, 2, 3, 1])[0]
-
im = cv2.cvtColor(im,cv2.COLOR_RGB2BGR)
-
joinedFrame = np.concatenate((cv2_source,im,frame1),axis=1)
-
-
cv2.imshow(‘Test‘,joinedFrame)
-
out1.write(img_as_ubyte(joinedFrame))
-
-
if cv2.waitKey(20) & 0xFF == ord(‘q‘):
-
-
-
-
-
-
-
本文首发于python黑洞网,博客园同步更新
利用人工智能算法让古代皇帝画像以及古代四大美女画像动起来(模仿偶像胡歌剧中角色表情动作
标签:load res count help tar inpu key lib and
原文地址:https://www.cnblogs.com/pythonzhilian/p/13601124.html


