win10 添加Nginx 到服务
2021-05-28 04:00
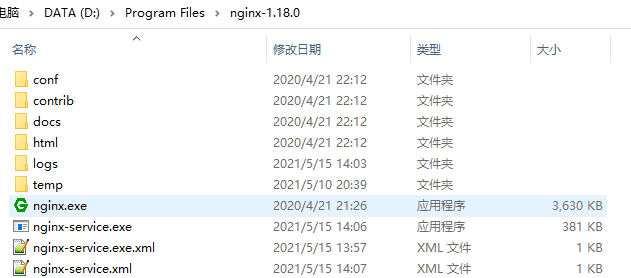
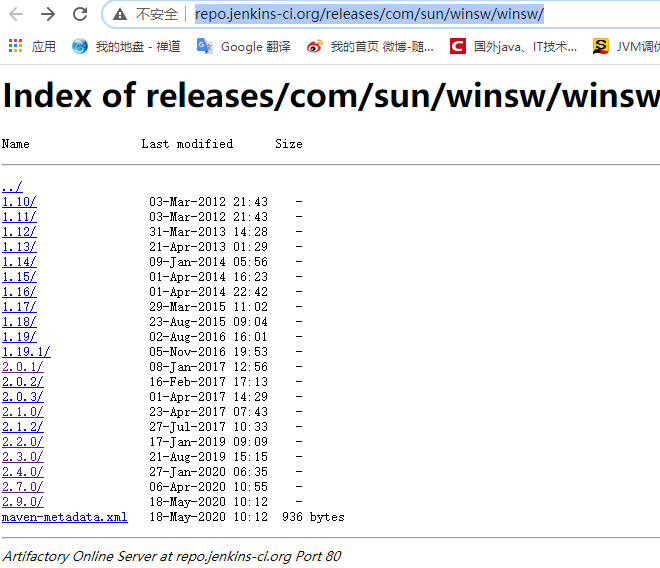
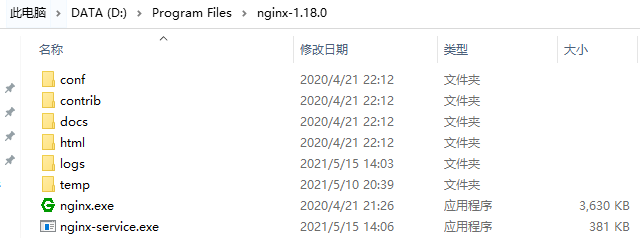
标签:class 解压缩 本地 org 修改 使用 nts href color 选择一个版本下载 建议 选择 2.0.1 上述的路径需要修改为 你本地 nginx 的安装路径 最后,安装目录如下 这里 服务就添加成功了 win10 添加Nginx 到服务 标签:class 解压缩 本地 org 修改 使用 nts href color 原文地址:https://www.cnblogs.com/xk8703/p/14771695.html
Nginx 下载地址:http://nginx.org/en/download.html
选择windows版本,我使用的是 nginx/Windows-1.18.0 这个版本
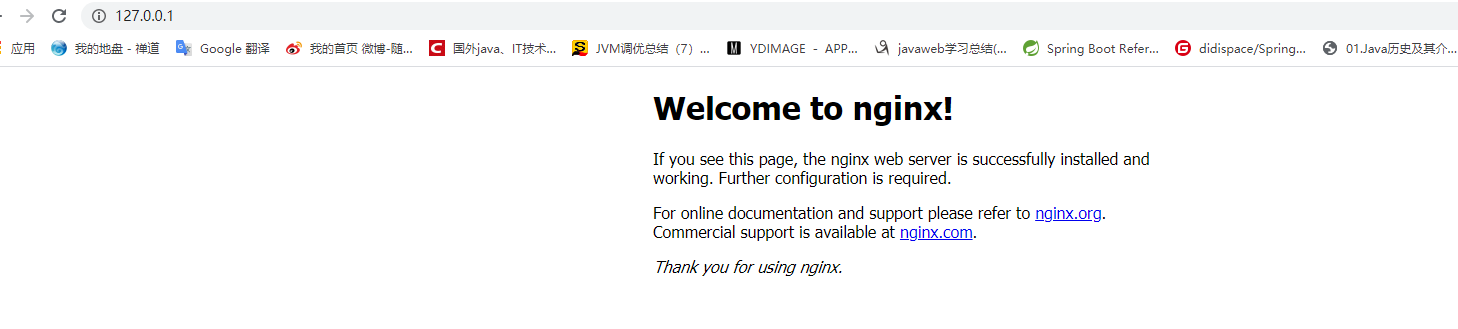
下载完成后,
直接解压缩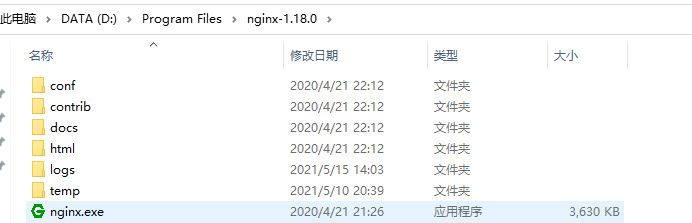
xml version="1.0" encoding="UTF-8" ?>
service>
    id>Nginxid>
    name>NginxServicename>
    description>High Performance Nginx Servicedescription>
    logpath>D:\Program Files\nginx-1.18.0\logslogpath>
    log mode="roll-by-size">
        sizeThreshold>10240sizeThreshold>
        keepFiles>8keepFiles>
    log>
    executable>D:\Program Files\nginx-1.18.0\nginx.exeexecutable>
    startarguments>-p D:\Program Files\nginx-1.18.0startarguments>
    stopexecutable>D:\Program Files\nginx-1.18.0\nginx.exestopexecutable>
    stoparguments>-p D:\Program Files\nginx-1.18.0 -s stopstoparguments>
service>
xml version="1.0" encoding="UTF-8" ?>
configuration>
    startup>
        supportedRuntime version="v2.0.50727" />
        supportedRuntime version="v4.0" />
    startup>
    runtime>
        generatePublisherEvidence enabled="false" />
    runtime>
configuration>