Nginx Windows详细安装部署教程
2021-05-15 17:28
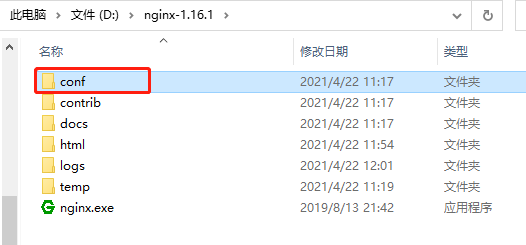
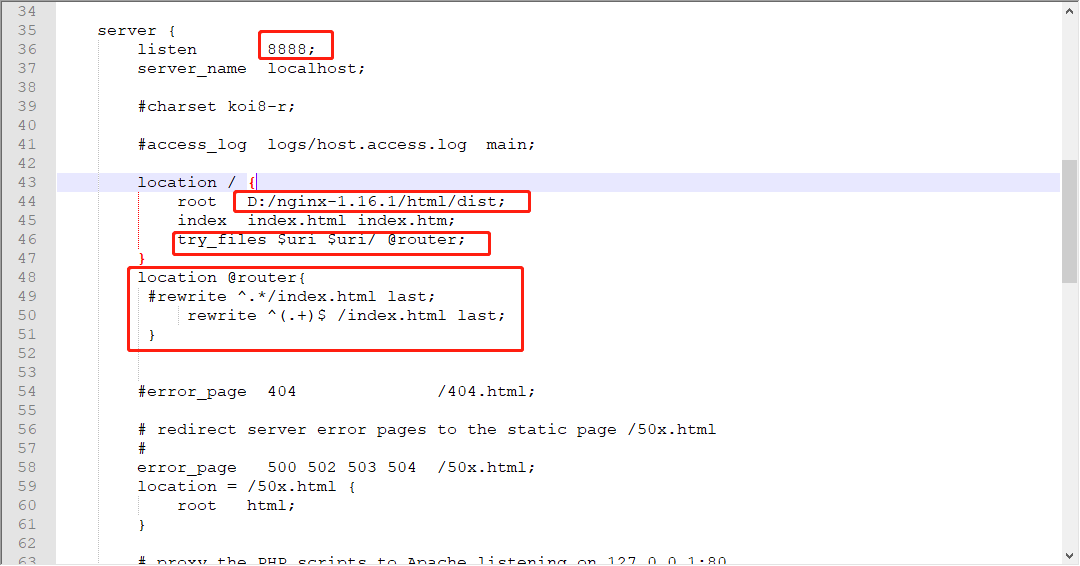
标签:cipher sed tar agent zip scripts filename fun proxy 1、下载nginx包 直接去官网下载:http://nginx.org/en/download.html 2、下载完成后,在指定位置解压缩,不要直接双击nginx.exe。 3、运行cmd,进入解压的指定目录下 4、启动nginx服务,启动命令为:start nginx,启动时会一闪而过是正常的 5、查看任务进程是否存在,命令: 6、进入解压缩目录,在conf目录下找到nginx.conf使用txt文本打开即可,找到server这个节点,进行修改 需修改的下图四个地方 文件内容如下 7、修改完成后保存,使用以下命令检查一下配置文件是否正确,后面是nginx.conf文件的路径,successful就说明正确了 命令: 8、如果程序没启动就直接start nginx启动,如果已经启动了就使用以下命令重新加载配置文件并重启 命令: 9、之后就打开浏览器访问刚才的域名及端口http://localhost:8888,出现欢迎页就说明部署成功了 10、关闭nginx服务使用以下命令,同样也是一闪而过是正常的,看一下是否进程已消失即可 快速停止: 完整有序的关闭: 11、把安装包放在D:\nginx-1.16.1\html目录下,进行解压 12、在dos指定路径下,输入 命令: 13、打开浏览器访问http://localhost:8888,就可以访问自己的项目了 Nginx Windows详细安装部署教程 标签:cipher sed tar agent zip scripts filename fun proxy 原文地址:https://www.cnblogs.com/wendy-0901/p/14689034.html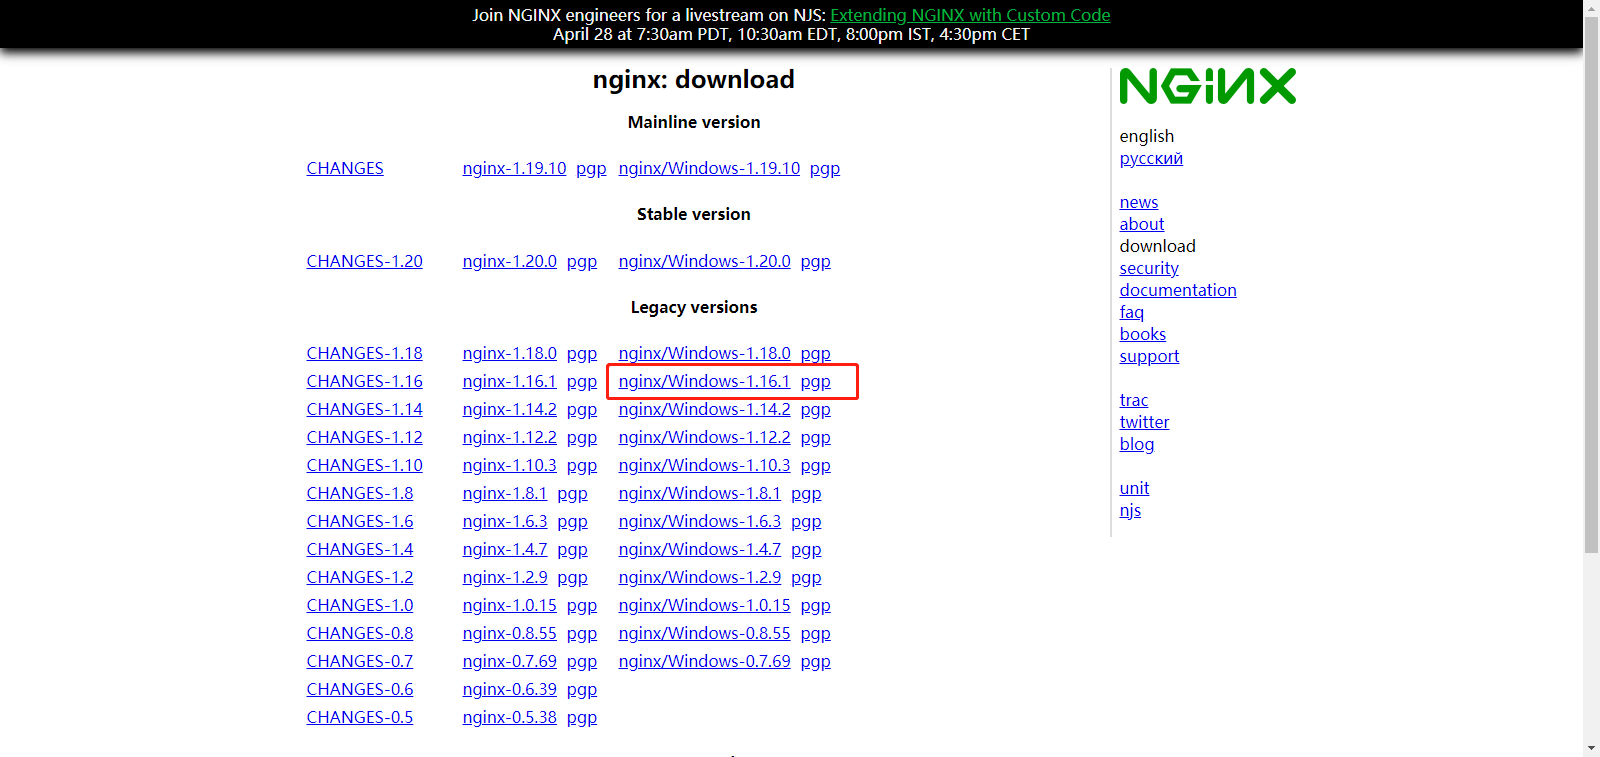
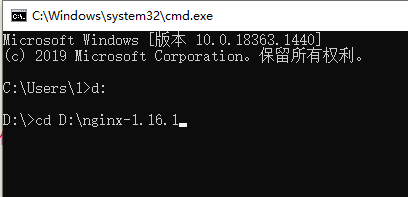
tasklist /fi "imagename eq nginx.exe"
#user  nobody;
worker_processes  1;

#error_log  logs/error.log;
#error_log  logs/error.log  notice;
#error_log  logs/error.log  info;

#pid        logs/nginx.pid;


events {
    worker_connections  1024;
}


http {
    include       mime.types;
    default_type  application/octet-stream;

    #log_format  main  ‘$remote_addr - $remote_user [$time_local] "$request" ‘
    #                  ‘$status $body_bytes_sent "$http_referer" ‘
    #                  ‘"$http_user_agent" "$http_x_forwarded_for"‘;

    #access_log  logs/access.log  main;

    sendfile        on;
    #tcp_nopush     on;

    #keepalive_timeout  0;
    keepalive_timeout  65;

    #gzip  on;

    server {
        listen       8888;//输入端口号
        server_name  localhost;

        #charset koi8-r;

        #access_log  logs/host.access.log  main;

        location / {
            root   D:/nginx-1.16.1/html/dist; //输入包的地址
            index  index.html index.htm;
            try_files $uri $uri/ @router;
        }
        location @router{
         #rewrite ^.*/index.html last;
             rewrite ^(.+)$ /index.html last;
         }


        #error_page  404              /404.html;

        # redirect server error pages to the static page /50x.html
        #
        error_page   500 502 503 504  /50x.html;
        location = /50x.html {
            root   html;
        }

        # proxy the PHP scripts to Apache listening on 127.0.0.1:80
        #
        #location ~ \.php$ {
        #    proxy_pass   http://127.0.0.1;
        #}

        # pass the PHP scripts to FastCGI server listening on 127.0.0.1:9000
        #
        #location ~ \.php$ {
        #    root           html;
        #    fastcgi_pass   127.0.0.1:9000;
        #    fastcgi_index  index.php;
        #    fastcgi_param  SCRIPT_FILENAME  /scripts$fastcgi_script_name;
        #    include        fastcgi_params;
        #}

        # deny access to .htaccess files, if Apache‘s document root
        # concurs with nginx‘s one
        #
        #location ~ /\.ht {
        #    deny  all;
        #}
    }


    # another virtual host using mix of IP-, name-, and port-based configuration
    #
    #server {
    #    listen       8000;
    #    listen       somename:8080;
    #    server_name  somename  alias  another.alias;

    #    location / {
    #        root   html;
    #        index  index.html index.htm;
    #    }
    #}


    # HTTPS server
    #
    #server {
    #    listen       443 ssl;
    #    server_name  localhost;

    #    ssl_certificate      cert.pem;
    #    ssl_certificate_key  cert.key;

    #    ssl_session_cache    shared:SSL:1m;
    #    ssl_session_timeout  5m;

    #    ssl_ciphers  HIGH:!aNULL:!MD5;
    #    ssl_prefer_server_ciphers  on;

    #    location / {
    #        root   html;
    #        index  index.html index.htm;
    #    }
    #}

}
nginx -t -c /nginx-1.16.1/conf/nginx.conf
nginx -s reload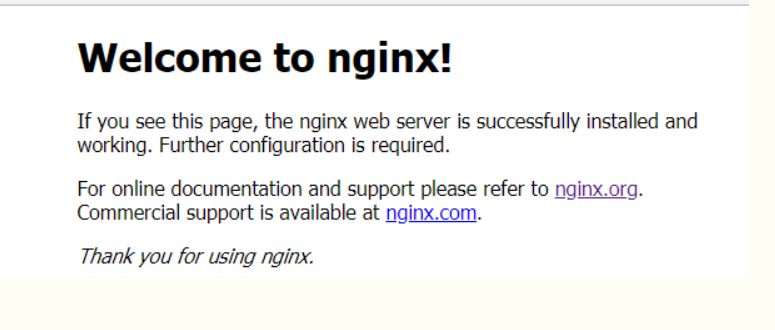
nginx -s stopnginx -s quit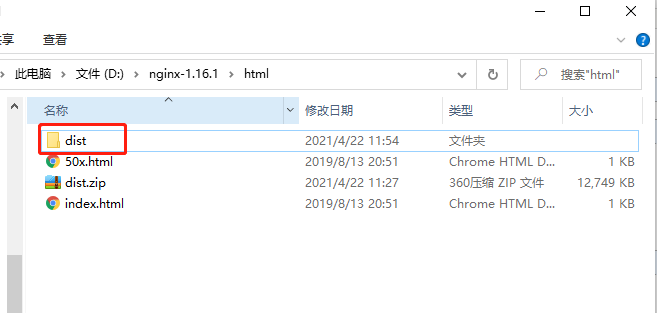
nginx -s reload,重启