调用zabbix API实现批量管理主机及个监控项
2021-07-14 09:16
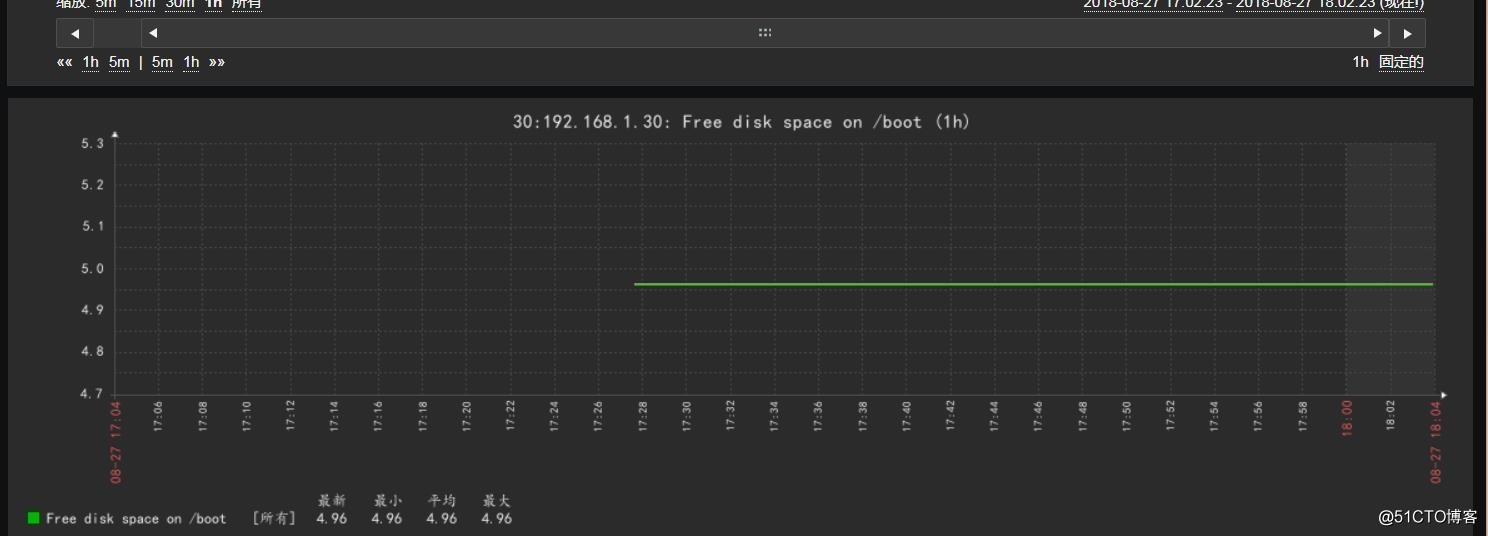
标签:user 理解 监控 method 主机 href 利用 图形化界面 col https://www.zabbix.com/documentation/3.4/manual/api/reference/item/object https://www.zabbix.com/documentation/3.4/zh/manual/api 任何时候任何难题在官网上几乎都能找到答案 { 了解了之后我们构造一个请求函数----目的是获取token OK 我们已经获取了TOKEN 了接下来就可以为所欲为了! 第二步我们获取所有主机list信息(其实也可以去数据库里面取--但是如果去数据库里面取 还得写数据库函数 输入账号密码等等等。。。。) def get_hosts(): 注意这里的interfacse很重要 因为以后对主机项的操作(比如添加item)就需要这个玩意儿。。 我在这里卡了很久 以为这个不重要 官网的说法如下: 第三步:创建主机ITEM { def itemcreate(): 接下来我们去zabbix图形化界面上看一看吧: OK,到此完毕,图形出不来的看下边脚本: def graf_create(self, authid): 咱们再说那个authid的问题 调用zabbix API实现批量管理主机及个监控项 标签:user 理解 监控 method 主机 href 利用 图形化界面 col 原文地址:http://blog.51cto.com/13120271/2165072 首先,我们想用利用zabbix的restful api来访问zabbix,肯定是需要登陆认证的。在zabbix的后续操作中,必须要有一个TOKEN,这也是官方介绍的:官方上实现的方法如下
"jsonrpc": "2.0",
"method": "user.login",
"params": {
"user": "Admin",
"password": "zabbix"
},
"id": 1,
"auth": null
}
jsonrpc - API使用的JSON-RPC协议的版本; Zabbix API实现JSON-RPC版本2.0; (必须的)
method - 调用的API方法;
params - 将被传递给API方法的参数;
id - 请求的任意标识符; 这个的id需要特别理解下,我之前一直不是很理解。这里的id其实就是一个标志,设置多少无所谓,主要是做返回标志用,也就是这里设置多少,返回数据也会有一个相同的ID 用来标志这个返回对应那个请求!
auth -用户认证令牌; 因为我们还没有一个,它的设置null。
def init():
self.url = ‘http://192.168.1.10/zabbix/api_jsonrpc.php‘
self.headers = {‘Content-Type‘: ‘application/json‘}
auth = {
"jsonrpc": "2.0",
"method": "user.login",
"params": {
"user": "admin", ###验证
"password":"zabbix"
},
"id": 1,
"auth":None,
}
response = requests.post(self.url, data=json.dumps(auth), headers=self.headers)
authid = json.loads(response.text)[‘result‘] ### auth的id 也就是token
neirong={
"jsonrpc": "2.0",
"method": "host.get",
"params": {
"output": [
"hostid",
"host"
],
"selectInterfaces": [
"interfaceid",
"ip"
]
},
"id": 2,
"auth": ”AAA“
}
response = requests.post(self.url, data=json.dumps(neirong), headers=self.headers)
print(response.text)

机上上一步我们说到了创建主机 item,我们就来创建一个 上一步我们已经获取到了 主机的 hostid 10255 interfaceid 3 这两个是添加item必须的对于创建item官网的实例为:
"jsonrpc": "2.0",
"method": "item.create",
"params": {
"name": "Free disk space on $1",
"key_": "vfs.fs.size[/home/joe/,free]",
"hostid": "10084",
"type": 0,
"value_type": 3,
"interfaceid": "1",
"delay": 30
},
"auth": "0424bd59b807674191e7d77572075f33",
"id": 3
}
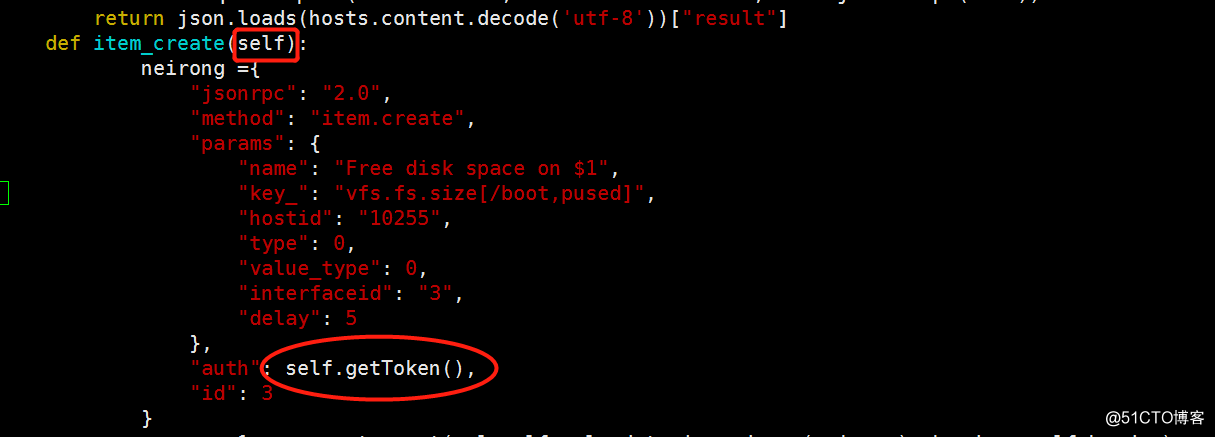
好了 我们稍稍改一下:
neirong ={
"jsonrpc": "2.0",
"method": "item.create",
"params": {
"name": "Free disk space on $1",
"key": "vfs.fs.size[/boot,pused]",
"hostid": "10255",
"type": 0,
"value_type": 0,
"interfaceid": "3",
"delay": 5
},
"auth": authid ,(注意这个autid是一个坑一会说明)
"id": 3
}
response1 = requests.post(self.url, data=json.dumps(neirong), headers=self.headers)
print(response1.text)
print("OK") 这里面的type value_type的意思可以去官网详细看看 我这里设置的是0 0 也就是代表 zabbix_agent float 相信有zabbix基础的同学是秒懂
neirong = {
"jsonrpc": "2.0",
"method": "graph.create",
"params": {
"name": "test1",
"width": 900,
"height": 200,
"gitems": [
{
"itemid": "28257",
"color": "00AA00"
}
]
},
"auth": authid,
"id": 4
} response1 = requests.post(self.url, data=json.dumps(neirong), headers=self.headers)
print(response1)
print(response1.text)
print("OK")
调用一下这个函数