SpringMVC基础02——HelloWorld
2020-12-13 01:57
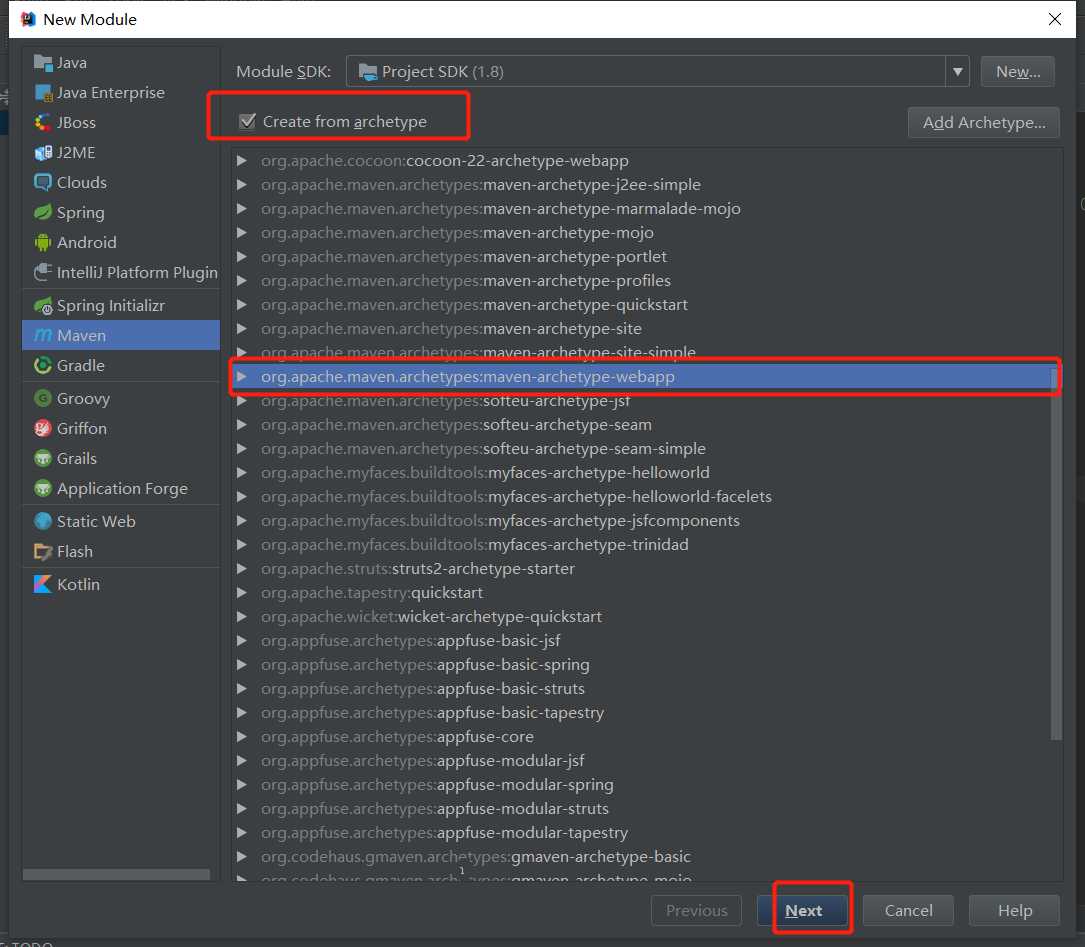
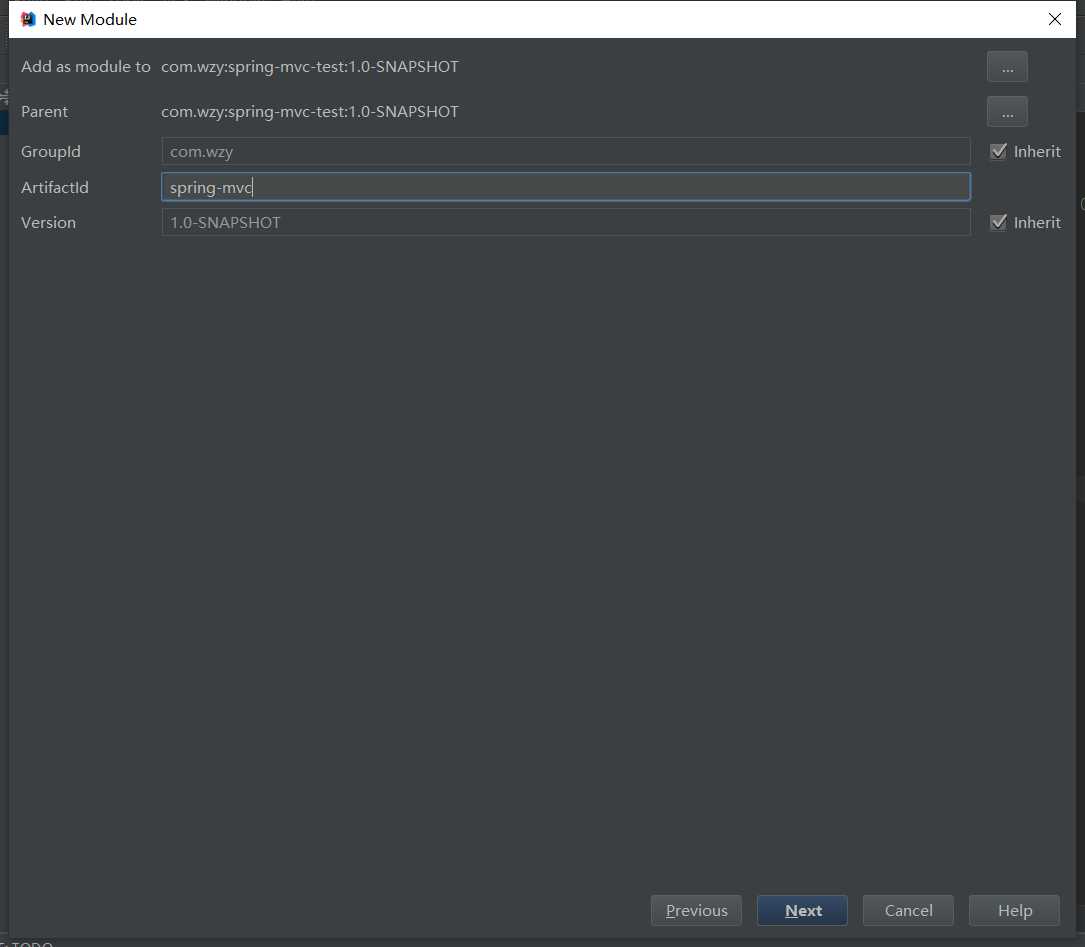
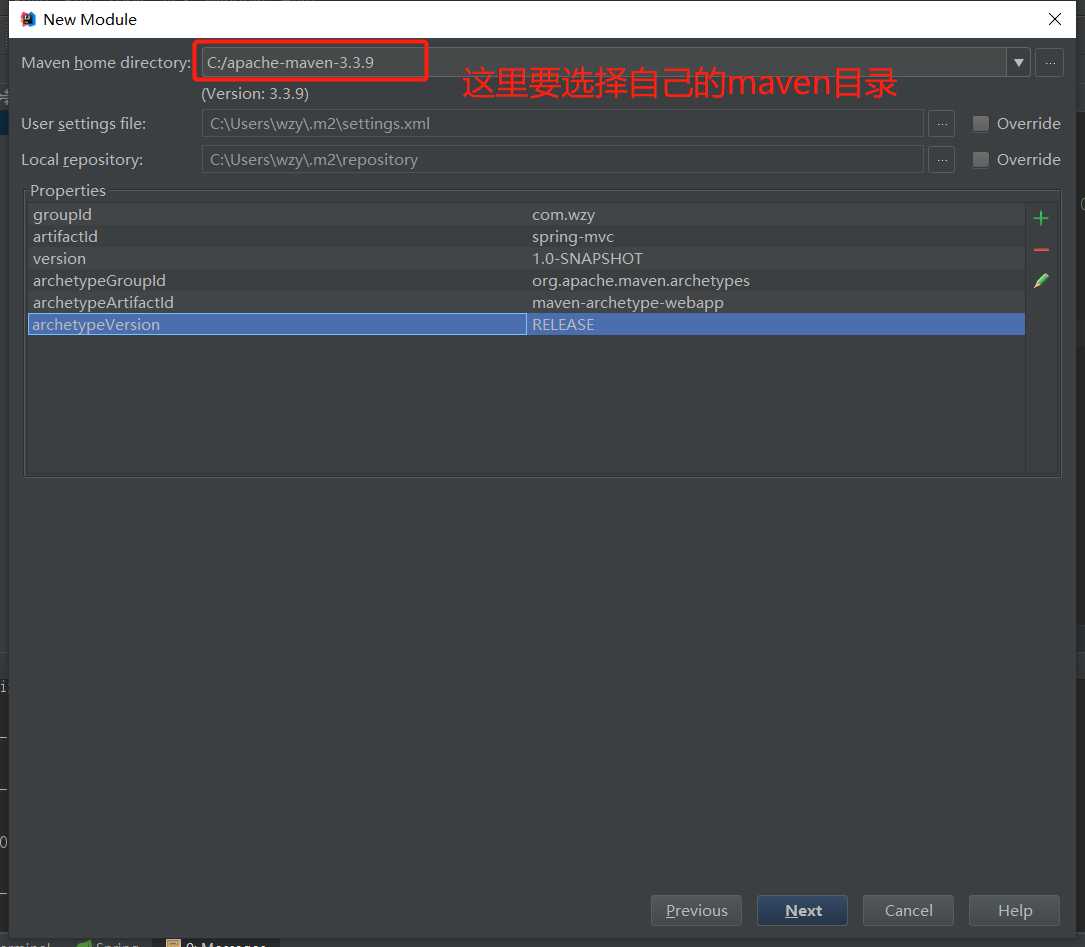
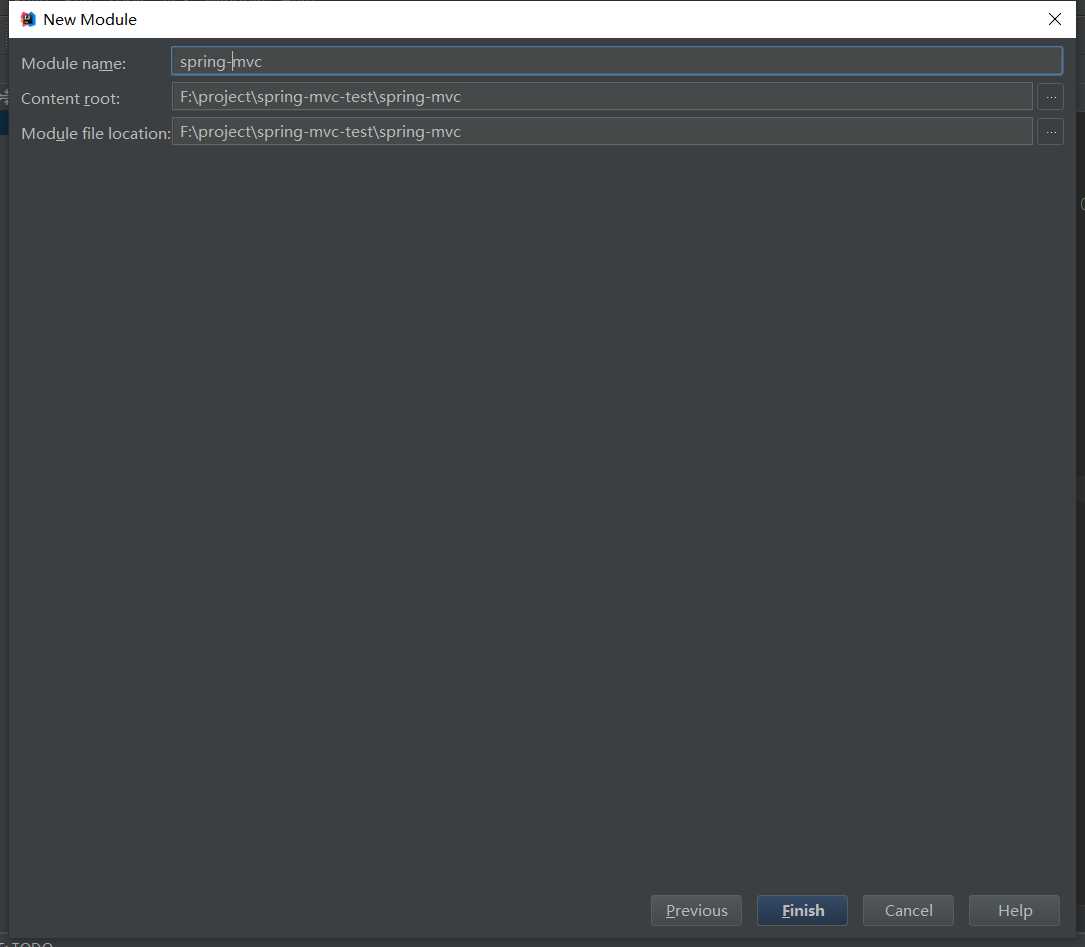
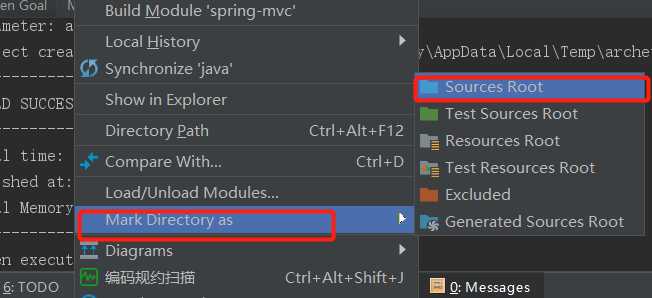
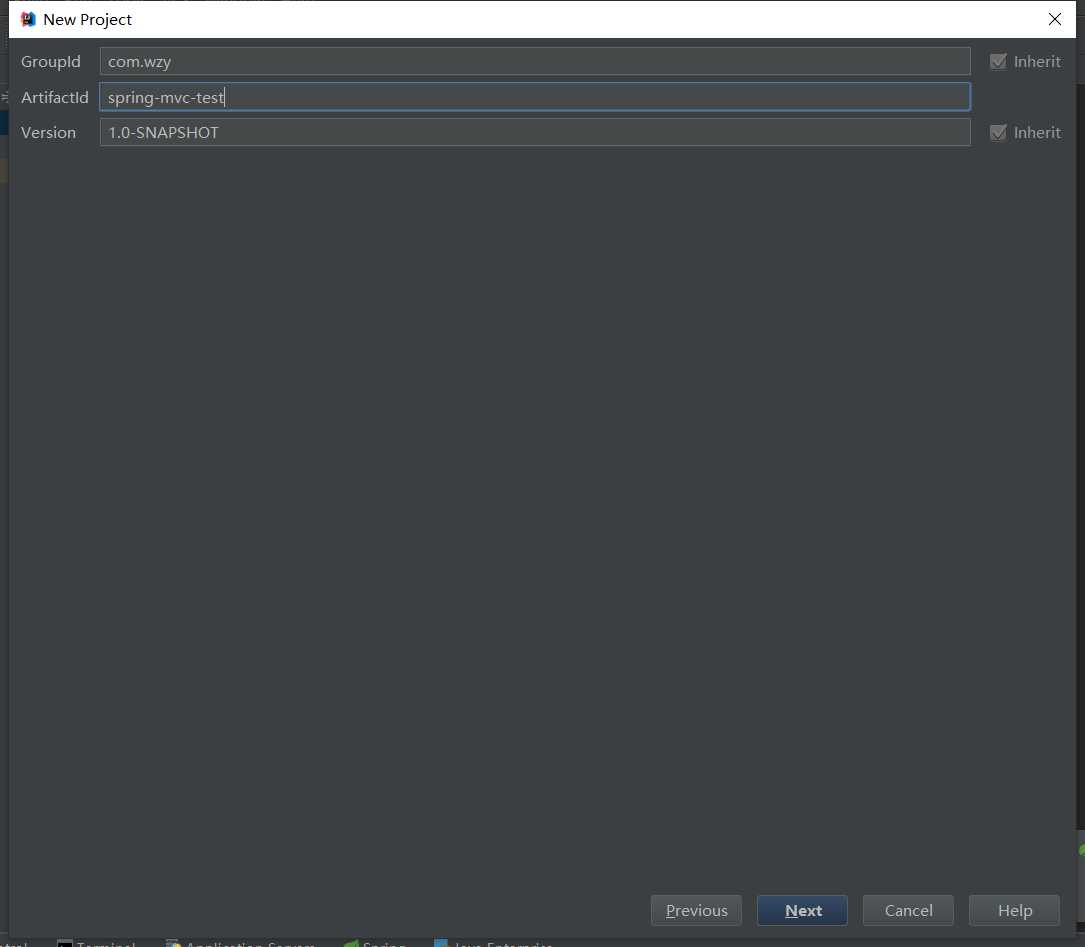
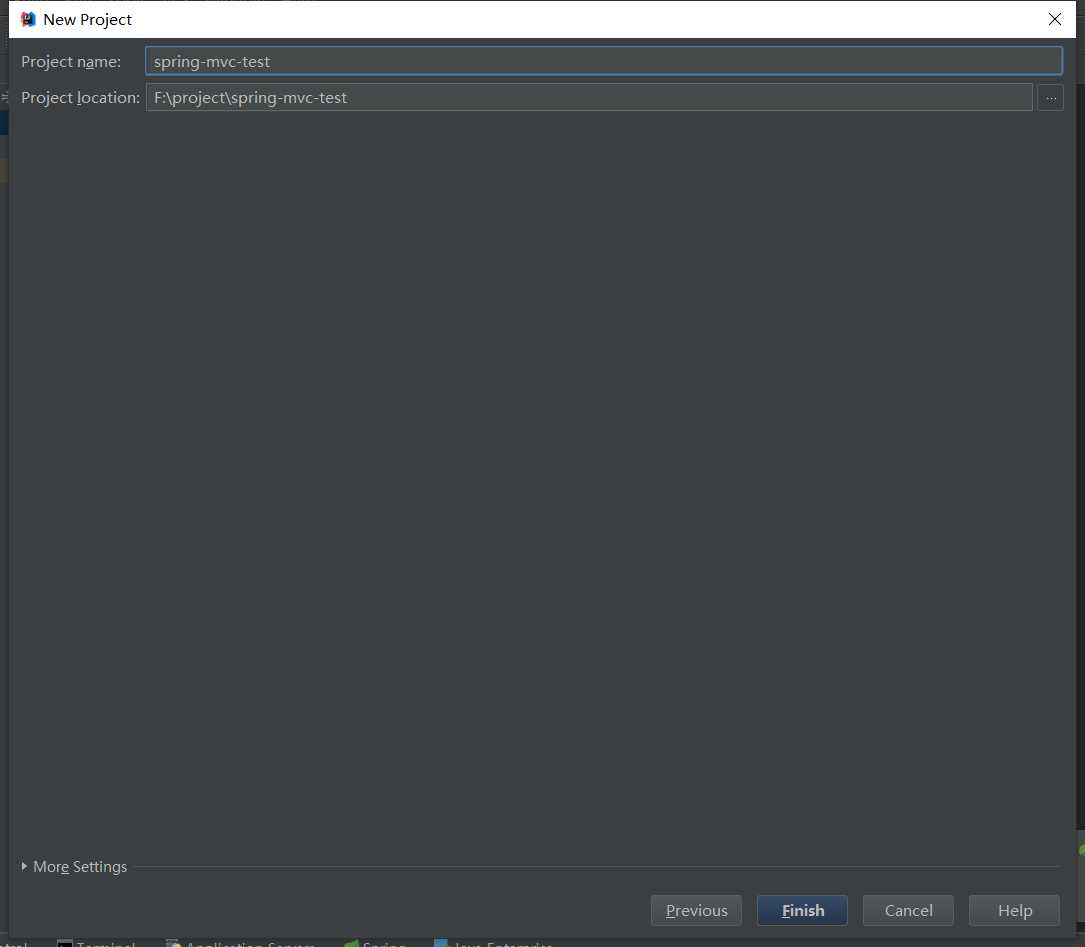
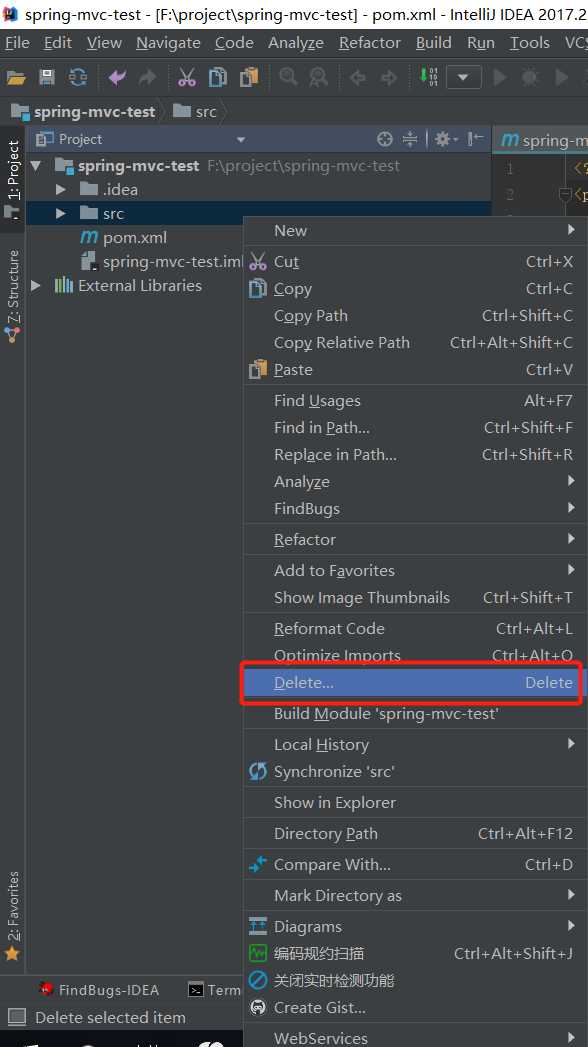
标签:pre group junit 自动 电脑 ack bsp http apache 1、搭建环境 博主使用的环境是IDEA2017.3,首先我们需要创建一个maven项目父项目,创建一个project,选择maven,之后点击next 添写当前项目的坐标,之后点击next 填写项目名点击finsh 创建好父项目之后我们删除它的src文件夹,因为我们仅仅使用它的pom文件而不需要编写代码。 之后对父项目的pom文件进行编写,并且引入相关依赖,下面贴出来相应的pom.xml文件 在父项目spring-mvc-test上新建一个子模块,并且这个子模块也是一个maven项目,这里选择的是webapp,一定要看好不要选错,选择好之后点击next。 填写坐标,点击next 选择你电脑上maven的配置文件位置和仓库的位置,一般来说idea会为你自动选择,之后点击next 输入项目名,点击finsh,之后等待maven构建项目。 之后main文件夹下新建一个java文件夹并标注为源码Sources文件夹。 SpringMVC基础02——HelloWorld 标签:pre group junit 自动 电脑 ack bsp http apache 原文地址:https://www.cnblogs.com/fengyun2019/p/11020353.html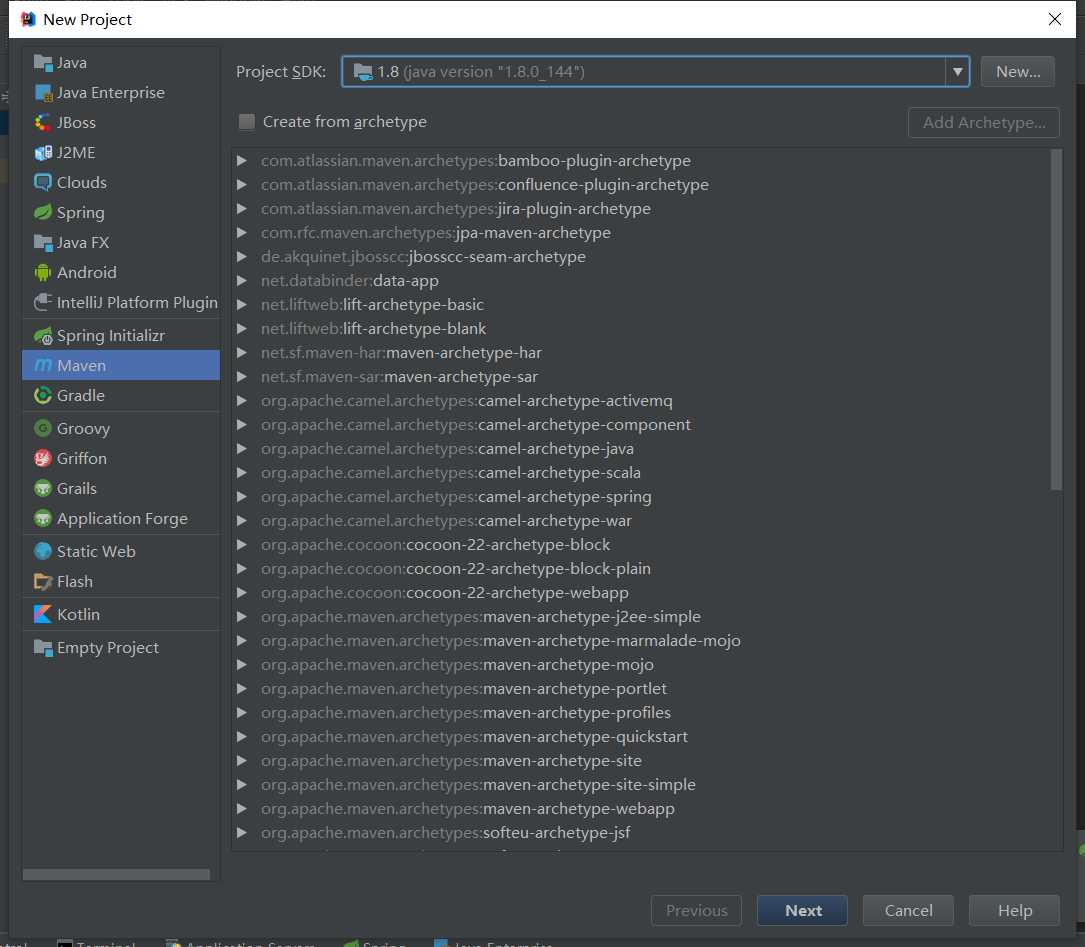
 1 xml version="1.0" encoding="UTF-8"?>
 2 project xmlns="http://maven.apache.org/POM/4.0.0"
 3          xmlns:xsi="http://www.w3.org/2001/XMLSchema-instance"
 4          xsi:schemaLocation="http://maven.apache.org/POM/4.0.0 http://maven.apache.org/xsd/maven-4.0.0.xsd">
 5     modelVersion>4.0.0modelVersion>
 6
 7     groupId>com.wzygroupId>
 8     artifactId>spring-mvc-testartifactId>
 9     version>1.0-SNAPSHOTversion>
10
11     name>Spring MVC Testname>
12     description>This SpringMVC projectdescription>
13
14     packaging>pompackaging>
15
16     properties>
17         spring.version>5.1.1.RELEASEspring.version>
18     properties>
19     dependencies>
20
21         dependency>
22             groupId>org.springframeworkgroupId>
23             artifactId>spring-contextartifactId>
24             version>${spring.version}version>
25         dependency>
26
27         dependency>
28             groupId>org.springframeworkgroupId>
29             artifactId>spring-webmvcartifactId>
30             version>${spring.version}version>
31         dependency>
32
33         dependency>
34             groupId>org.springframeworkgroupId>
35             artifactId>spring-coreartifactId>
36             version>${spring.version}version>
37         dependency>
38
39         dependency>
40             groupId>junitgroupId>
41             artifactId>junitartifactId>
42             version>4.12version>
43             scope>testscope>
44         dependency>
45     dependencies>
46 project>
